How to Convert FLAC to M4A Without Losing Quality
You've got a folder full of FLAC files, but your phone, car stereo, or media player expects M4A. The obvious move is to convert everything and get on with your day. That's how people end up with files that are smaller, less compatible than expected, or noticeably worse sounding.
The problem is that M4A isn't a codec. It's a container. Inside it, you can store AAC, which is lossy, or ALAC, which is lossless. Choose the wrong one and the converter may work perfectly while producing the wrong result for your library. A reliable FLAC to M4A workflow starts with that decision, not with an upload button.
Why You're Converting FLAC to M4A in the First Place
FLAC is an excellent source format for archiving, editing, and long-term interchange. It's open, non-proprietary, and has been developed since 2000, with version 1.0 released in 2001 and formal standardization as RFC 9639 in December 2024. That history helps explain why FLAC remains a dependable lossless master even when the delivery copy needs to be something else. FLAC's format history documents that long development arc.
The practical problem is playback. Apple devices, many car infotainment systems, smart TVs, mobile apps, and consumer media players tend to handle AAC in M4A more readily than FLAC. M4A also gives you a compact delivery file for phone storage and streaming, while keeping the original FLAC available for editing or future exports.
A FLAC library can be perfectly organized and still fail at the last mile. An iPhone may not sync it as expected, a car stereo may skip it, or a podcast platform may reject it. Those are compatibility and distribution problems, not evidence that FLAC is defective.
Practical rule: Keep FLAC as the master. Create M4A as a playback or delivery derivative.
The decision hidden inside the file extension
Choose AAC-in-M4A when you need smaller files and broad portable playback. Choose ALAC-in-M4A when you need Apple-friendly lossless storage. A useful primer on the underlying distinction is this guide to what lossless audio means.
The wrong choice is why many conversions disappoint. A smaller AAC file may be exactly right for a car or phone, but it isn't a lossless replacement for the FLAC. ALAC avoids that quality loss, but it won't deliver the same space savings or universal support as AAC.
AAC Versus ALAC Inside the M4A Container
Your converter can produce two very different M4A files from the same FLAC. AAC in M4A is a compact, lossy delivery copy. ALAC in M4A keeps the audio lossless while using an Apple-oriented container. The extension does not identify the codec, so choose the codec before choosing settings or starting the conversion.
FLAC remains the open lossless source. It commonly uses about half the space of uncompressed audio, with the exact result depending on the recording. This FLAC and M4A comparison explains why lossless compression can reduce storage without discarding decoded audio.
| Format | Typical size vs FLAC | Quality profile | Device support | Best for |
|---|---|---|---|---|
| FLAC | Larger than AAC M4A, commonly about half the size of uncompressed audio | Lossless | Strong on computers and specialist players, less consistent on consumer devices | Archival masters, editing, lossless interchange |
| AAC in M4A | Usually substantially smaller than FLAC | Lossy perceptual compression | Broad support across modern phones, apps, cars, and consumer hardware | Daily listening, streaming, portable playback |
| ALAC in M4A | Lossless, with size savings compared with uncompressed audio | Bit-for-bit lossless | Strongest in Apple-oriented workflows, verify support elsewhere | Apple-friendly lossless libraries and storage |
What changes when you pick AAC
AAC removes information the encoder judges less important to hearing. The result is smaller and generally easier to play across phones, cars, apps, and other consumer hardware. The trade-off is permanent. Converting AAC back to FLAC only places a larger lossless wrapper around an already lossy signal, it cannot restore discarded information.
Use AAC when storage, transfer speed, or broad playback matters more than preserving every sample. It suits a listening copy, but it should not replace the original FLAC as an editing or archival master.
What ALAC does, and doesn't do
ALAC preserves the decoded audio exactly, just as FLAC does. It does not make the recording sound better than the FLAC source, and it will not provide AAC's file-size reduction. Its practical advantage is a lossless M4A file that fits Apple-focused libraries and software more naturally. Support outside that ecosystem still deserves a playback check.
The container and codec are separate decisions. A file named .m4a may contain AAC or ALAC, with very different size and quality results. Use a media inspector or ffprobe to verify the stream before judging a conversion. This M4A audio format guide explains the container and its common codec choices.
Keep FLAC when you need an editing master or lossless interchange. Select AAC for compact distribution and routine playback. Select ALAC when lossless storage and Apple compatibility take priority.
Picking the Right Bitrate and Sample Rate
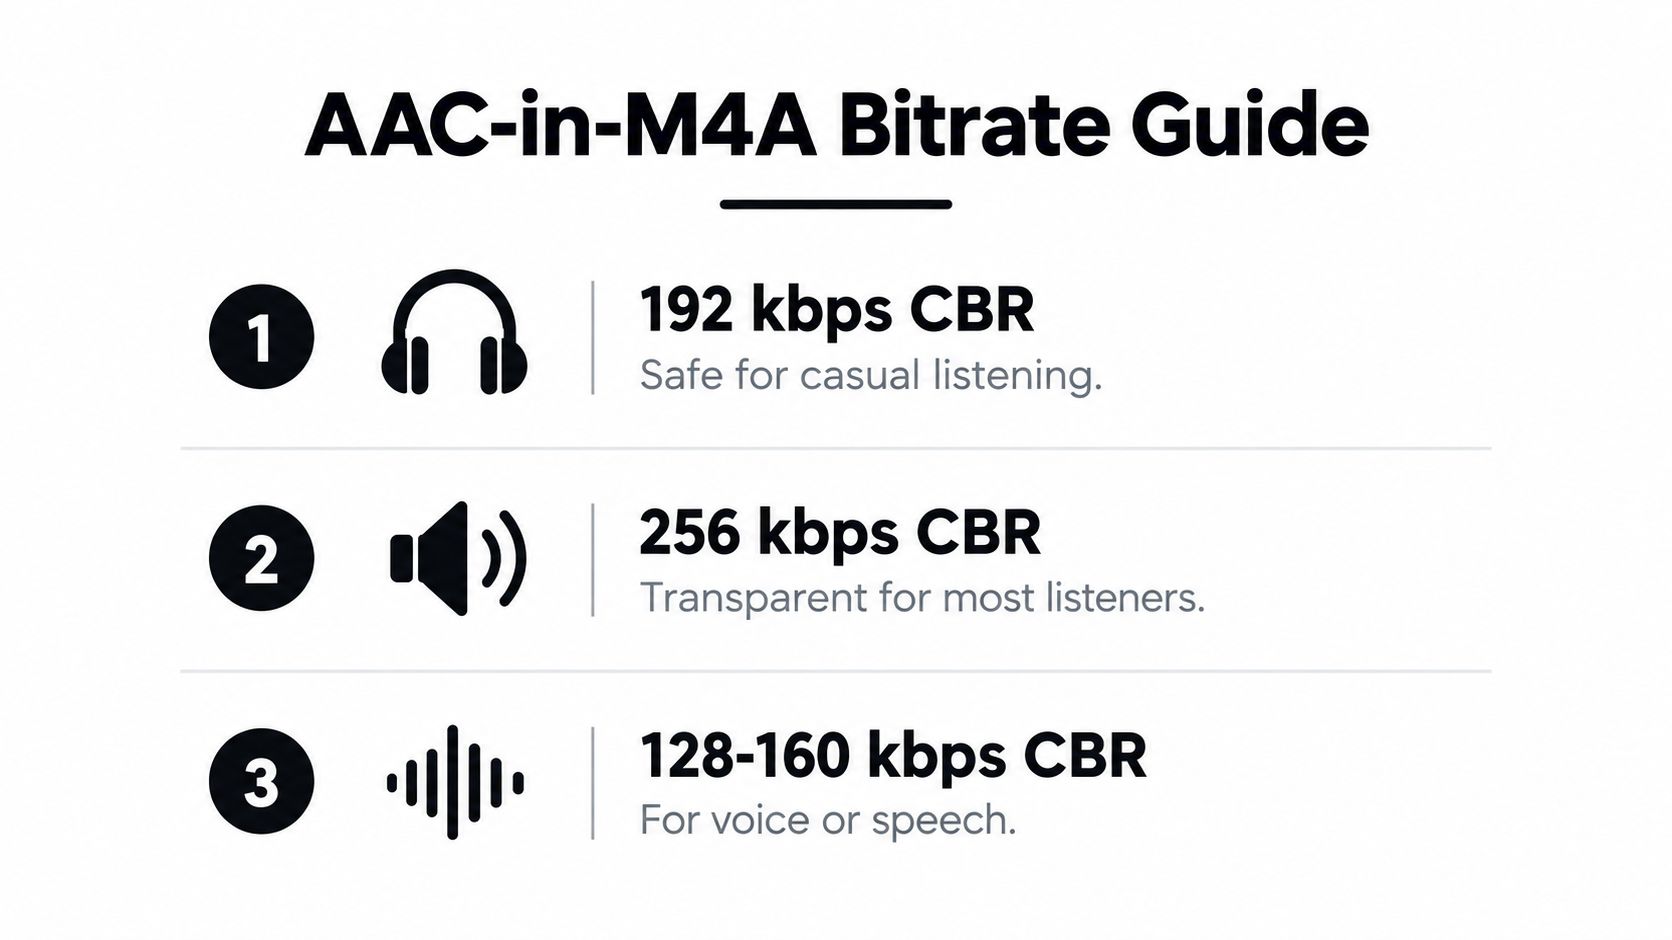
For AAC music, a sensible starting point is 192 kbps CBR for casual listening and 256 kbps CBR when you want a transparent-for-most-listeners target. Spoken word usually needs less data, so 128 to 160 kbps CBR is a practical range for podcasts, lectures, and audiobooks. HE-AAC at 64 to 96 kbps can suit severe storage or streaming limits, but it isn't the default I'd use for a music library. These settings fit within the commonly cited AAC delivery range of roughly 96 to 320 kbps. The FLAC to M4A settings guide discusses this planning approach.
Keep the source rate sensible
For AAC, keep a source rate such as 44.1 or 48 kHz when it matches the original. Downmix multichannel material to stereo only when the destination requires it. Don't upsample a 44.1 kHz FLAC to a higher rate. It adds samples, not information.
For ALAC, preserve the source characteristics. A CD rip at 16-bit/44.1 kHz should remain that way. A high-resolution FLAC at 24-bit/48 kHz or 96 kHz should retain its actual sample rate and bit depth. ALAC's role is exact preservation, so there's no reason to change those values without a specific compatibility requirement. For background on bit depth, see audio bit depth explained.
Avoid vague presets labelled “high quality” if the application doesn't show the codec, bitrate, sample rate, and channel layout. Also avoid very low variable-bitrate AAC settings for music. A named, repeatable preset is easier to test and reproduce than a slider whose behavior changes between tools.
Converting on Desktop with FFmpeg
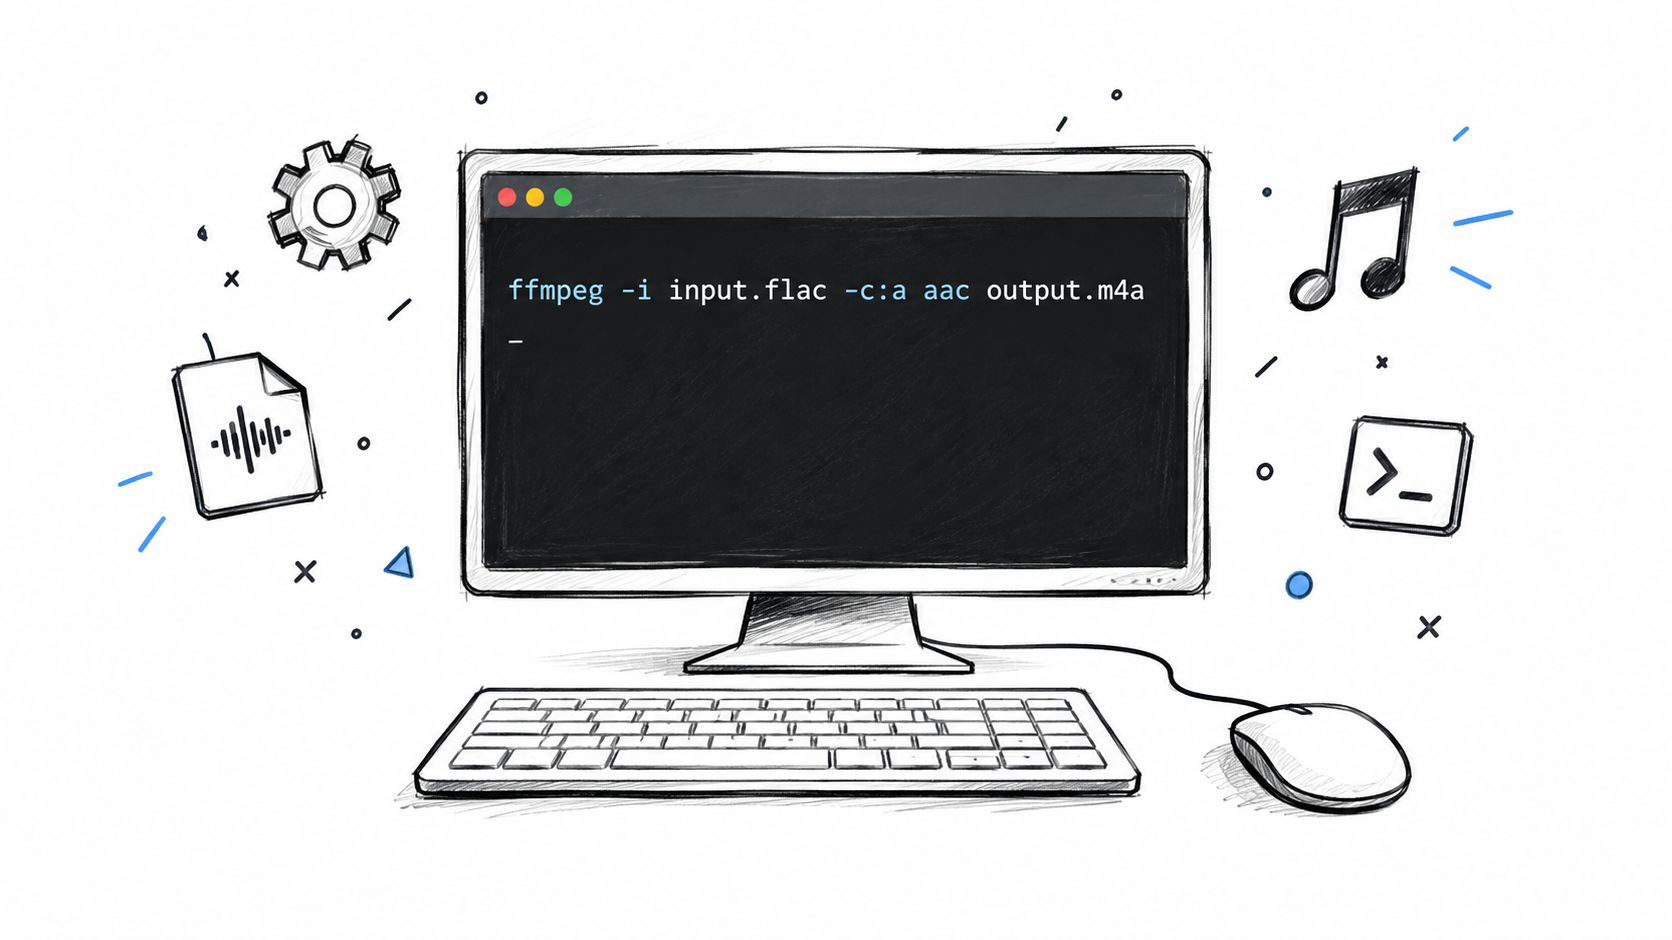
FFmpeg remains the dependable choice when you want repeatable output, visible settings, and a workflow you can run across a library. Start by checking the installation:
ffmpeg -version
Then confirm the encoders you need:
ffmpeg -encoders | grep aac
ffmpeg -encoders | grep alac
For an AAC music copy at 256 kbps and 48 kHz, use:
ffmpeg -i input.flac -map_metadata 0 -c:a aac -b:a 256k -ar 48000 output.m4a
For ALAC, preserve the source rate and request a suitable planar sample format:
ffmpeg -i input.flac -map_metadata 0 -c:a alac -sample_fmt s32p -ar 44100 output.m4a
Replace 44100 with the source rate when it differs. The -map_metadata 0 flag tells FFmpeg to carry metadata from the input. Don't add -id3v2_version 3 by default. Use it only when a specific older player requires ID3 tags, since Apple-oriented applications generally work with the default M4A metadata behavior.
Make batch work boring
Once a single file passes inspection, batch the folder rather than experimenting on the whole library. On a Unix-like shell, a basic AAC loop looks like this:
for f in *.flac; do ffmpeg -i "$f" -map_metadata 0 -c:a aac -b:a 256k "${f%.flac}.m4a"; done
Inspect an output with:
ffprobe -v error -show_entries format=duration:stream=codec_name,bit_rate,sample_rate,channels -of default=noprint_wrappers=1 output.m4a
Check the codec, duration, bitrate, sample rate, channel count, and stream count against the FLAC. Compare peak level too, especially if another application may have normalized or limited the file. People working on podcasts may also benefit from this practical resource on audio editing from Flexwork Studios, particularly when conversion is one step in a larger spoken-word workflow.
Converting in the Browser or the Cloud
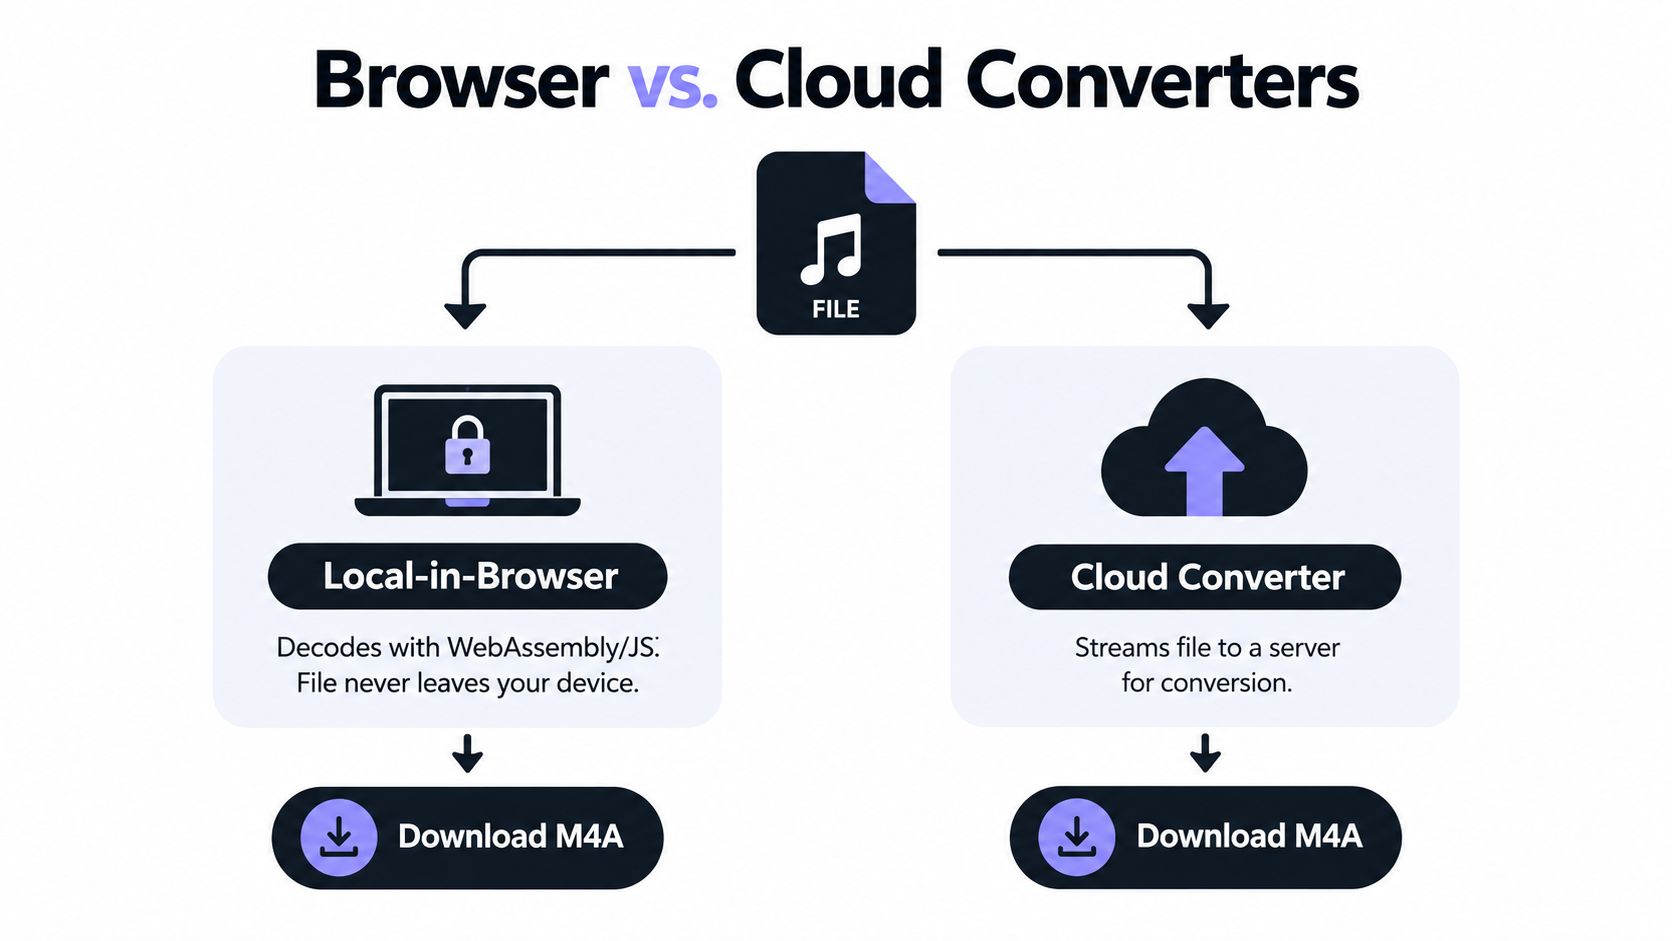
Browser converters are not one category. Some process locally in the browser with JavaScript or WebAssembly, so the FLAC stays on your device. Others upload the source to a remote service, convert it on a server, and return an M4A for download.
That distinction matters for unreleased music, client interviews, private research, and any recording you aren't comfortable sending to a third party. A local workflow avoids upload time and server handling. A cloud workflow can be more convenient for batch jobs, remote storage, and integrations with services such as Google Drive or Dropbox, but you must accept the privacy and transfer trade-off.
A safer browser workflow
Before selecting a file, look for a clear statement that processing happens locally. Then verify that the output codec is selectable. If the page only says “M4A,” it hasn't answered the important question.
Use a short, non-sensitive test file first. Check the resulting stream with a local player or ffprobe, then process the full library only after confirming the tool produces AAC or ALAC as intended. Browser tools can be convenient, but convenience doesn't replace codec verification.
When cloud conversion earns its place
Cloud services make sense when the files are already remote, the job involves many files, or the workflow needs an API. Review retention, deletion, access controls, and whether the service stores uploaded media for troubleshooting or account history. Prefer a provider that clearly explains how it handles temporary files, and don't upload client material until those terms fit the job.
Most simple services default to AAC because it suits portable playback. That can be right for delivery, but it isn't an archival choice. If you need ALAC, use a tool that exposes the codec explicitly or switch to FFmpeg locally.
Common Mistakes That Quietly Ruin Quality
Bad transcodes rarely announce themselves. The file opens, the duration looks plausible, and the damage stays hidden until you compare it with the source or discover that the tags disappeared.
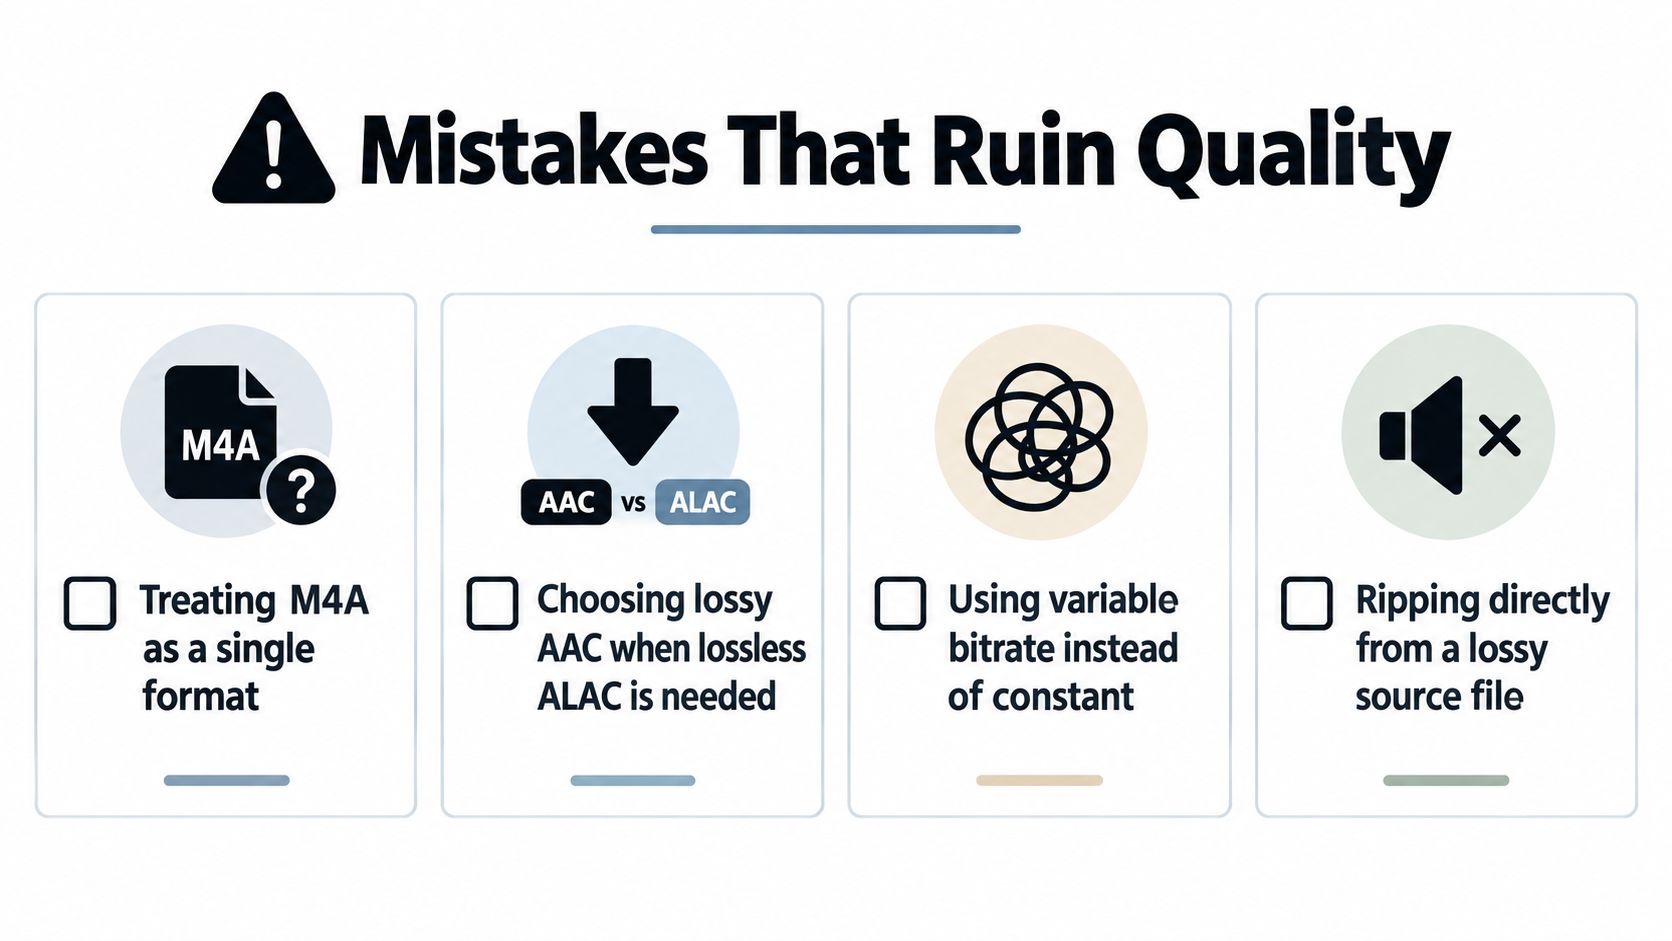
Four failures appear repeatedly:
- Treating M4A as one format: The extension doesn't reveal whether the stream is AAC or ALAC. Inspect the codec before you judge the result.
- Using AAC when lossless storage is required: AAC is appropriate for delivery, but it cannot replace the original FLAC as an archival master.
- Transcoding a lossy file back to FLAC: Converting AAC to FLAC increases the file's apparent size without recovering the information already removed.
- Trusting metadata and levels automatically: Cover art, replay gain, chapters, peak values, and channel layout may change during conversion or remuxing.
The last mistake is especially easy to miss in a batch. A converter may apply normalization or limiting without making the change obvious, so the output needs inspection rather than assumption. Listen to a representative passage with cymbals, applause, dense vocals, or other transient-heavy material, then compare the output's peak level with the FLAC.
Verification rule: Don't delete the FLAC until the M4A passes a codec, metadata, duration, channel, and level check.
Run ffprobe on both files and compare the stream count, duration, sample rate, channels, and peak information available from your tooling. If cover art or chapters matter, open the file in the actual player that will receive it. A technically valid M4A can still fail the library's organizational requirements.
Choosing the Right Workflow for Your Goal
Your goal should determine the codec before the tool. For an Apple-friendly lossless library, convert FLAC to ALAC in M4A and keep the source untouched. For portable playback, streaming, phones, and most car systems, AAC in M4A is the practical route. AAC's smaller output is useful precisely because it trades away some information, so it should be treated as a delivery asset rather than a replacement master.
Spoken-word work needs a different preset from music. Speech can often use a lower AAC bitrate, and mono may be suitable when the source and destination don't need stereo. Music generally benefits from a more conservative setting, especially when the material contains exposed cymbals, applause, ambience, or other difficult transients.
Tool choice follows the same logic:
- FFmpeg: Choose it for repeatable desktop conversions, explicit codec control, metadata mapping, and batch processing.
- Local browser conversion: Choose it for a quick job when the source must stay on your machine and the tool clearly confirms local processing.
- Cloud conversion: Choose it when remote files, batch handling, or an API matters more than keeping every operation local.
- Isolate Audio: Use it when a FLAC or M4A file is part of an audio isolation task, such as separating vocals, dialogue, or another described sound from a recording.
Before processing a full library, run a short test clip. Confirm the codec, bitrate, sample rate, channels, duration, metadata, and peak level. Then use this checklist:
- Pick AAC or ALAC.
- Pick the bitrate and sample rate for the actual content.
- Pick a tool that exposes those settings.
- Verify the test output.
- Batch-convert while keeping the FLAC masters.
If you need to prepare FLAC or M4A files for sound isolation, Isolate Audio lets you upload the recording and describe the element you want to separate in plain English. Try it with a short test file first, then download the isolated sound and remainder in the format your next production step requires.