What Is Precision Mode and When to Use It
Precision mode is a higher-accuracy setting that trades speed for finer control and cleaner results. For audio, it's best reserved for dense or overlapping material rather than used as an always-on default.
You're trying to pull a voice out from under traffic, separate a piano from an orchestral passage, or isolate cheering from a crowded stadium recording. The first result sounds close, but there's bleed around the target, words have a watery edge, or musical notes disappear with the background. That's the moment many creators ask, what is precision mode, and whether switching it on will solve the problem.
Precision mode isn't a magic repair button. It's an accuracy-first choice that asks a tool to spend more processing effort on difficult material. The payoff can be cleaner separation and more controlled edges, but the trade-off is additional processing time, and the source still limits what any model can recover.
Introduction to Precision Mode
A standard audio separation mode is often enough when the target sound is clear and the background is uncomplicated. A spoken voice recorded close to a microphone, for example, gives a model useful evidence about what belongs to the dialogue and what belongs elsewhere.
The situation changes when several sounds occupy the same space. Heavy compression can flatten differences, overlapping voices can confuse boundaries, and a quiet target may sit beneath music or environmental noise. Precision mode gives the model a more intensive route through that ambiguity, with the aim of preserving more detail instead of taking the fastest available path.
The same idea appears outside audio. Wacom describes a configurable pen action that switches between normal precision and a selected level from Fine to Ultra Fine, while Xencelabs describes slowing pen movement inside a defined area for controlled strokes (Wacom's pen settings documentation). In controller software, Amkette describes precision mode as slowing movement input for ultra-fine aiming, while its accuracy mode focuses on smoothing small stick movements (Amkette's precision and accuracy mode guide).
So the useful rule is simple: use precision mode when ambiguity is costing you quality, not merely because the setting sounds more advanced. The rest of the decision comes down to what's in the recording, how much artifacting you can accept, and whether the extra wait matters for this export.
How Precision Mode Works in Simple Terms
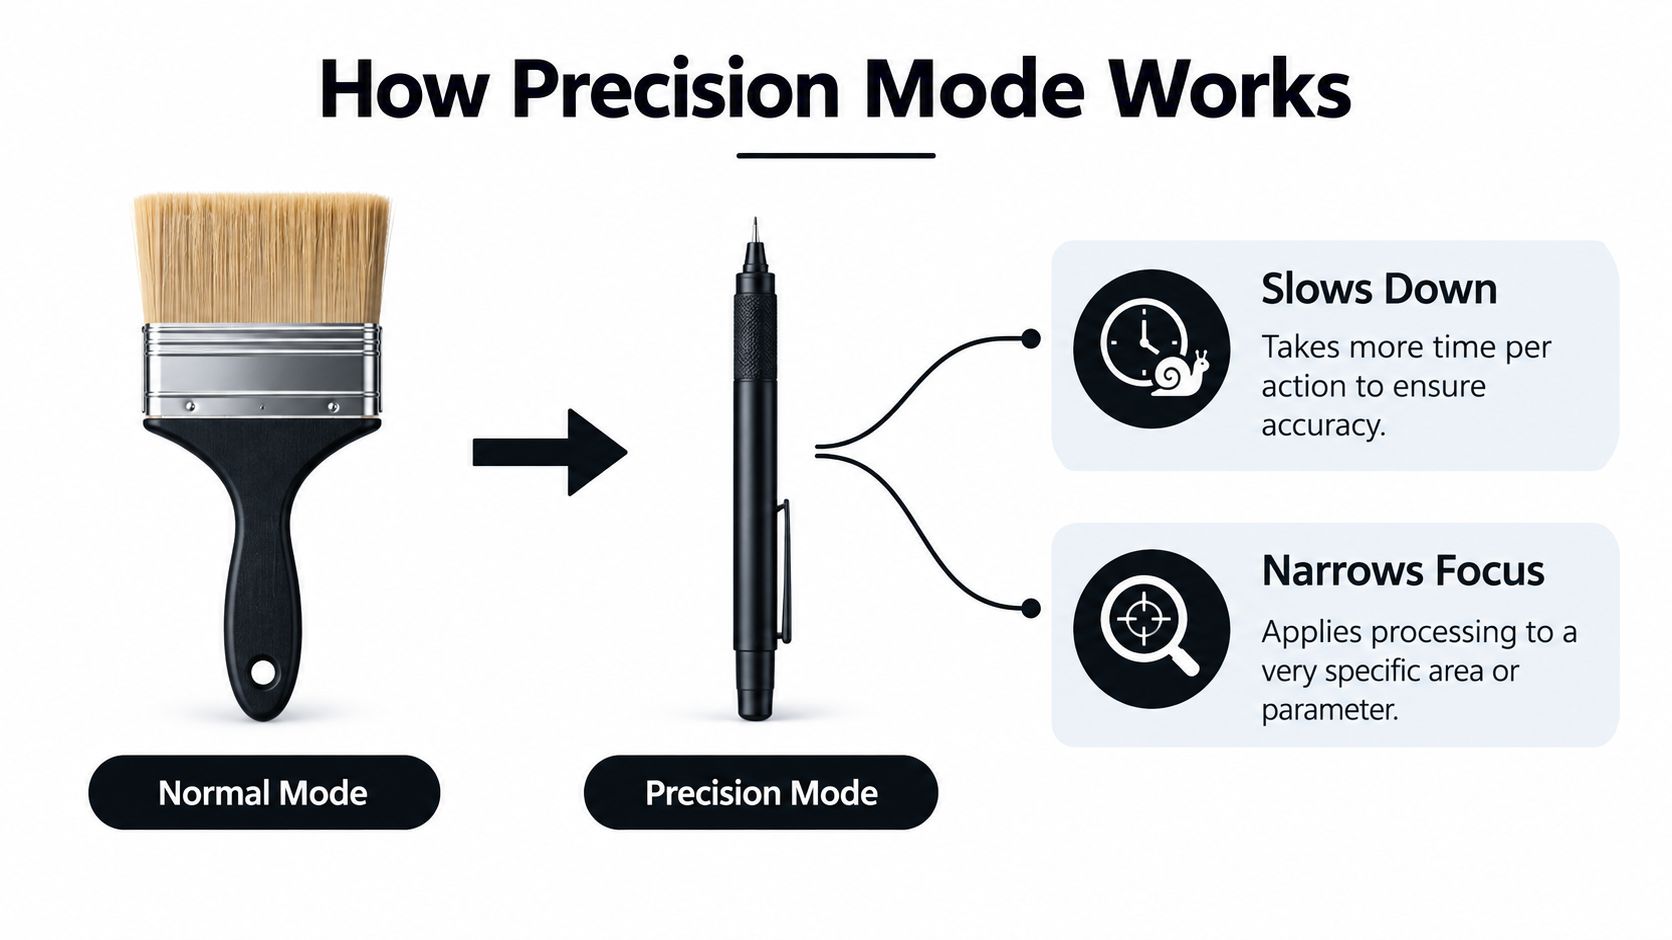
Think of moving a paintbrush across a large area, then switching to a mechanical pencil for a tiny correction. The brush covers ground quickly, but it isn't designed for a precise edge. The pencil moves more slowly and gives you better control over a small detail.
Precision mode follows that same pattern. It narrows the area or parameter under consideration and spends more time making small adjustments. On a tablet, that can mean slower pen movement. On a controller, it can mean reduced stick sensitivity. In an audio AI tool, it means a more intensive analysis of sounds that overlap or sit close together in the recording.
Core principle: Precision mode gives up some speed so the system can make finer, lower-error decisions.
For audio, that doesn't mean the model creates information that was never captured. It works with the evidence in the waveform, such as timing, frequency patterns, dynamics, and the relationship between nearby sounds. If the voice and guitar occupy similar frequencies at the same moment, a deeper pass may reduce unwanted spill, but it can't guarantee a perfectly clean result.
The same speed-versus-fidelity idea appears in AI inference. OpenVINO documentation contrasts an accuracy-oriented mode that avoids converting floating-point tensors to smaller types with performance-oriented processing that may use smaller data types and mixed precision for faster inference (this explanation of acquisition modes). For creators, the practical translation is straightforward: choose the slower path when the quality of the output matters more than rapid turnaround.
If your next step is turning cleaned dialogue into text, a separate Taja AI transcription workflow can help you move from an audio file to a written draft after the separation stage. For a broader explanation of the separation process itself, see this guide to AI stem separation.
Precision Mode Compared to Standard Modes
Precision mode makes more sense when you compare it with the alternatives. A fast setting usually prioritizes a quick result. A balanced setting aims for a practical compromise. A precision setting shifts the priority toward difficult decisions and finer output control.
| Mode | Speed | Accuracy | Best For |
|---|---|---|---|
| Performance or fast | Fastest available processing | Suitable for clear material, with less attention to difficult overlaps | Drafts, previews, and simple recordings |
| Balanced or standard | Moderate processing effort | A practical middle ground for ordinary separation tasks | Regular editing and general-purpose exports |
| Precision | Slower processing | Higher-fidelity analysis for ambiguous or overlapping material | Dense mixes, buried targets, and final exports |
The difference isn't "bad" versus "good." Faster modes can be perfectly sensible when the source already provides strong separation clues. If you're checking whether a vocal hook is present, making a rough edit, or testing several target prompts, waiting for the deepest analysis each time can slow the whole session without improving the decision you need to make.
Precision mode becomes more useful when errors are expensive. A small amount of bleed may be acceptable in a scratch track, but distracting in a dialogue cleanup, a karaoke stem, or a sound effect intended for a finished video. In those cases, cleaner boundaries can matter more than a quick preview.
For a wider look at choosing tools for different separation jobs, compare this guide to the best stem splitters. The important distinction is that precision is a workflow setting, not a permanent quality ranking. You're deciding how much computation this particular file deserves.
When to Use Precision Mode for Audio
Start with the arrangement, not the button. Precision mode earns its extra processing effort when the target and unwanted sounds are tightly mixed together, especially in ways that make their boundaries difficult to identify.
Dense mixes are a common example. A vocal may overlap with guitars, cymbals, synths, and room ambience across much of the same frequency range. Heavy compression creates another challenge because it reduces dynamic contrast, making loud and quiet elements less distinct. Overlapping voices can produce similar timing and spectral patterns, while a buried target may be quiet enough that the surrounding material dominates the available evidence.
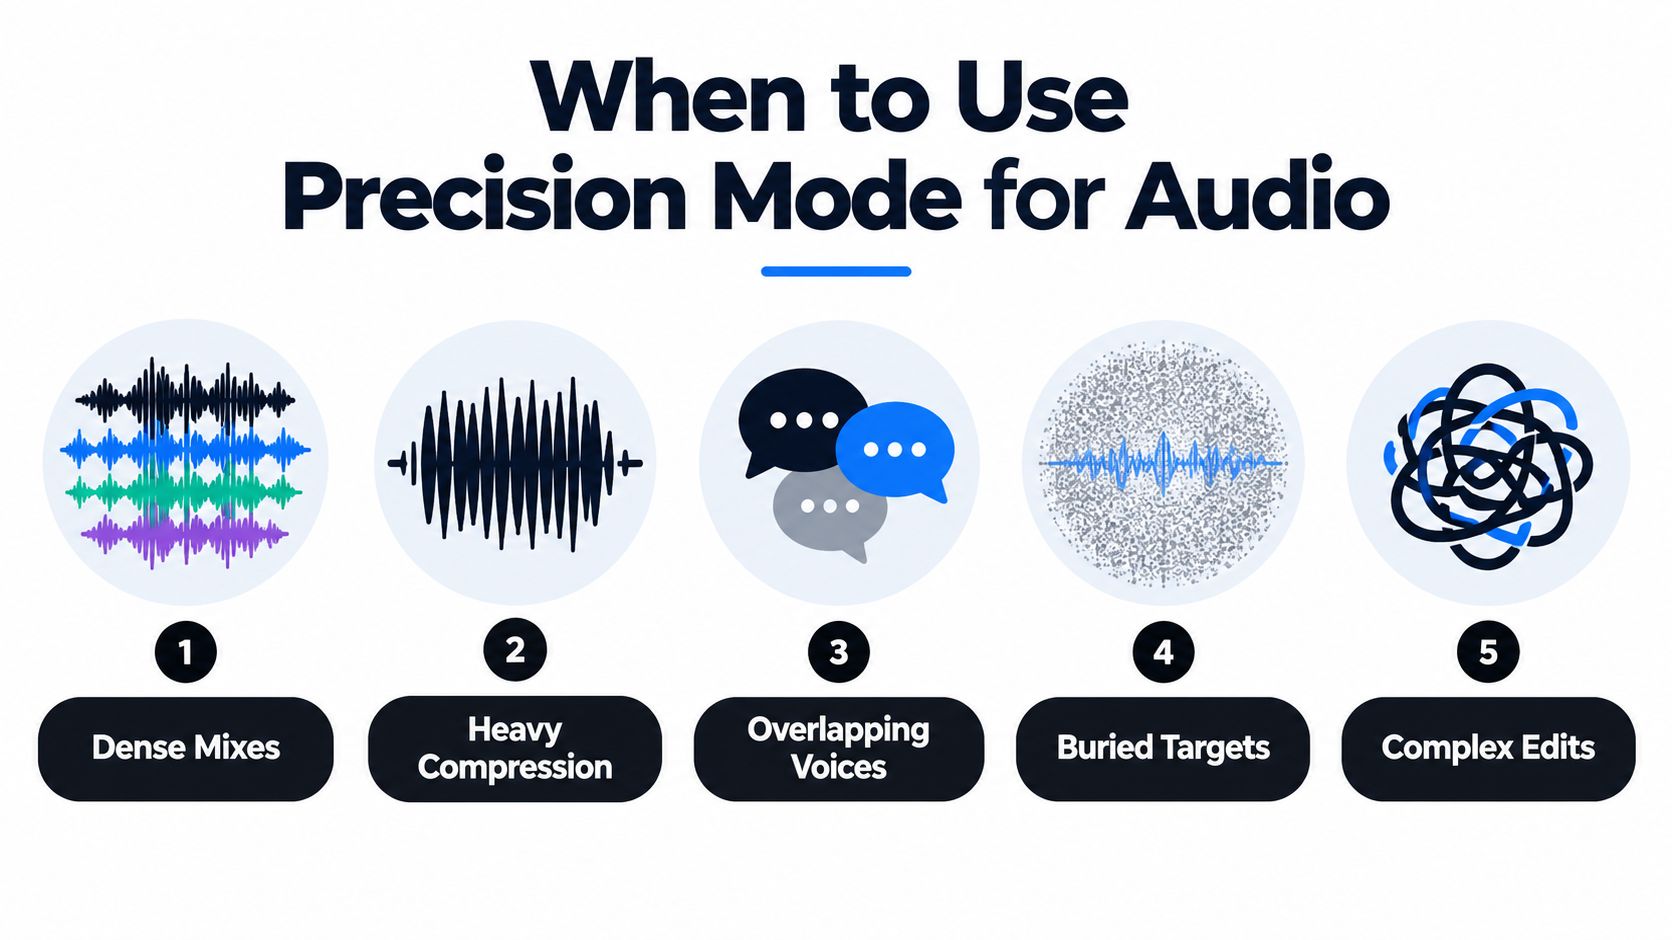
Mono recordings and muddy room captures can also justify a deeper pass. Without useful spatial differences, the model has fewer clues for separating sources. Complex edits, such as extracting a quiet sound from a crowded recording while preserving natural ambience, may benefit for the same reason.
Use this quick check before exporting:
- Several sources overlap: Turn precision on when the target shares space with music, voices, or environmental noise.
- The first result has bleed: Listen for remnants of the background around consonants, transients, or sustained notes.
- The target is quiet: A faint dialogue track or field-recording subject deserves a closer inspection than an obvious, isolated source.
- The source is already clean: Stay with a standard mode when the target is prominent and the separation is convincing.
- The original lacks detail: Keep expectations realistic. Precision mode can't reconstruct information that the microphone never captured.
For creators comparing wider editing workflows, a current overview of best sound editing tools in 2026 can help place precision processing alongside restoration, mixing, and transcription tools. The decision remains practical: choose the extra analysis when it addresses a specific audible problem.
Real World Examples and Workflow Tips
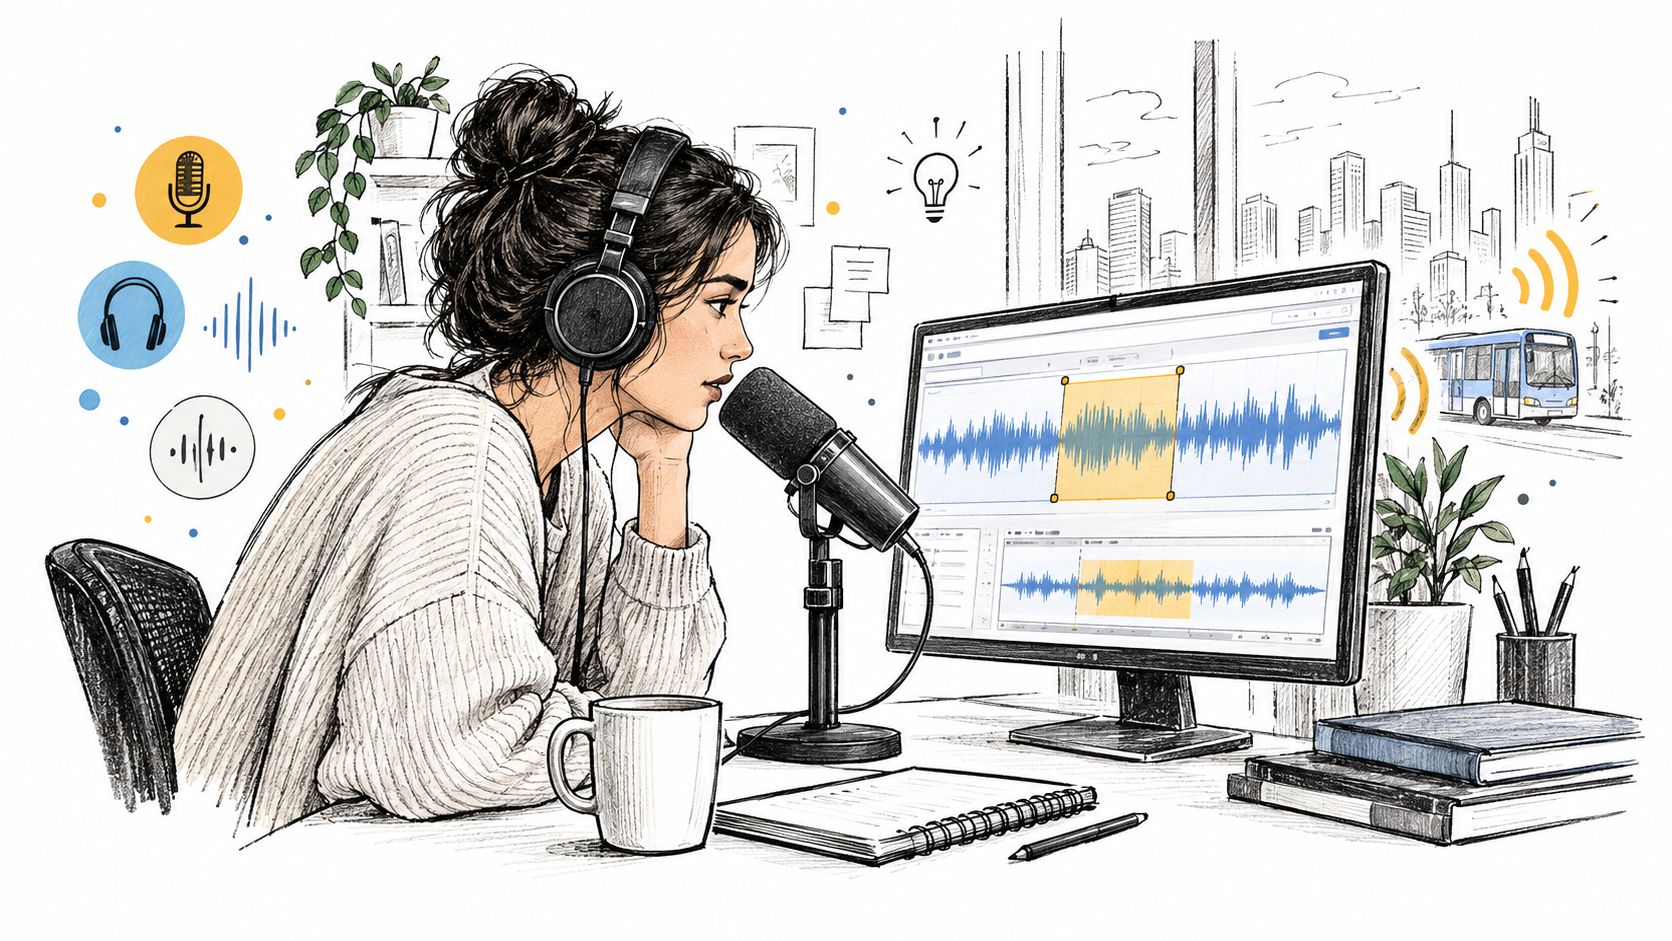
A podcaster cleaning dialogue under traffic noise has a different threshold from a musician preparing a stem for a remix. The podcaster may accept a slightly processed ambience if the words become easier to understand. The musician may care more about preserving the attack and tone of a piano note, because small artifacts can become obvious once the part is placed in a new arrangement.
A video editor isolating crowd cheering might use precision mode to preserve the excitement of the audience while reducing music or commentary. A bioacoustics researcher could make a different choice, because an artifact that sounds minor to a listener might affect the interpretation of a quiet call or environmental event. The acceptable result depends on what you'll do with the isolated track afterward.
For music-focused workflows, a production guide such as this resource on music instrumental apps can help you think about the next stage, whether that's practice, remixing, or arrangement. Precision mode should fit into that larger plan rather than operate as an automatic first step.
Before committing to a full export, make a short preview from the hardest part of the file. Choose a section where the voice overlaps the traffic, the piano meets the orchestra, or the crowd rises under the soundtrack. Compare standard and precision results at the same listening level, then check both the isolated target and the remainder.
A useful test asks three questions:
- Can you understand or identify the target more easily?
- Did the target keep its natural tone and timing?
- Did the background gain obvious warbling, pumping, or hollow gaps?
If precision improves the part that matters without introducing worse artifacts, use it for the final render. If the difference is negligible, keep the faster mode and spend your time on edits, fades, or manual cleanup.
Getting the Best Results With Precision Mode
Precision mode works best as a deliberate finishing choice. Begin with a standard or balanced pass, listen for the exact failure, and enable precision when overlapping material, bleed, or lost detail makes that first result unsuitable. For a final export, pair the precision setting with the quality preset that matches your delivery needs, then inspect the result rather than trusting the label alone.
If the output still sounds imperfect, change the target description, isolate a smaller or clearer passage, or adjust the original recording before processing again. Better source material gives the model stronger evidence, while precision mode helps it make more careful decisions with the evidence available. For speech-heavy projects, these accuracy tips for Voice Control Pro users offer useful reminders about recording conditions and intelligibility before you begin.
Isolate Audio lets creators upload audio or video, describe a target sound in plain English, and receive the isolated element alongside the remainder. Its Precision Mode is designed for challenging separations with overlapping sources, so it fits the decision rule in this guide: use it when the mix is difficult, then judge the preview by ear.
Isolate Audio can help you separate a piano melody, clean dialogue, isolate crowd cheering, or target another sound from a recording using a plain-language description. Upload a difficult file, compare a standard result with Precision Mode, and visit Isolate Audio to start testing the speed-versus-accuracy trade-off on your own workflow.