
How Do You Make a Drum for Studio Samples
Stretch a balloon over a can and you can make a sound, but a drum needs a hollow body, a tensioned head, and a hoop-and-rod or lug system to hold the head in place. Shape the shell, fit the head, prepare a smooth bearing edge, then tension and tune it so the pitch holds and the parts can be repaired or replaced.
Test the result with recordings made from a fixed distance. A lively shell can ring impressively in the workshop yet produce a less useful sample, so judge the recorded hit, not just the sound beside the drum.
What a Playable Drum Actually Needs
A drum can sound lively and still make a poor production source. The useful build is one you can handle safely, inspect, and return to a repeatable response after service. Judge the hit from recordings made at a fixed distance, not from labels such as warm or bright.
A drum's acoustic core is a hollow resonating body and one or more tensioned membranes. The body forms a chamber, while the head vibrates when struck. Ornament and costly materials cannot compensate for a head that is poorly supported or difficult to tension.
An archaeological account dates a Moravian drum to approximately 6000 BCE and Chinese pottery drums to around 4000–2000 BCE. It also describes some Chinese examples with 15–20 hooks around the opening to distribute tension (archaeological account of early drum construction). Those hooks show that early makers controlled head tension.
The old design still defines the build
Early makers used hollow trunks or other rigid chambers, stretched skin across an opening, and secured it with thongs, hooks, or related fittings. A hand or stick supplied the strike. Modern shells and manufactured heads use different materials, but the basic arrangement remains: a supported membrane vibrates over a hollow body.
In practical terms, the parts must work together:
- Choose or form the body. It has to support the head and its attachment system under tension.
- Prepare the membrane. It must fit the opening without being forced into an unsuitable shape.
- Fit the attachment hardware. Spread the pull around the rim instead of loading a few points unpredictably.
- Establish controlled pitch. Tightening should produce a response that remains stable and can be repeated.
The vibrating membrane also excites the air inside the shell. A loose fitting, uneven pull, or damaged surface can therefore affect the recorded hit, not just the instrument's appearance.
Build priority: Make the instrument dependable before judging its sound.
Why a producer should care
For sampling, the first good hit is only a starting point. The drum should still give you a useful response after handling, repair, or a later recording session. A repairable build helps you preserve the instrument's character without redesigning its attachment each time.
Keep the instrument and recording chain as separate decisions. A guide to choosing a microphone with a preamp can help with capture, but recording gear cannot correct an inconsistent head attachment.
Set the test before buying parts: the drum should be safe to hold, easy to inspect, and serviceable. Record hits from a fixed distance, then compare them under the same conditions. That makes it easier to tell a deliberate sound choice from a construction fault, even when a livelier shell produces a less useful sample.
Pick a Shell and Head That Last
A drum built for one afternoon can use different materials from a studio source expected to survive repeated playing and head changes. Choose for the intended working life, not merely for what is already in the kitchen. A classroom experiment, a replaceable percussion source, and a natural-skin instrument each bring different maintenance needs.
Which Drum Build Fits the Job
| Build | Upkeep | Climate and materials | When it makes sense |
|---|---|---|---|
| Container drum | Inspect the rim and attachment; plan for head replacement | Check the specific container and membrane rather than assuming improvised materials behave alike | Exploring sounds or running a supervised introductory activity |
| Formed shell with synthetic head | Keep the hoop, rods, and replaceable head serviceable | Avoids an animal-skin head; record room conditions when checking consistency | A practical default for repeatable sampling and repair |
| Natural-skin drum | Allow for skin preparation and retensioning | Uses animal material; consider humidity and drying conditions | When natural skin is an intentional material and sound choice |
For studio work, a formed shell that takes an available replacement head is a practical choice. That does not guarantee a better sound. It does make maintenance more predictable: you can replace the head without devising a new attachment.
Solid wood versus laminated plies
Wooden drums are commonly made with solid shells or laminated veneers. In a ply shell, makers glue layers under pressure and may turn adjacent grain directions by as much as 90 degrees. The resulting shell's stiffness and response depend on its construction, so ask for the finished dimensions rather than choosing by ply count alone.
A thinner shell generally responds more readily to vibration. A thicker assembly is more rigid and often produces a more focused response. Neither quality guarantees a useful recording. A lively shell may sound appealing in the room yet add movement you do not want in a sample. Judge the hit with recordings made at a fixed distance, using the same setup when comparing shells. Listen for a stable, repeatable result instead of relying on labels such as “warm” or “bright.”
Before ordering, confirm the finished shell thickness and dimensions. Check that the intended head and hoop fit without force, and that replacement parts are available. These details matter more in a repairable instrument than a nominal material description.
Buy for replacement, not just assembly
Check the parts as a system before committing:
- Head availability. Can you buy a matching replacement without rebuilding the drum?
- Hoop compatibility. Does it fit the selected head and shell without forcing?
- Hardware access. Can you reach the fasteners after assembly?
- Material preference. Are animal-derived materials acceptable to everyone using the instrument?
The cheapest membrane may cost more in time if it tears or needs repeated refitting. Improvised materials can suit a disposable sound experiment. For a source you plan to record repeatedly, choose a head and attachment you can inspect, replace, and tension again without damaging the shell. That gives you a safer, more serviceable instrument and a hit you can reproduce.
Shape the Shell and Bearing Edge
Start with a cylindrical shell blank, either formed for the project or purchased ready for machining. For a first studio build, buying a sound blank is a sensible way to concentrate on fit and setup rather than learning shell forming and drum assembly simultaneously.
Use this sequence to establish the shell's basic geometry before fitting hardware.
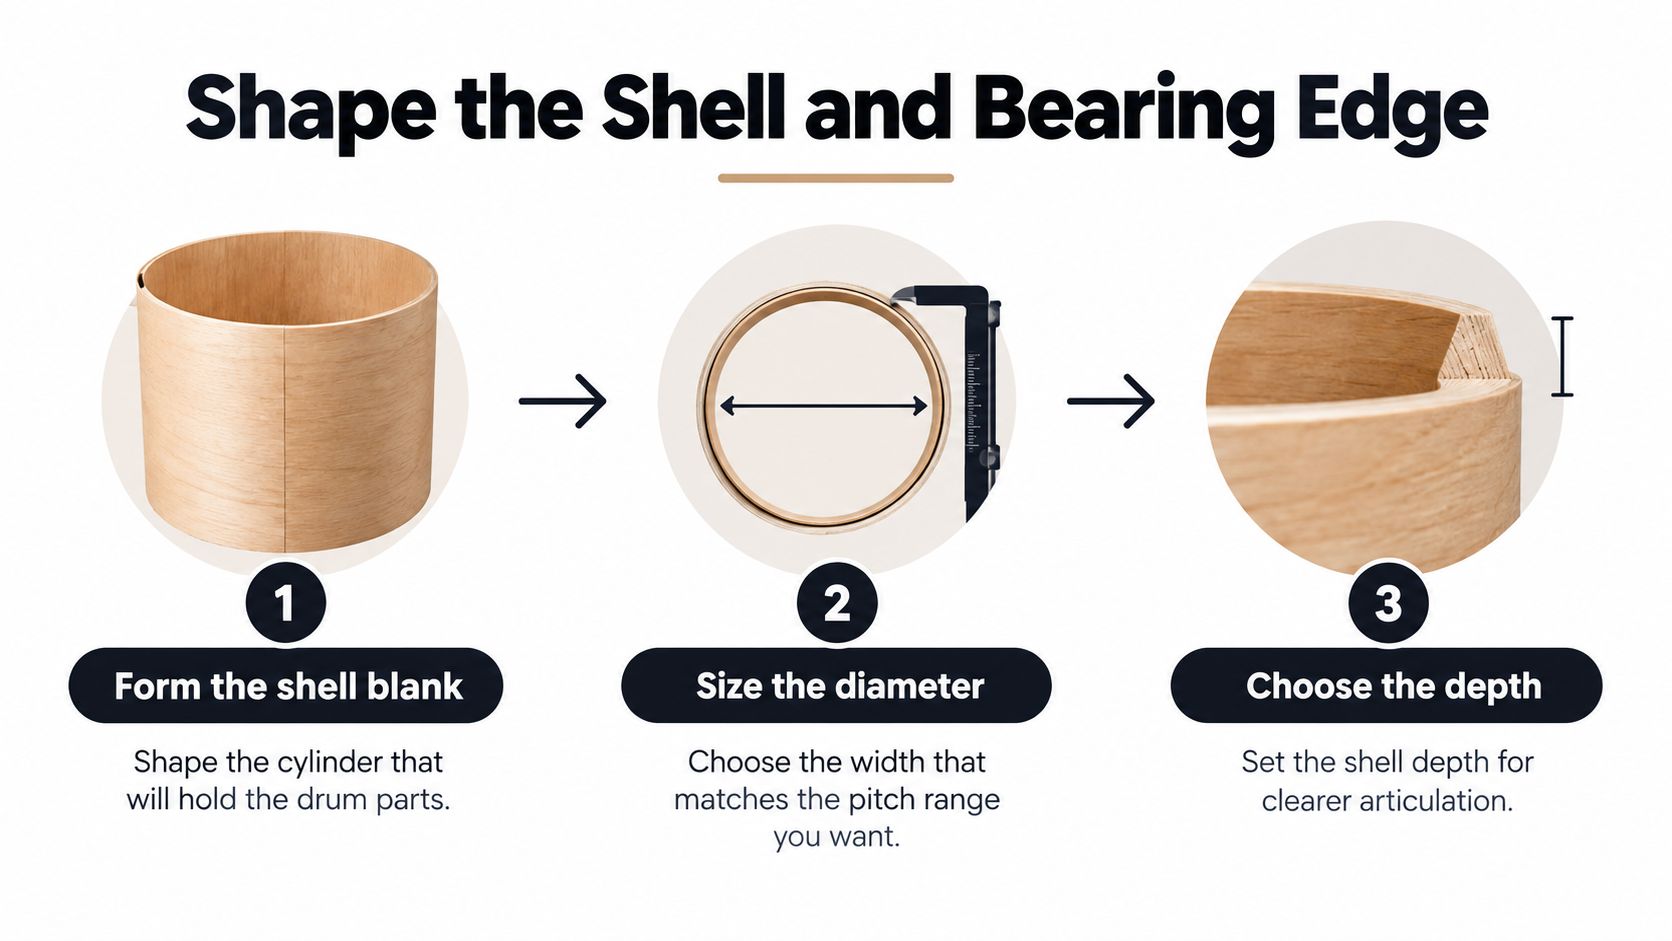
Establish the cylinder before cutting its edges
Choose diameter primarily for the pitch range you want, and depth for articulation and resonance behavior. Machine the ends flat before cutting the bearing edges, the contact surfaces supporting the heads. Yamaha describes the edge as a thin lip that allows the head to conform closely to the shell and reduces vibration loss at that boundary in its drum bearing-edge manufacturing guide.
If your jig or shell-forming setup requires circular templates, Value Tools Co.’s instructions to cut circles with a router provide useful background on that operation. A circular-cutting method isn't a substitute for a secure drum-shell fixture. Don't improvise a handheld cutting arrangement around an unsupported cylinder.
Wear eye protection, control dust, and secure the work before using saws, routers, or drills. Keep hands away from the cutting path and use equipment only within your training. If you can't hold the shell securely, have a drum shop or qualified woodworker perform the machining.
Inspect the entire contact surface
Once the tools are stopped and the shell is safe to handle, inspect the edge continuously. Carefully feel for discontinuities without dragging a finger across splinters or sharp defects. Look around the full circumference rather than checking only the most visible area.
- Reject high spots and dents. The head needs continuous, even support.
- Check roundness. Don't use the hoop to force an unsuitable shell into shape.
- Verify the ends. Avoid sanding a local defect until that side sits lower than the rest.
- Test the hoop. A distorted hoop shouldn't become part of the finished assembly.
A bearing edge isn't cosmetic finishing. It's the interface that lets the head do its job.
Edge geometry is also a voicing choice. Sharper edges generally emphasize attack and brightness; rounder profiles give a softer response. Choose intentionally rather than copying an attractive profile without considering the intended hit.
Only after confirming the shell geometry should you mark and drill for lugs, a strainer, or other hardware. Check alignment before tightening fasteners fully. Misaligned holes and distorted fittings create avoidable resistance later, while excessive tightening can conceal an assembly problem instead of fixing it.
Tension the Head Until Pitch Holds
Put the head on the completed shell and fit the hoop without forcing either into position. Engage every tension rod and bring them to finger-tight contact. The aim is a neutral starting point, not an early attempt to reach playing pitch.
The illustration shows the hardware involved in this adjustment.
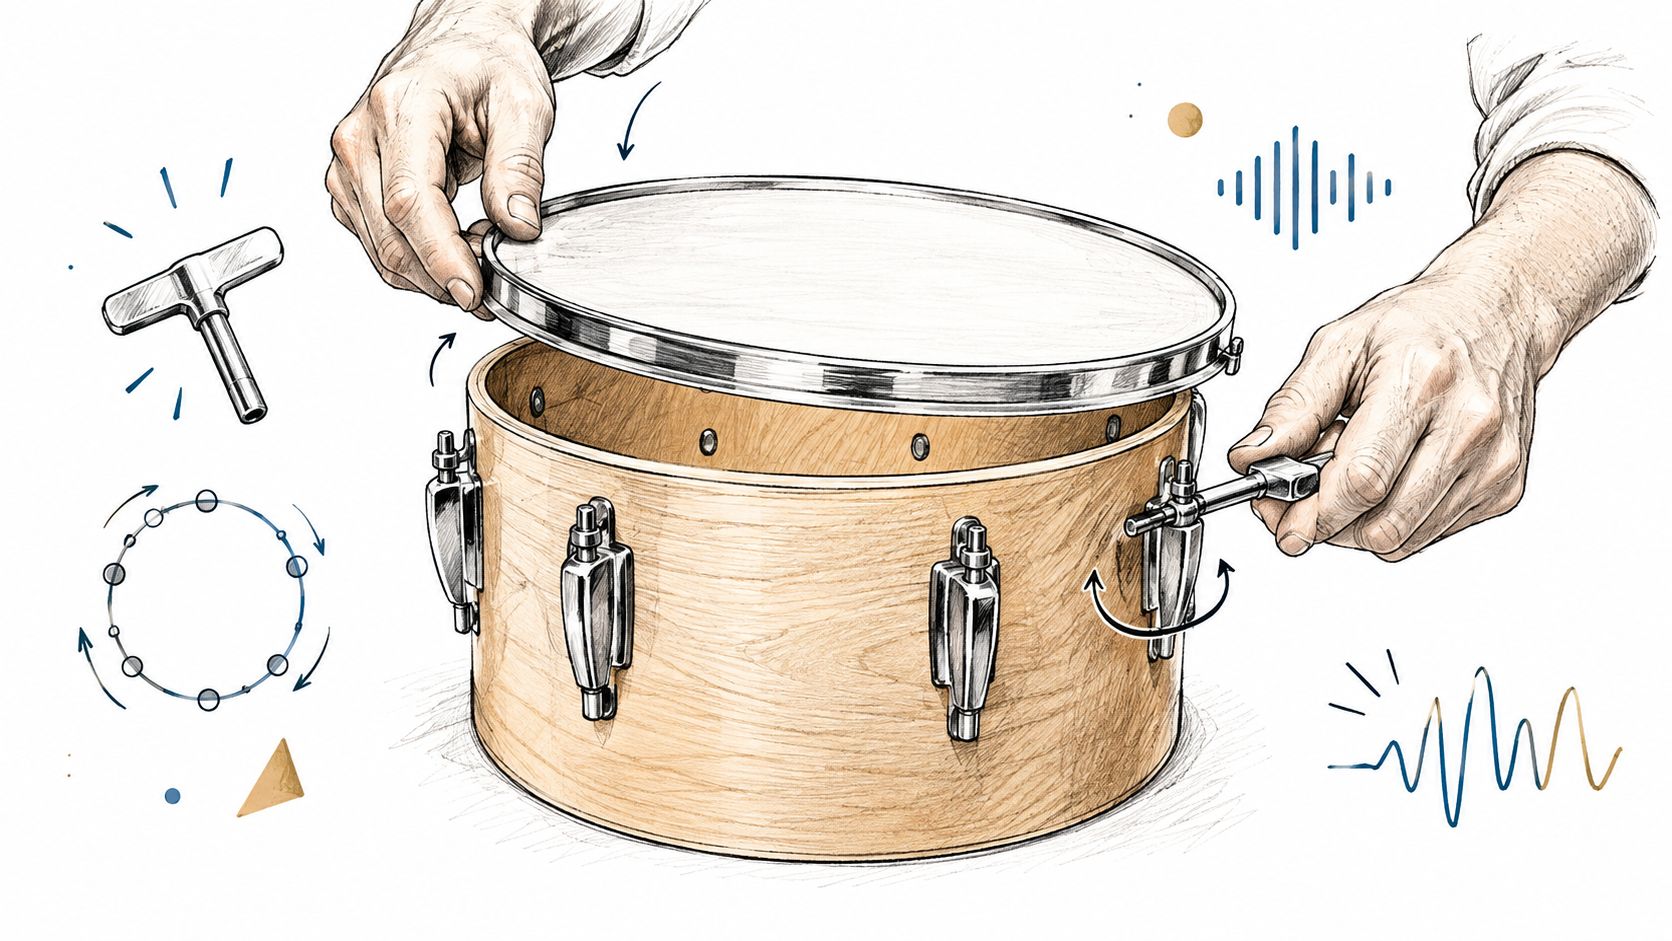
Compare the head, not your wrist
Work across the drum in a diametrically opposite or star sequence, using small, equal increments. After each pass, tap beside every lug and compare the local pitches. Keep your tapping position and striking force as consistent as you reasonably can.
- Listen around the circumference. Seek approximately matching local pitch rather than identical resistance at the key.
- Make restrained corrections. Don't race toward the target pitch while obvious differences remain.
- Recheck nearby positions. A change at one lug redistributes tension across the membrane.
- Stop when resistance seems wrong. Investigate the hardware instead of applying more force.
A tuning experiment illustrates the relationship without supplying a universal target: measured head displacement decreased from about 4.6 mm to 2.5 mm while recorded snare frequency rose from roughly 180 to 250 Hz, with little variation across repeated measurement groups in the published head-displacement and frequency experiment. A calibrated tension gauge or displacement check can therefore supplement listening when repeatability matters.
Don't transfer those experimental frequencies directly to your build. Use the measurement method to track your own instrument, and use your ears to decide whether the result serves the production.
Let the assembly settle
Seat the head gradually, retune, and check it again after several minutes. The film, collar, and contact at the edge need time to settle. Don't try to speed that process with excessive force.
If the same area repeatedly refuses to match its neighbors, stop treating it as a tuning challenge. Inspect the hoop and contact surface before continuing. Damaged threads, distorted hoops, and an imperfect edge won't improve because you've become more determined with the key.
Session note: A useful tuning is one you can document and recover, not merely one you liked briefly.
Record the head type, approximate lug settings, target pitch, and room conditions. Keep those notes with a reference recording rather than relying on memory. When you return to the drum, compare it with that reference before making adjustments.
For sampling, consistency doesn't mean refusing every variation. It means knowing whether a change was intentional. Once the head holds its response through your test strikes, leave it alone long enough to capture and evaluate it.
Fix Weak Tone Buzz and Torn Heads
Weak tone, a buzz, or a torn head calls for inspection, not another automatic tightening pass. Stop playing if the membrane is failing or the container has exposed sharp edges. A repairable drum should let you identify the failed part without putting your hands near unsafe material.
Use the symptoms to narrow the inspection.
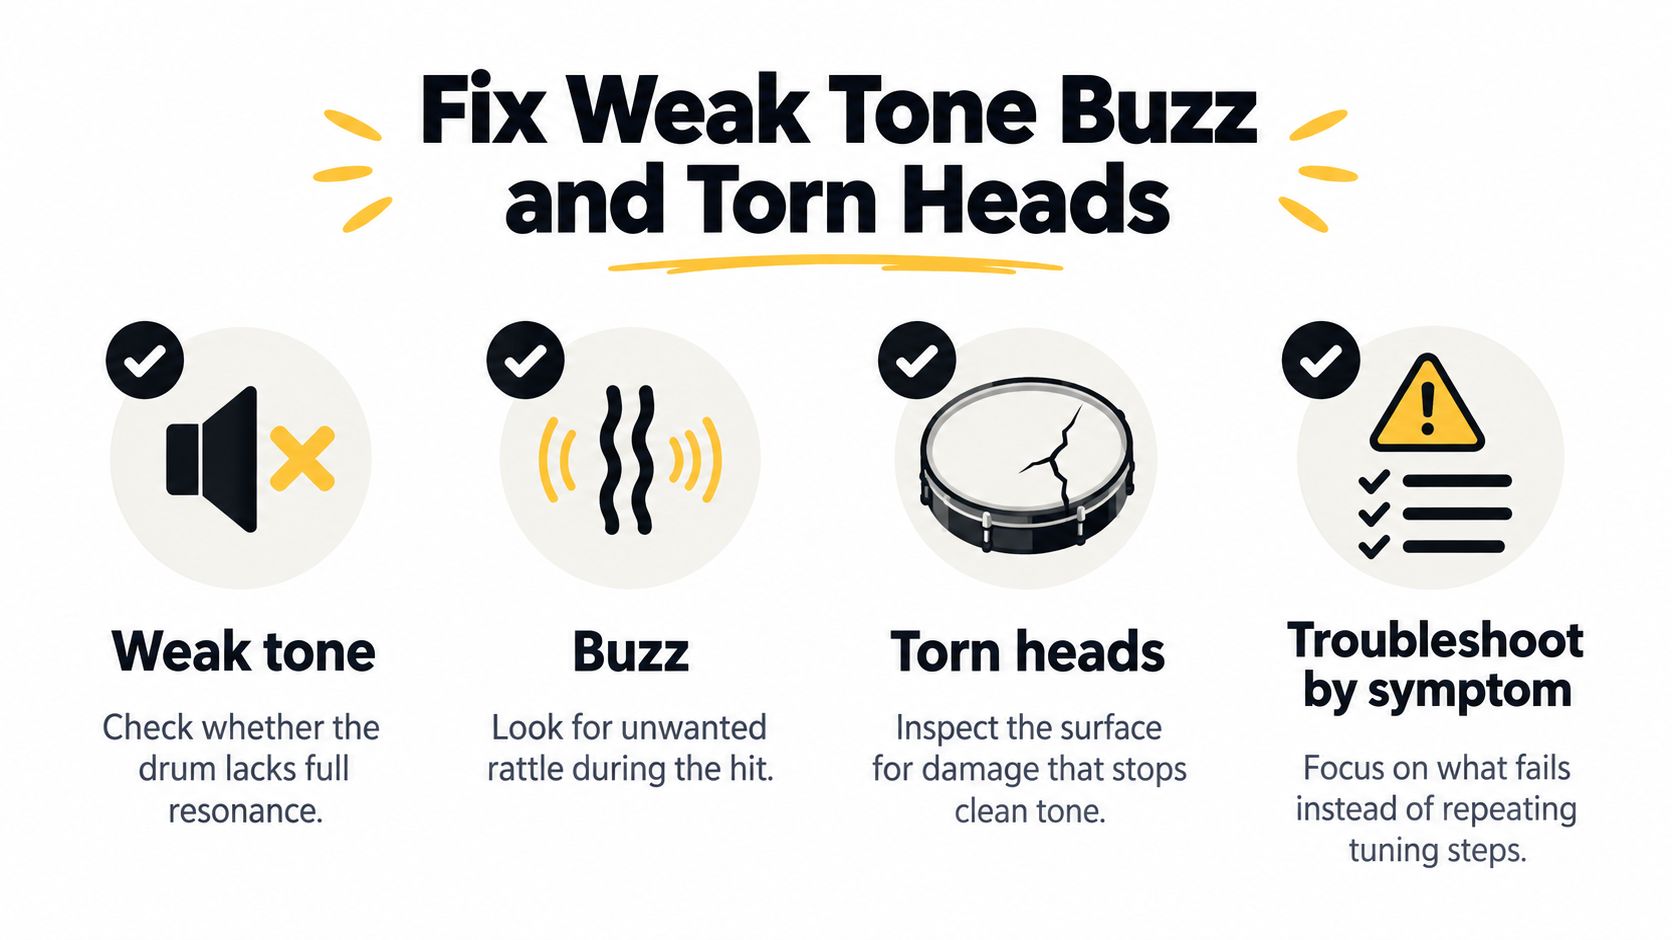
Match the symptom to a check
| Symptom | First thing to inspect | Sensible response |
|---|---|---|
| Weak tone | Head seating and continuity of support | Correct the fit before changing the design |
| Buzz | Loose fittings or unintended contact | Inspect and secure the affected part without overtightening |
| Tearing | Membrane size and condition at the rim | Replace the damaged material and correct the fit |
| Uneven pitch | Local tension and shell geometry | Identify the persistent defect rather than chasing it indefinitely |
| Head failure | Material suitability and attachment | Rebuild the attachment if replacement alone won't solve the problem |
For balloon builds, larger openings need appropriately larger balloons, and undersized balloons can tear, as the Dartmouth drum-making activity cautions. Stretching harder isn't a substitute for selecting a suitable membrane.
Natural skin requires a different preparation decision. Allow at least four hours of soaking for rawhide and dry it away from direct heat; confirm the preparation requirements with the skin supplier before starting. If you can't accommodate that handling and drying process, choose a different head rather than rushing it.
Set a keep-or-rebuild threshold
A warped hoop, gapped edge, or out-of-round shell is a reason to stop and assess the structure. More adjustment won't turn unsuitable geometry into a dependable instrument. Repair or replace the defective component before sacrificing another head.
For family and classroom builds, simplify the work:
- Prepare containers in advance. Adults should resolve sharp rims and protruding fasteners before children handle them.
- Separate craft work from machining. Keep knives, drills, saws, and leather punches with trained supervision.
- Handle skin deliberately. Follow supplier handling instructions and clean the work area.
- Choose safer alternatives. A prepared container with a suitable synthetic membrane avoids unnecessary cutting and skin preparation.
Repeated balloon or thin-plastic replacement can consume more time than fitting a serviceable manufactured head at the outset. Keep an improvised design when its sound justifies the upkeep, not because the original membrane cost little.
Don't postpone every fault until editing. The distinctions in audio restoration techniques are useful for evaluating recordings, but mechanical repairs belong at the instrument. Preserve intentional texture; fix faults that make the source unreliable.
Sample the Hit and Strip the Room
Judge the finished drum with a repeatable capture, not a string of wood-name adjectives. Mark a microphone position, keep its distance and angle fixed, and record center and edge strikes with comparable effort. Save the untreated recording before processing anything.
The interface below illustrates the separate task of evaluating an isolated recording.

Compare attack, pitch, and decay
Listen for the onset, the pitch behavior after the strike, and how the sound decays. Use a spectrum view alongside listening, not as a replacement for it. The practical connection between construction and recorded response is the useful question raised by this drum-making overview.
- Center and edge. Compare their differences without moving the microphone between takes.
- Decay. Decide whether the tail helps the arrangement or occupies space you need elsewhere.
- Pitch stability. Listen for an inconsistent response rather than assuming every overtone is a defect.
- Processing changes. Check whether cleanup preserves the qualities that made the original hit useful.
Greater resonance isn't automatically better. A lively shell may produce a compelling solo sound yet leave a tail that complicates layering. A shorter, damped container hit may be the more useful sample for that production.
Keep the demonstration separate from your controlled test recording.
Separate capture decisions from cleanup decisions
A close microphone can emphasize the attack, but it doesn't guarantee a room-free recording. Moving it changes the balance you capture; it doesn't let you compare shell changes fairly unless you restore the original position. Change the instrument or the microphone placement deliberately, rather than changing both between takes.
For separation, distinguish a fixed-category stem workflow from one that accepts a description of the desired sound. The guide to extracting drums from a song provides related context, although an isolated homemade strike still needs its own listening check.
Preserve the raw capture, processed hit, and remainder as separate versions. When delivering samples, LinkShip's guidance on how to manage versions of client audio files can help keep those variants identifiable. Use filenames and notes that connect each export to its tuning and microphone setup.
Compare the processed hit against the original at a similar listening level. Keep it only if the attack, center-versus-edge character, and decay still represent the drum you built. Removing the room isn't a success if you also remove the reason to sample the instrument.
Isolate Audio lets you upload audio or video, describe the drum strike in plain English, and download the isolated sound plus the remainder, with Best, Balanced, and Fast presets and Precision Mode for overlapping sources. Record a fixed-distance hit of your finished drum, then visit Isolate Audio to separate it from room noise and compare the result with your untouched capture. Keep the isolated file only if it preserves the strike and decay you intended.