How to Upload Audio File to Isolate Audio
You've got an interview recording open, the guest's voice competes with room noise, and the edit needs to move forward. Before you drag the file into a browser, check that you're sending the original take rather than a compressed preview. A usable separation starts with the right source, a completed transfer, and a plan for what you'll publish alongside the audio.
Why a Clean Upload Matters More Than You Think
Consider a podcast interview recorded in a busy café. The editor has the recorder's original file and a smaller copy sent through a messaging app. Both contain the conversation, but the sensible starting point is the original, not whichever attachment is easiest to find.
Uploading successfully and supplying useful source material are different jobs. A transfer can finish without errors while delivering the wrong take, an incomplete recording, or a source that already sounds muffled. Listen before uploading, especially around quiet speech, overlapping voices, and the ending.
Practical rule: Don't ask separation to solve a source-selection mistake. Confirm the recording before spending time refining the extraction.
A prompt-based separator changes how you approach the edit. Instead of choosing only a fixed category such as vocals, you describe the sound you want, such as the guest speaking or the café's background chatter. The workflow produces an isolated element and a remainder, so your editorial goal should determine which output you assess and keep.
For recordings whose authenticity also matters, AI Video Detector's resource on deepfake detection audio analysis methods offers a separate avenue for investigation. Keep that task distinct from cleanup: making speech easier to hear isn't proof that a recording is authentic.
Treat uploading as a two-part workflow. Prepare and transfer the source, then prepare usable deliverables with accessible companion text. Neither clicking Submit nor hearing a cleaner voice is the whole job.
Getting Your Account Ready and Choosing Your Source File
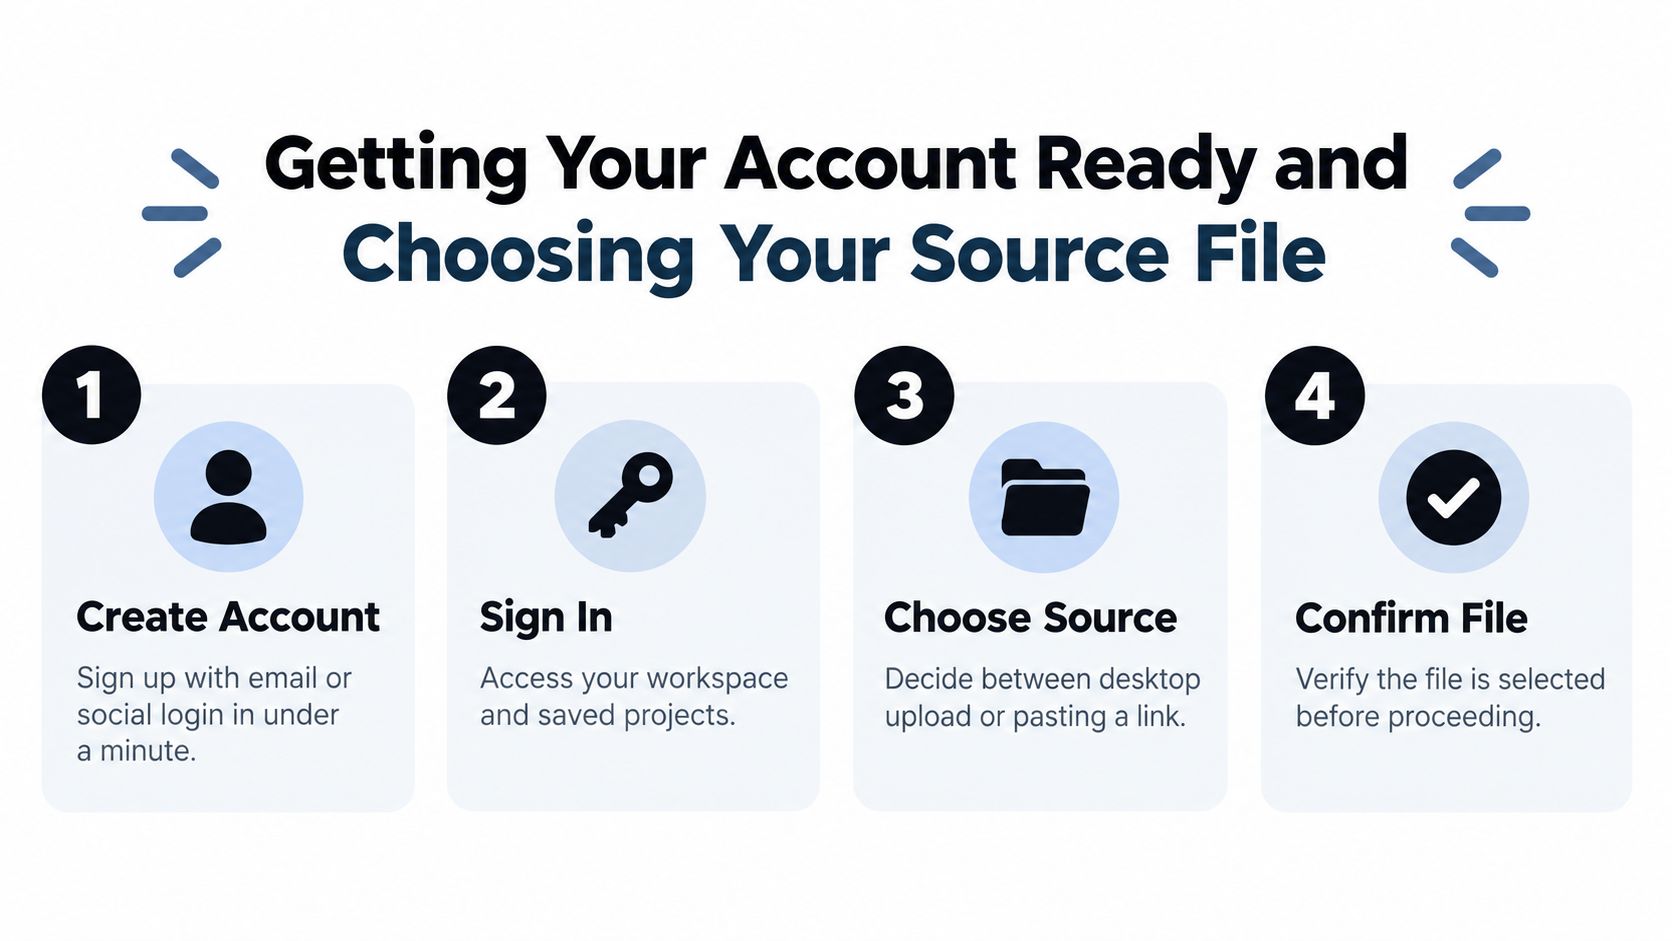
Open the service in your browser and complete any account setup or sign-in requested before selecting a large recording. Use the authentication options displayed rather than assuming a particular social login is available. If you already have an account, confirm you're working in the intended workspace.
This preparation checklist keeps account access separate from file selection.
Prepare the local source
Choose a file you're authorized to process, particularly when it contains private interviews, client material, or unpublished music. Check the service's handling terms before sending sensitive recordings.
- Keep the original untouched. Make a clearly named working copy if you need to trim or convert anything.
- Check local availability. Ensure the file is downloaded to your device rather than represented only by a cloud-storage placeholder.
- Leave working space. Keep room for converted files and downloaded outputs so preparation doesn't stall halfway through.
- Identify the right take. Use a filename that distinguishes the session, speaker, and version without relying on memory.
Choose the simplest entry point
For a local source, use the upload area's file picker or drag-and-drop workflow. Audio and video sources are supported, so don't automatically extract a soundtrack just because your recording is a video. Check the current format and size requirements first.
Use a pasted-link option only if the interface explicitly provides it. A shareable web page isn't necessarily a downloadable media source.
If transfer size is the obstacle, SwiftNet Wifi's guide to compress large files for easy sharing is a relevant preparation resource. Keep your original before trying a smaller working version.
Selecting, Dragging, and Confirming the Upload
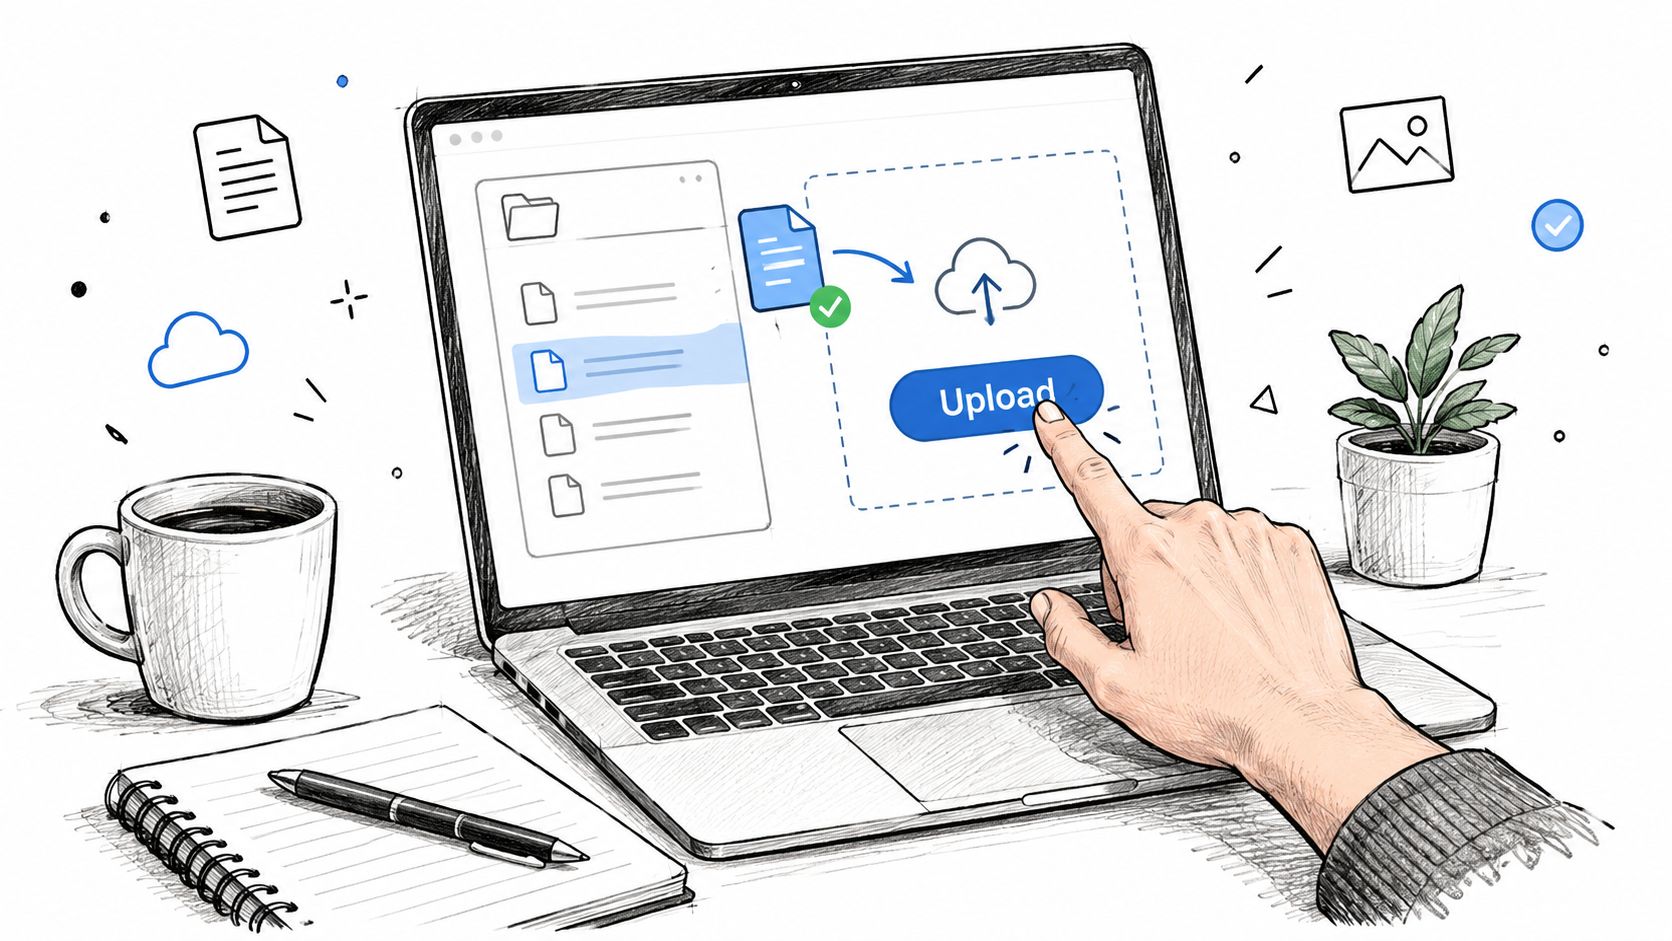
Click the upload area, choose the source in your computer's file picker, and confirm the selection. Alternatively, drag the file from your file manager into the designated drop zone. The upload begins automatically, so select deliberately.
The illustration shows the basic browser-to-cloud transfer.
A selected filename isn't confirmation that the server has the complete file. Look for separate transfer and ready-to-process states. If you chose the wrong source, use the available replace or cancel control before launching separation.
| Checkpoint | What to confirm |
|---|---|
| Selection | The displayed filename matches your intended take |
| Transfer | Progress continues without a reported connection error |
| Completion | The service explicitly accepts the upload |
| Processing readiness | Any detected duration or preview matches the source |
For large files, recovery matters as much as connection speed. AWS's multipart upload guidance recommends considering multipart uploads at approximately 100 MB or larger, because failed parts can be retried independently. That's an implementation recommendation, not a claim about this tool's upload architecture.
If progress stalls, check connectivity and the displayed status before refreshing. Use resume or retry when offered, and avoid launching duplicate uploads while the original session remains active. A well-designed progress indicator should reflect confirmed bytes, not data handed to the browser.
For a visual companion to the upload workflow, use the embedded video.
Matching the Right Audio Format to Your Source
Use the closest available source to the original recording. If you have a recorder export, don't replace it with a smaller listening copy merely for convenience. If the only source is compressed, keep that source rather than repeatedly converting it.
Audio and video format choices
The upload workflow supports these formats, but compatibility still depends on the media inside the file and the service's current limits.
| Format | Compression | Best For | Watch Out For |
|---|---|---|---|
| MP3 | Lossy perceptual compression | Smaller everyday audio transfers | Don't discard a better original just to reduce size |
| WAV | Typically uncompressed PCM | Editing-quality source material | Larger transfer and storage requirements |
| FLAC | Lossless compression | Preserving fidelity with less storage | Confirm compatibility throughout your editing workflow |
| M4A | Depends on the contained codec | An existing mobile or audio export | The extension alone doesn't identify the codec |
| OGG | Depends on the contained codec | An existing compatible recording | Check the actual audio stream |
| MP4 | Depends on the contained streams | Video sources with audio | Verify that the audio codec is supported |
| WebM | Depends on the contained streams | An existing video source | Confirm that a decodable audio stream exists |
At CD quality, WAV requires roughly 10 MB per minute; typical MP3 bitrates range from 128 to 320 kbps, while FLAC commonly retains about 50–70% of the uncompressed size, according to the audio format reference. Those trade-offs explain why a lossless source may take longer to transfer without making a smaller format the better editorial choice.
Conversion addresses compatibility. Separation changes which sounds remain in the output.
Use the audio converter when the source needs a compatible format. Don't convert merely because you hope a different extension will improve extraction. Choose the source format first, then make prompt and quality decisions after the upload is accepted.
Writing a Natural-Language Prompt and Choosing a Preset
Write the prompt around an audible source, not a desired mood. A request such as clean this up leaves the target unclear. The guest's speaking voice identifies what you want to retain, while crowd cheering behind the host names a different extraction task.
For music, start with an instrument or performance: piano melody, lead singing voice, or acoustic guitar strumming. For field recordings, use descriptions such as dog barking at the back of the room or birdsong behind the traffic. These are example prompts, not guarantees of a particular result.
Make the target recognizable
Add context when it helps distinguish competing sounds. An instrument name plus its audible role is more useful than a long list of adjectives. Avoid asking for several unrelated targets when you need a clear way to judge the extraction.
- Name the source. Specify speech, an instrument, an animal, or an environmental sound.
- Add distinguishing context. Describe who is speaking or where the sound occurs in the recording.
- Match the editorial goal. Decide whether you need the target itself or the recording with that target removed.
- Revise one detail at a time. Keep changes interpretable when comparing results.
The prompt checklist below summarizes the preparation process.
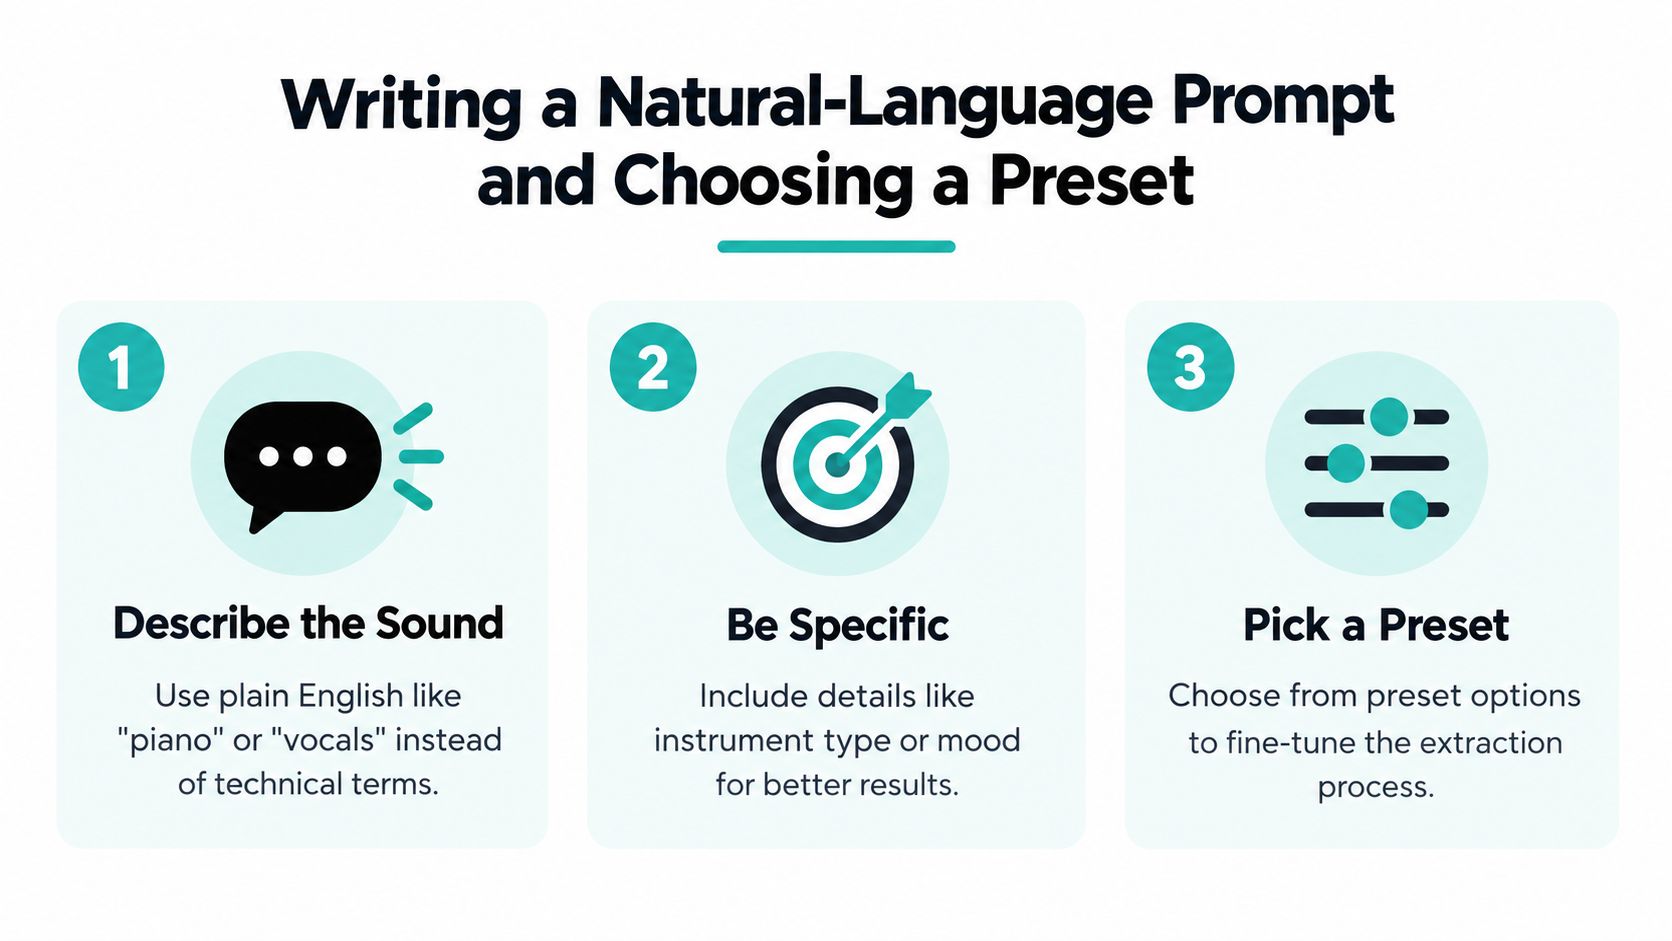
Use the natural-language prompt examples to explore different descriptions. Treat them as starting points, then adapt the wording to what's audible in your file.
Choose processing settings deliberately
The available quality presets are Best, Balanced, and Fast, with Precision Mode intended for challenging mixes containing overlapping sources. Use Fast for an initial check of whether you've described the right target. Balanced is a reasonable working choice when you're weighing quality against waiting time; reserve the more demanding settings for material that warrants closer evaluation.
Don't assign a universal runtime to a preset. Follow the current job status rather than treating elapsed time as evidence that processing has failed. If pause or cancel controls are available, read their behavior before using them, because stopping an upload and stopping an active separation are different actions.
Listening check: Judge the output at difficult moments, not only where the target is already exposed.
After explicit completion, audition both the isolated element and the remainder. Listen for missing syllables, unwanted retained sounds, and changes around overlapping passages. For a removal task, the remainder may be the deliverable you need.
Download the outputs relevant to your edit and label them by function. Check the current free-tier download choices rather than assuming a particular export format. Pro options include lossless formats, longer durations, unlimited separations, and priority queues; consider those features when they address your workflow, not as a substitute for careful listening.
Fixing Common Upload Problems Before They Cost You a Separation
A supported extension doesn't guarantee an acceptable upload. Platforms can impose different limits on file size, duration, and recording mode. For example, ArcGIS Survey123's media documentation specifies recordings up to 10 MB in its mobile app and a 10-minute web-app audio limit. Those aren't this tool's limits, but they show why checking only the filename is insufficient.
Diagnose the failed stage
Use the error message to choose the next action rather than repeatedly submitting the same file.
- Rejected immediately. Check current size and duration limits, then inspect the actual codec rather than trusting an MP4 or M4A extension.
- Transfer stops. Restore connectivity and use session recovery if available. If necessary, retry from a stable connection and a modern browser.
- Accepted but unreadable. Play through the local source, including its ending, and investigate truncation or an unsupported stream.
- Displayed duration looks wrong. Check detected metadata; variable-bitrate duration estimates can be misleading.
- Selection behaves unexpectedly. Try a simpler filename without unusual characters before changing the audio itself.
Separate integrity from audio quality
Storage integrity and media validation are distinct gates. AWS's integrity and completion guidance supports checksum validation and explicit multipart completion; a thorough media workflow should also inspect the decoded stream before processing.
A checksum helps establish whether bytes arrived intact. It doesn't establish that the source contains usable speech or the intended take.
If the transfer completed and playback is intact, but the extracted audio is unsatisfactory, investigate the prompt and processing settings instead of uploading again. For a cleanup task, the background noise removal guide provides a relevant next step. Preserve the lossless original before shortening or recompressing anything.
After the Upload Lands Treating Accessibility as Part of the Job
A downloadable stem isn't automatically a publishable asset. A podcast listener, research collaborator, or student may need equivalent text rather than another audio file. Prepare that companion material as part of delivery, not as an optional task after publication.
The W3C's transcript guidance explains that prerecorded audio needs a transcript or equivalent text alternative at WCAG Level A, and descriptive transcripts include speech plus meaningful non-speech information. A transcript that records dialogue but omits an important alarm, applause, or interruption can miss part of the recording's meaning.
Prepare discoverable companion assets
- Identify speakers. Use consistent labels so readers can follow exchanges.
- Describe meaningful sounds. Include non-verbal events that affect understanding without cataloguing every incidental noise.
- Record the language. Keep language information with the published asset and transcript.
- Publish text beside the audio. Make the alternative easy to find; for video delivery, prepare the caption format required by the destination.
Separation can help a reviewer hear an ambiguous sound more clearly, but it can't replace human review. Check descriptions against the original recording so the transcript represents the source, not just the extracted output.
Keep a processing record alongside the deliverables, not buried in browser history.
Log the source checksum when available, detected metadata, upload timestamp, prompt, preset, and job identifier. Keep those records distinct from public-facing accessibility text.
Consider lossless download options when your next edit requires them, and API access when repeated manual handling becomes the bottleneck. The useful endpoint isn't just an accepted file. It's reviewed audio, accessible text, and enough documentation to reproduce the work.
Isolate Audio offers natural-language sound separation from uploaded audio or video, producing an isolated element and a remainder. Visit the tool with your original recording, describe one clear target sound, and review both outputs before preparing your final audio and transcript.