High Quality Presets in Isolate Audio: A Practical Guide
Best is designed for archival and remixing, where fidelity matters most, while Balanced is the practical choice for routine editing and content creation. Use Fast for previews and rapid iteration, and remember that a technically superior separation still needs the right loudness, headroom, and delivery format.
The phrase high quality presets often implies a simple ranking: choose the highest setting, wait longer, and expect the best publishable audio. That advice is incomplete. A separation preset controls one part of the workflow, while your source material, editing goal, export codec, and listening platform determine whether the result works.
For Isolate Audio users, the useful question isn't “Which preset is highest?” It's “What does this file need to do next?” A remix stem has different requirements from a podcast edit, a video preview, or a research recording. The right choice protects the detail that matters without spending processing time or introducing delivery problems that cancel out the benefit.
Why the Highest Quality Setting Isn't Always Best
The highest processing setting isn't automatically the best setting for every job. Best can preserve more source detail and reduce unwanted bleed, but that advantage matters most when you need to archive, remix, publish a high-quality stem, or inspect difficult material closely. If you're cutting a short video sequence or testing several target prompts, the extra processing may slow the workflow without improving the decision you need to make.
The final listening environment changes the answer, too. Recent guidance on streaming delivery describes loudness normalization converging around approximately -14 LUFS with a -1 dBTP ceiling (Lars Lentzaudio's streaming-level analysis). Pushing a separated file louder than necessary won't create a lasting advantage after normalization. It can instead increase distortion, damage transients, and reduce subtle dynamics.
Practical rule: Separate for fidelity, then master for the destination. Don't confuse the most demanding processing mode with the most suitable final file.
A technically detailed stem can also become a poor deliverable after unnecessary conversion. A creator who exports a carefully separated result through an aggressive lossy codec may lose more audible quality at the delivery stage than they gained by selecting the heaviest model. The decision must therefore include source quality, separation difficulty, editing intent, and export format.
Use Best when the file will be reused, scrutinized, or mixed again. Choose Balanced when you need dependable results across ordinary editing tasks. Select Fast when speed helps you compare ideas, locate a sound, or build a rough cut. Preset labels are useful starting points, not substitutes for listening.
Understanding the Three Core Presets
Each preset represents a different compromise between reconstruction quality, processing demand, and delivery convenience. The practical distinction becomes clearer when you connect the setting to the next task in your workflow.
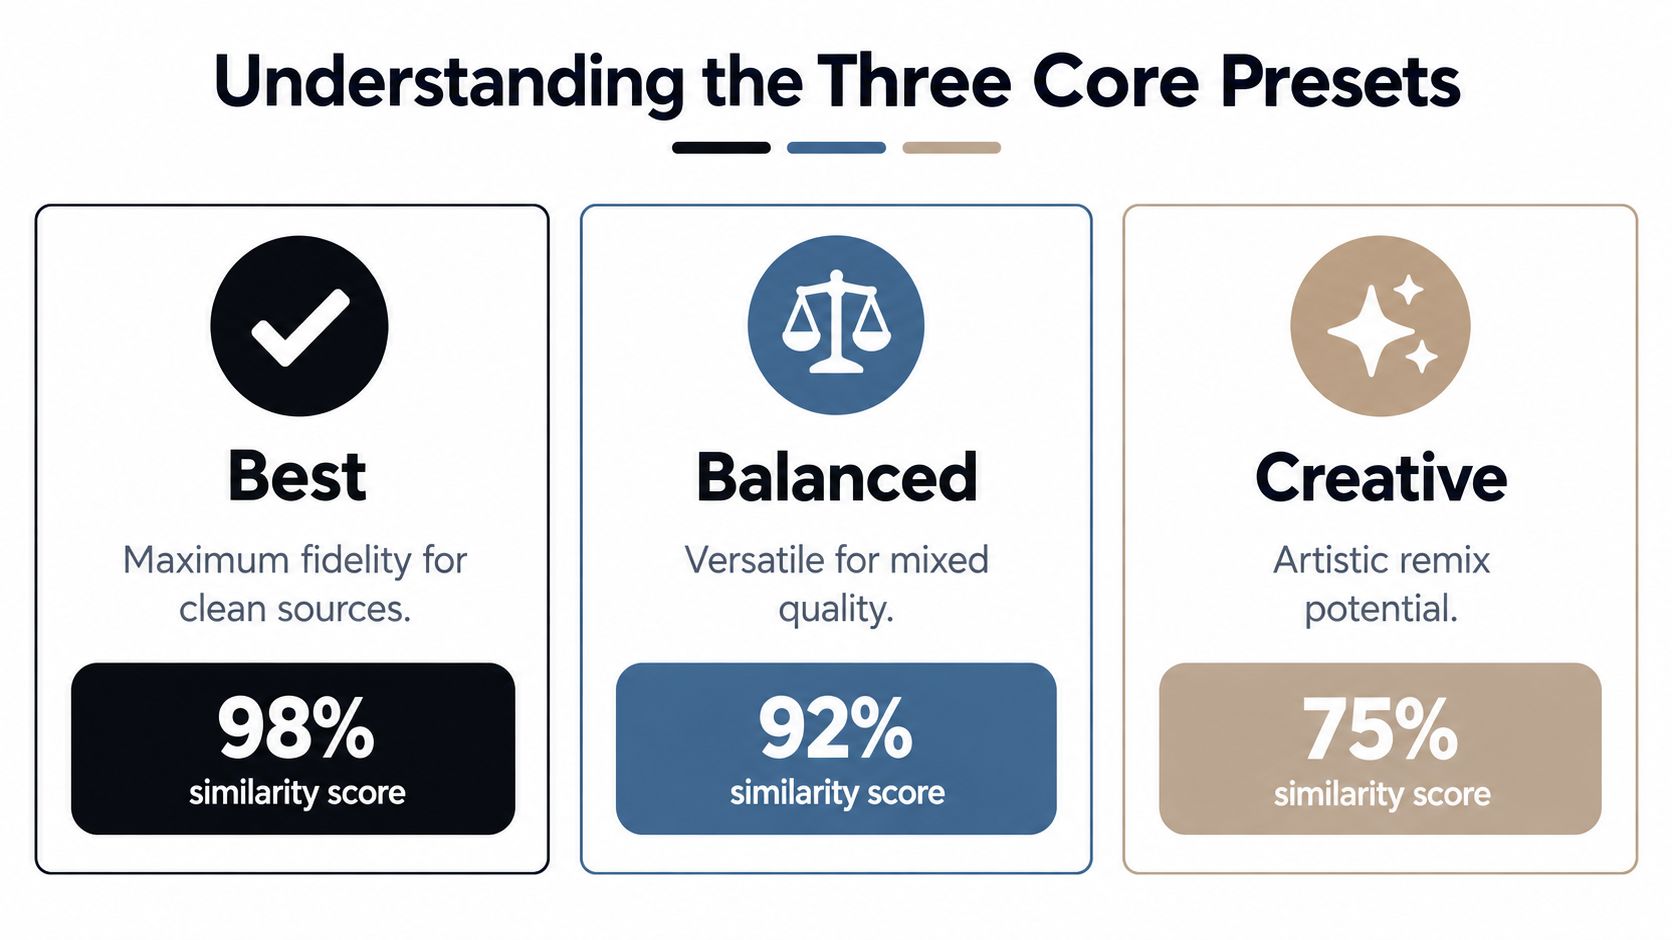
Best preserves the most usable detail
A defensible Best preset should optimize source fidelity with SI-SDR and SDR, rather than relying only on waveform similarity or apparent loudness. Higher SI-SDR values indicate better reconstruction, while SDR remains a broad evaluation measure for source separation (Northwestern's technical report on separation metrics).
In practice, Best can use larger analysis windows, greater overlap, and higher-quality reconstruction. That additional compute is valuable when sources overlap, change rapidly, or contain important transient and harmonic information. Export to lossless WAV or FLAC when the stem will enter another production stage.
Balanced protects throughput without abandoning quality
Balanced reduces processing demand while retaining acceptable separation for routine work. It's a strong default for dialogue cleanup, social video, rough music edits, and content creation where you still need a clean result but may revise the project several times.
A high-bitrate AAC or Opus export can make sense when file size and sharing speed matter. Keep an uncompressed or lossless working copy if you expect further editing.
Fast answers workflow questions quickly
Fast prioritizes latency and makes an explicit quality tradeoff. Use it to preview a prompt, test whether a target sound is present, compare edit directions, or prepare a temporary reference.
Fast isn't a failed version of Best. It's a different tool. Once the creative decision is settled, rerun the selected material at a more suitable setting if the output will be mixed, published, or archived. For a broader explanation of how the underlying process works, see audio source separation.
How Presets Handle Different Source Materials
Audio sources don't respond uniformly to separation. A solo voice over a quiet bed is easier to process than speech embedded in crowd noise, just as a distinct guitar line is easier to extract than piano interlocking with vocals. Overlap and rapid change increase interference and artifact risk, which is where additional analysis and reconstruction time become more useful.

For vocal isolation, Best is appropriate when breath detail, consonants, backing harmonies, and background track leakage matter to the final mix. Balanced often handles a clean lead vocal or ordinary dialogue edit efficiently. Fast works well for checking whether the requested vocal target can be isolated before committing to a longer render.
Dialogue cleanup needs a different priority. A podcaster may prefer natural articulation and stable room tone over maximum suppression of every background sound. Balanced is often the sensible starting point, followed by a short comparison against Best on sections where speech overlaps music, applause, or environmental noise. Production planning matters here, so creators building a dedicated recording space may also benefit from this guide to setting up a podcast studio.
Difficult recordings need more scrutiny
Field recordings and bioacoustic material can contain subtle evidence that aggressive processing might alter. Use Best for crowded habitats, overlapping calls, or sounds that change quickly. Fast is useful for finding candidate moments, but don't treat a quick preview as the final analytical output.
A piano mixed with vocals presents a similar challenge because harmonics can share frequency content. Best gives the reconstruction stage more room to distinguish the sources, while Balanced may be enough when the arrangement leaves clear separation. Always listen for residual bleed, watery texture, clipped attacks, and missing consonants before choosing the final render.
The Hidden Cost of Maximum Processing
Separation quality is only one part of audible quality. The export stage can become the dominant source of degradation when a strong stem passes through an insufficiently transparent lossy codec. European Broadcasting Union evaluations found that subjective “Excellent” quality required approximately 448 kbit/s for Dolby Digital, 1.5 Mbit/s for DTS, and 320 kbit/s for MPEG AAC on average, with some material performing worse even at those settings (EBU codec evaluation).
That finding has a direct implication for preset design. Best should preserve a lossless WAV or FLAC option, retain the source sample rate and bit depth unless conversion is necessary, and avoid repeated decode and re-encode cycles. A model can produce a clean stem, yet a poor final codec choice can soften transients, smear applause, roughen sibilance, or erase quiet environmental detail.
Balanced can use a high-bitrate AAC or Opus file when the deliverable needs to be smaller. Fast may apply more aggressive compression for temporary use, but that choice should be treated as reversible. Keep the source upload and the strongest available working export so you can return to them later.
For a clear explanation of why uncompressed and lossless formats behave differently from compressed audio, see what lossless audio means.
Loudness is a separate control
The Audio Engineering Society recommends approximately -16 LUFS for workflows where music and speech are normalized separately and played automatically (AES loudness guidance). Loudness normalization changes playback level. It doesn't naturally improve or degrade the underlying separation.
The same guidance identifies approximately -23 LUFS or lower in broadcast and over-the-top contexts. Before delivery, check integrated loudness, true peak, clipping, sample rate, bit depth, and codec conversion. A louder file isn't automatically a better file, and maximum processing won't compensate for careless output control.
Choosing the Right Preset for Your Project Type
Preset selection becomes straightforward when the decision starts with the next use of the audio. The following matrix treats processing quality as a production choice rather than a prestige label.
| Use Case | Recommended Preset | Why This Works |
|---|---|---|
| Archival stems | Best | Preserves the greatest practical fidelity and supports future reuse when the source may be remixed or inspected later. |
| Remixing and final stem work | Best | Additional analysis helps protect harmonic detail and reduce leakage in material that will enter a new mix. |
| Routine podcast editing | Balanced | Provides a practical compromise between natural speech, acceptable cleanup, and manageable turnaround. |
| Social and content production | Balanced | Supports repeated edits without making every draft dependent on the heaviest processing path. |
| Previewing a prompt | Fast | Answers whether the target sound is present and whether the requested isolation direction is useful. |
| Rapid video assembly | Fast | Keeps iteration moving while the audio remains temporary and subject to later replacement. |
| Crowded speech recordings | Best, or Precision Mode when needed | Gives overlapping sources more analysis before you judge intelligibility and residual bleed. |
| Bioacoustic investigation | Best for final evidence | Protects subtle source information better than a speed-first workflow, especially when targets overlap with background sounds. |
A podcaster should judge intelligibility, consonant naturalness, and room continuity, not just the amount of removed background. A researcher should compare target clarity with residual bleed and transient damage. A musician should listen for harmonic holes, phase-like artifacts, and musical attacks that no longer feel connected.
Decision rule: If the file will be heard once as part of a fast-moving edit, optimize iteration. If it will be mixed again or used as evidence, optimize preservation.
Isolate Audio offers natural-language target selection, separate isolated and remainder outputs, and Best, Balanced, Fast, and Precision Mode options for these different workflows. The product choice matters less than keeping the preset aligned with the task and preserving a lossless path when future work is likely.
Real-World Examples Across Creative Workflows
A musician extracting a vocal for a remix usually needs more than a recognizable voice. Harmonic detail, breaths, consonants, backing parts, and the interaction between voice and instruments all affect whether the stem can sit naturally in a new arrangement. Best is the sensible choice when the extracted vocal will be processed, layered, or revisited during production.
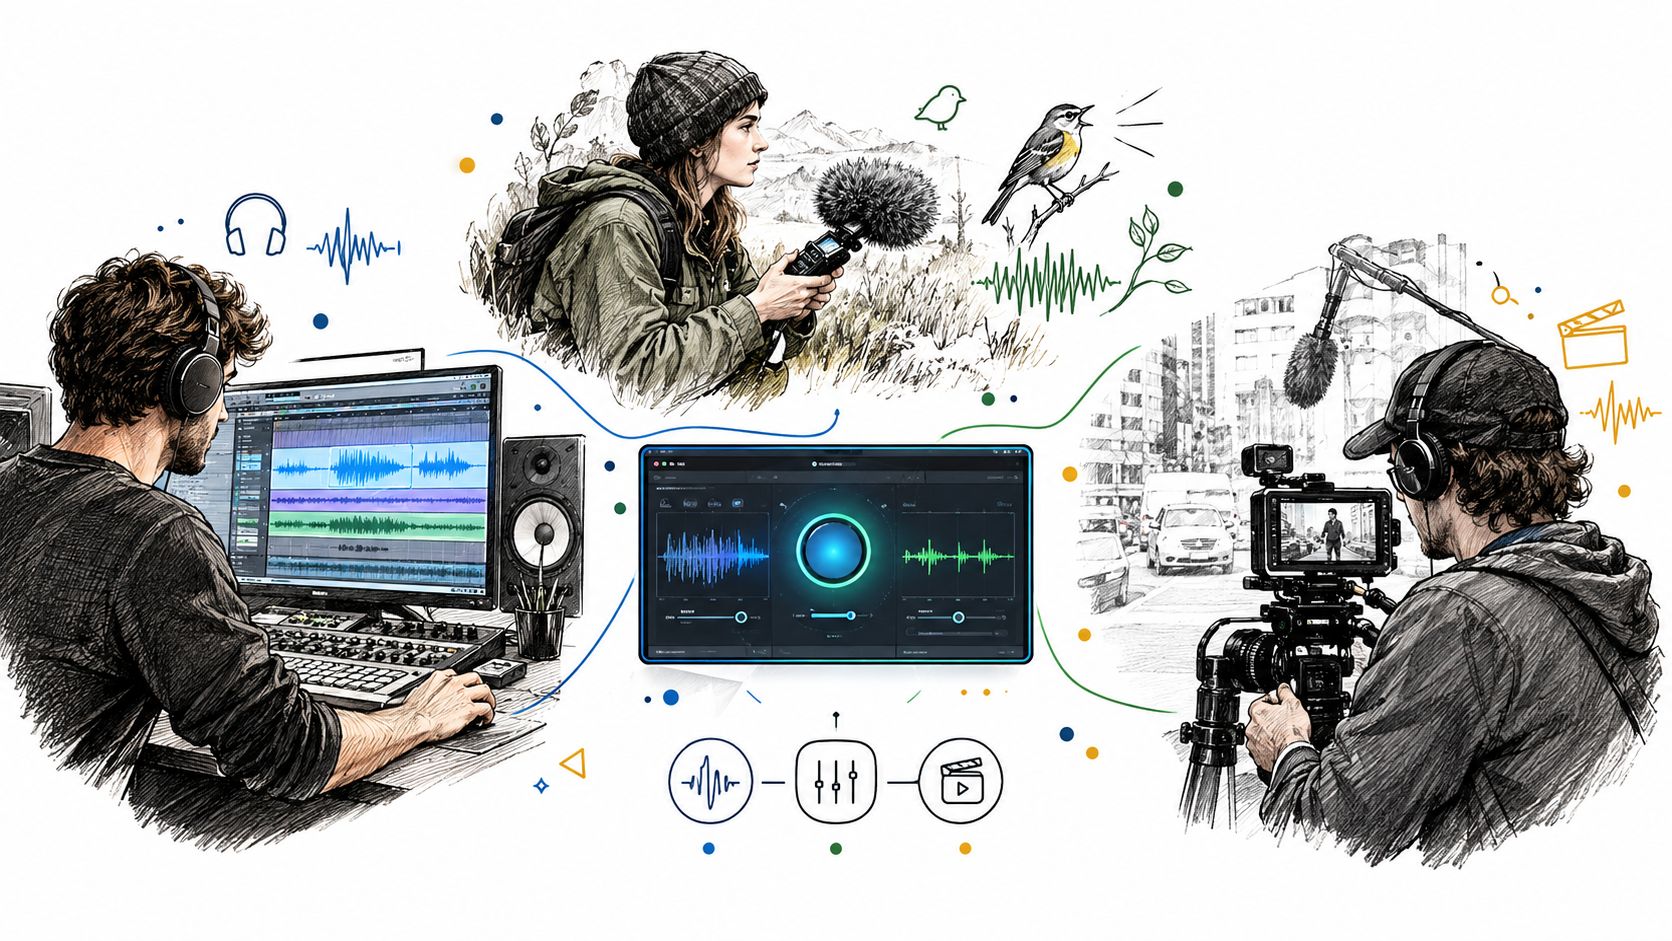
A podcast editor faces a different constraint. Suppose an interview contains steady room tone, light traffic, and occasional music underneath the host. Balanced can preserve a natural speaking voice while keeping the edit moving. The editor should audition difficult phrases rather than processing the entire recording at the most demanding setting by default.
A video editor working with field recordings may need to test several targets, such as footsteps, a door close, or distant crowd sound. Fast lets the editor compare prompt wording and locate a useful sound quickly. Once the cut is approved, the selected moments can be rerendered with a higher-quality setting and a more suitable export.
A DJ building a practice track also benefits from separating experimentation from delivery. Fast can reveal whether a vocal or melodic element will support a transition. Best becomes worthwhile when the isolated stem will be played publicly, layered with new production, or used as a reusable asset.
The observable difference is task-dependent
The most important comparison isn't always “cleanest versus dirtiest.” It may be natural speech versus over-suppressed ambience, fast iteration versus waiting, or preserved attacks versus codec damage. Listen to the material in the context where it will be used, because a flaw that sounds minor in solo may become obvious under music, dialogue, or a dense edit.
When to Activate Precision Mode
Precision Mode earns its place when ordinary separation leaves an important target buried inside competing material. Common warning signs include dense arrangements, crowded live recordings, speech beneath changing background sound, and environmental recordings where several sources share similar spectral characteristics.
Don't activate it just because a label sounds more advanced. First identify the failure you need to correct. Is the target unintelligible, is unwanted bleed masking it, are transients being damaged, or is the output producing audible processing artifacts? A longer render is justified only when it addresses a problem you can hear or measure.
Use a short representative passage before committing to the full file. Include the hardest material, not only the clean opening. Compare the standard preset and Precision Mode at matched playback levels, then listen for:
- Target intelligibility: Can you understand speech or identify the intended sound more reliably?
- Residual bleed: Are competing voices, instruments, or environmental sources less intrusive?
- Transient integrity: Do attacks, consonants, clicks, and impacts remain believable?
- Artifact rate: Does the slower mode introduce warbling, watery textures, holes, or unnatural edges?
- Workflow value: Does the improvement justify the additional processing time for this deliverable?
This is a practical version of finding the right operating point. The strongest setting is the one that improves the target without creating a new problem that matters more. For more detail on when the additional processing can help, see the benefits of Precision Mode.
Listening test: Make the decision from matched, short previews first. A full-length render can't rescue a preset choice you never validated on the difficult passage.
Best remains the right answer for archival and remixing when fidelity is the priority. Balanced is the working default for ordinary creation, Fast supports exploration, and Precision Mode is a targeted response to difficult overlap. Treat those settings as decision tools, then verify the result with your ears and the requirements of the final destination.
Use Isolate Audio to isolate vocals, dialogue, instruments, environmental sounds, or other targets from audio and video with natural-language prompts. Start with Fast or Balanced for exploration, switch to Best for reusable stems, and test Precision Mode on the passages where overlapping sources make ordinary separation unreliable.