How to Create Backing Tracks for Rehearsal and Stage
It's four in the afternoon. A singer has sent a stereo mix of the song, one message that reads "can you just take the vocal out?", and the rehearsal room is booked for seven. There are no session files, no stems, no second take, and no time to argue about the arrangement.
You can have something playable by six thirty. What you can't do is treat removal as the whole job. A track with a quieter vocal and no kick drum isn't a backing track, it's a karaoke accident, and it falls apart the moment a drummer tries to follow it or a singer waits for an entry that nobody cued.
Learning how to create backing tracks that survive a stage comes down to what you protect: the tempo map, the low end, the bar count, the count-in, and the right to use the file in the room you're standing in. This is the order I'd work in with a deadline like that.
Pick the Method That Keeps the Song Playable
Four methods exist, and each one fails somewhere different. Compare them before you touch a fader, because the method you choose decides whether the track is playable at all.
| Method | What you get | Main failure | Use it when |
|---|---|---|---|
| Phase cancellation | A mono sum with the center removed | Kick and bass vanish with the vocal; stereo reverb remains; mono sources go silent | A private sketch only |
| Fixed stem split | Separate vocals, drums, bass, guitar, and piano | Unusual or overlapping parts are not in the category list | A standard band mix you will still check |
| Plain-English isolation | The described sound plus the remainder bed | Dense choruses can still leak until a second pass | You need one named part out and the arrangement kept |
| MIDI rebuild | Editable tempo, key, chords, drums, and a count-in | It is a new arrangement, not the original recording | You need other keys or a reliable click tonight |
The FreeSoundTools guide to vocal-removal limits frames the decision the way it should be framed: define the musical deliverable first, meaning the original tempo, key, form, count-ins, and cue points, then choose between recreating the accompaniment and extracting it from the existing recording.
Why the fastest method is the worst default
Center-channel phase cancellation is the trick many try first and the one I'd retire. Invert one side of a stereo file, sum both sides to mono, and everything sitting dead center disappears. That's the lead vocal, yes. It's also the kick, the bass, and often the snare, because those live in the center too. Stereo reverb and doubled vocals sit off to the sides, so they stay behind as a smear. Run the same trick on a mono file and you get silence.
Fixed stem separation is better behaved but blind to names. Ask for the standard set of parts and you get vocals, drums, bass, guitar, and piano. A synth pad, a crowd mic, a buried horn solo, or a shaker that isn't in the list gets folded into whichever category fits closest, which is why a ukulele sometimes reappears inside the "guitar" stem and a strings pad lands in the piano.
Describing the sound in plain English fixes that. You name the part, the tool returns two files, the named element and the remainder, and the remainder becomes the bed with the arrangement still inside it. Dense choruses can still leak, which is a job for a second pass on that section rather than a different tool.
The rebuild option
MIDI stores notes, tempo, key, and articulation instead of a performance. That makes transposition, a longer intro, and a two-bar count-in straightforward, and it makes the result sound like a new arrangement rather than the record. If the band's whole identity is that part, the record, don't rebuild it.
Practical rule: if the arrangement is why people recognize the song, extract it. If tonight's key is why the singer can sing it, rebuild it.
A private run-through at home tolerates a rough remainder and a bit of vocal ghosting. A live vocal cannot. The success criterion isn't vocal reduction, it's musical usability: steady rhythm, recognizable harmony, and no distracting phase artifacts. For performance, leakage is less damaging than a missing low end.
How to Isolate a Part and Keep the Bed
The file you take to rehearsal is the remainder, not the isolated part. Everything below serves that fact. If your notes end with a lovely isolated vocal and a bed that has lost its kick drum, you've done the work backwards.
If you want the wider theory on splitting a mix into usable pieces, the walkthrough on separating audio tracks into parts covers the same ground in more detail than a deadline allows.
The order that works
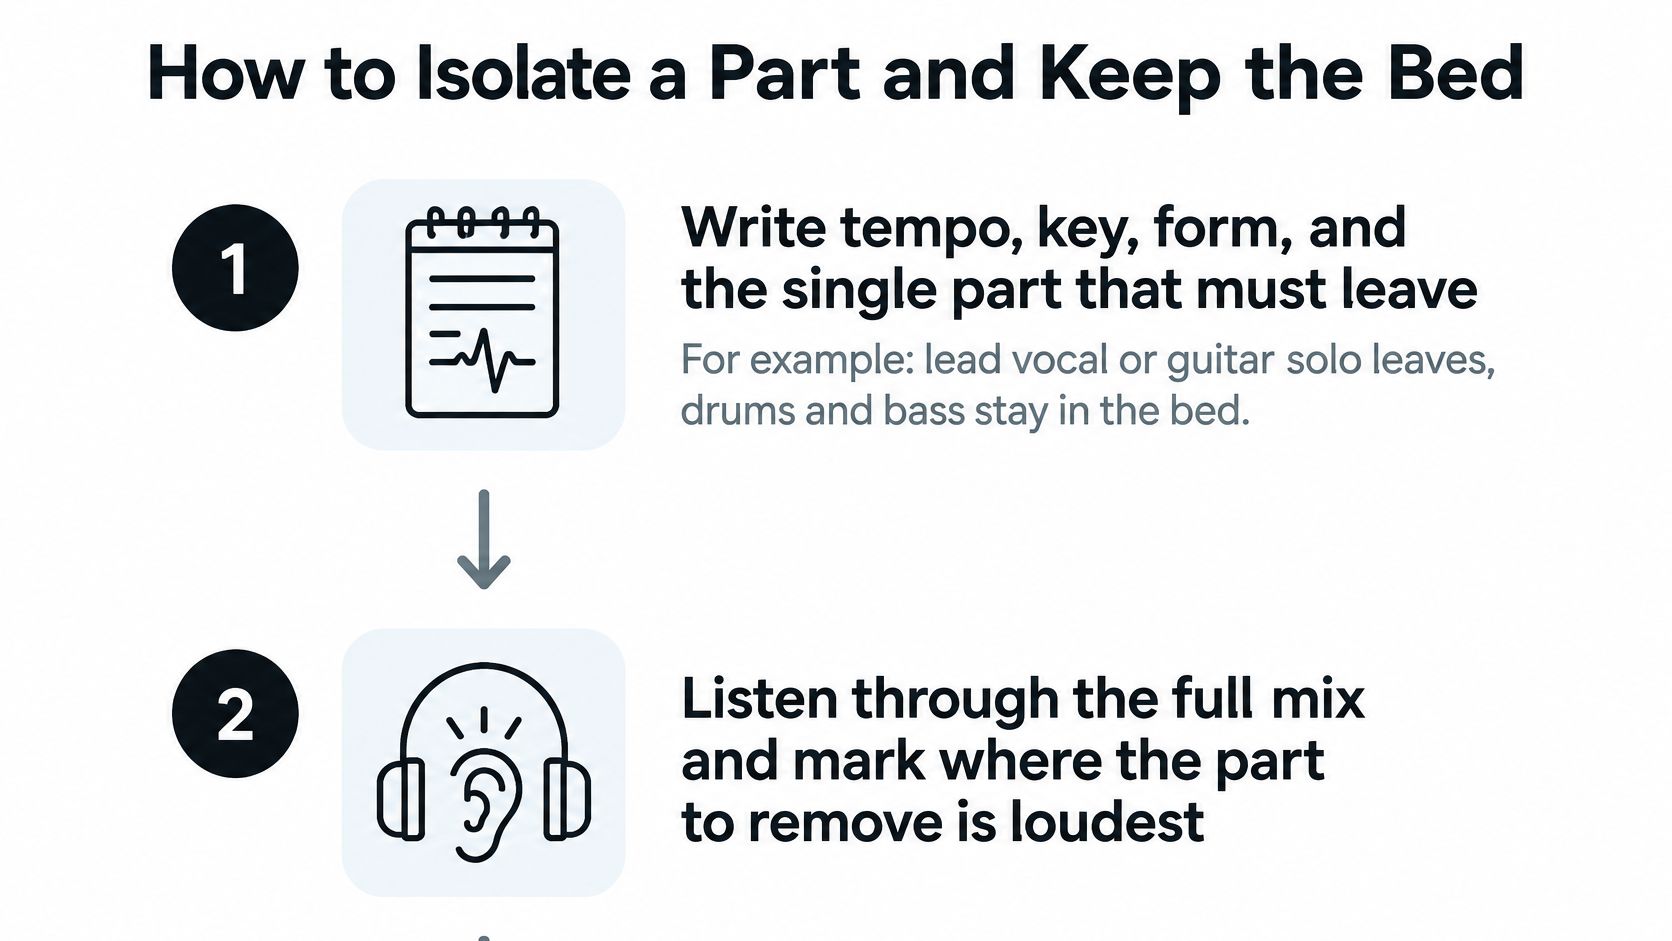
- Write the brief down before you upload. Tempo, key, bar counts for intro, verse, chorus, bridge, and outro, plus the single part that must leave. Lead vocal is the usual suspect; a guitar solo is the other. Drums and bass stay in the bed, so name them in writing too.
- Listen twice, stereo then mono. Note what sits dead center and what already sounds thin. You're working out what the removal will drag out with it, before it happens.
- Upload the source, not a copy of a copy. Drag and drop any audio or video file into Isolate Audio. Pull from the original WAV or the video master if you have it, because a bounced low-bitrate MP3 gives any separation model less to work with and you'll hear it in the cymbals.
- Describe the target in plain English. "Lead vocal", "piano melody", "the crowd." Isolate Audio reads natural-language descriptions rather than making you pick from preset categories like vocals, drums, bass, guitar, or piano, so a named part that isn't in a category list still works.
- Download both files. Every separation returns the isolated sound and the remainder. You'll use one, or both, or combine them later.
- Make the remainder the bed immediately. Import it into the DAW at the session tempo. Mute the isolated part or drop it to a low fader as a phrasing guide for the singer, and decide now that this is a guide, not a backing element.
- A/B the verse and the loudest chorus against the full mix. Listen for a missing kick on the downbeat, a vocal that swirls in the sides, and chord holes where the removed part was carrying the harmony.
- Second-pass the section that leaks. If the chorus still shows through, isolate that chorus again and join the cleaner bars with a short crossfade on the bar line. Four bars of a cleaner chorus beats a whole song rendered twice.
Quality modes, and what the plan actually gives you
Start on Best for a dense chorus and Balanced for a rehearsal bed; Fast is for a quick check that the right part came out, not for a file going on stage. The free plan costs $0 and covers five separations a month at standard quality, MP3 output, and files up to 5 minutes. WAV and FLAC output, files up to 30 minutes, and Precision mode for overlapping sources sit on the Pro plan, which matters the first time someone hands you a six-minute album cut and the free tier won't take it.
Pass condition before you export: the groove is steady, the harmony is recognizable, and the mono sum has no swirl.
Render a full-quality master, then a smaller rehearsal copy from the same session, so the band isn't carrying a file you can't reopen if something needs fixing on the night.
Repair Bleed Clicks and a Weak Low End
A backing track can sound convincing on laptop speakers, then pump, click, or lose its low end through a stage wedge. A quick headphone check can miss faults that become obvious at performance volume.
A March 2026 Water & Music/Moises survey of 1,525 musicians found that 67% had used AI for music-related activities. Among those users, 71% used stem separation or vocal isolation, while 40% generated backing tracks, according to coverage of the survey findings. Removing a vocal is only the start: the remaining bed still needs its rhythm, low end, and clean edits to hold up in playback.
Fix in the order the failures appear
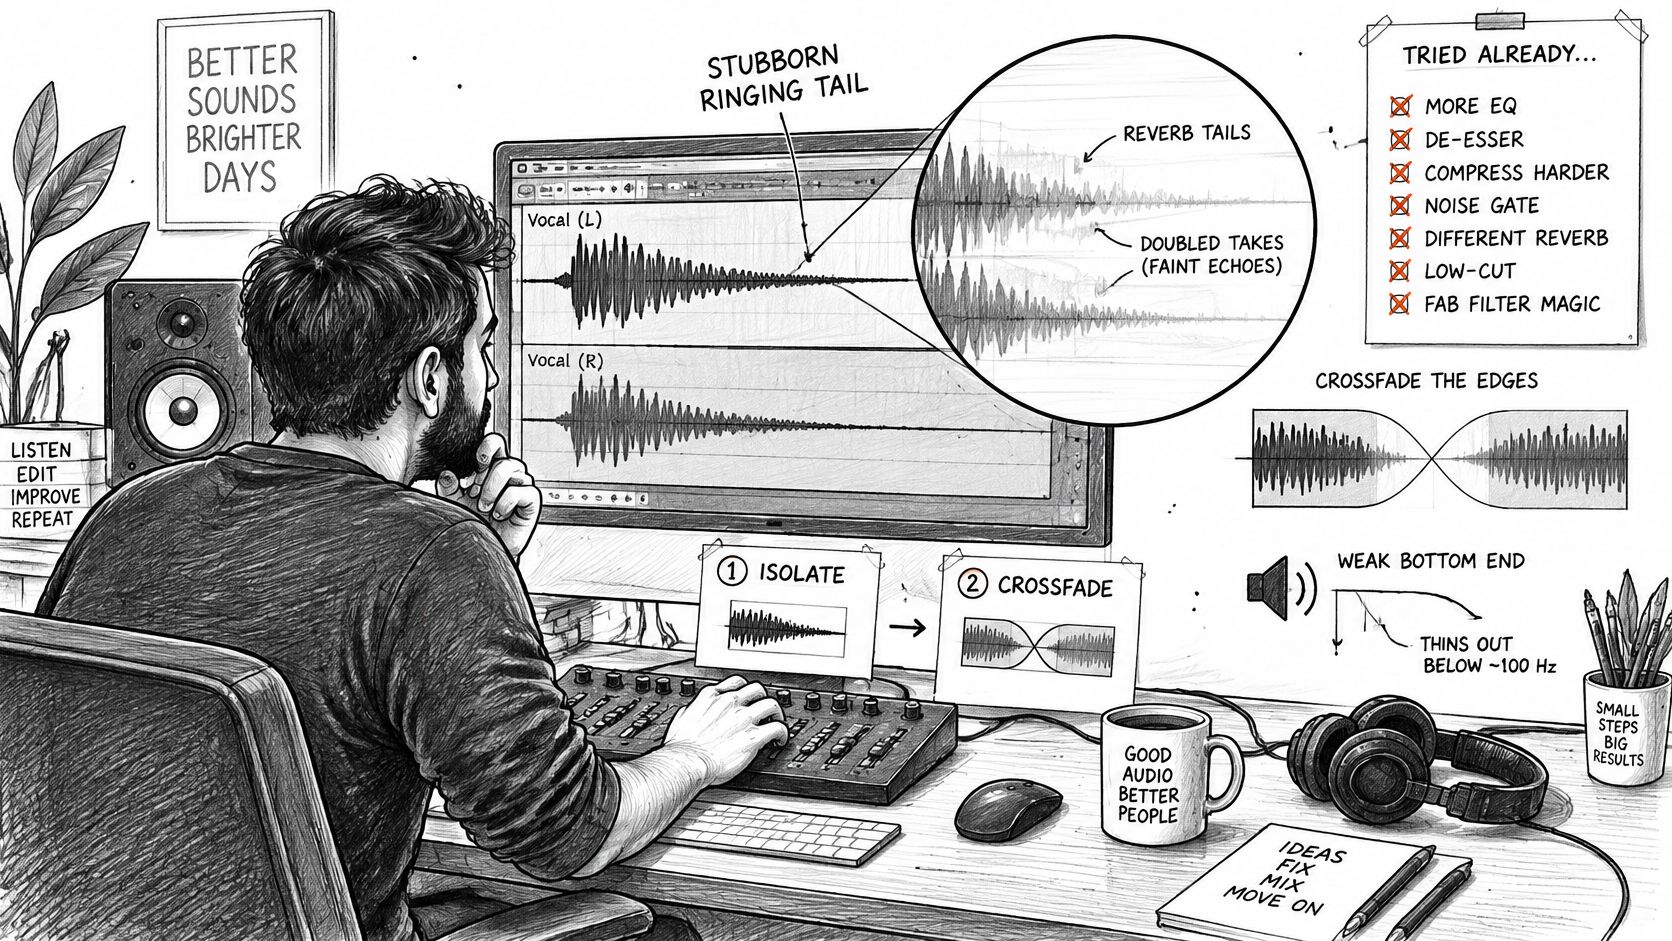
- A chorus vocal that won't die. Reverb and doubled vocals can remain in the sides after a center-focused removal. Reprocess that section, then crossfade cleaner bars at the bar line.
- A hollow or missing low end. Phase cancellation can thin the kick or bass. Discard that render and take the low end from the remainder, or try a described-separation pass that preserves the kick and bass.
- Clicks at the edits. A hard cut through a transient can create a click. Add a short crossfade, then listen to the transient itself as well as the join.
- A singer missing the top of the verse. Treat this as a cue issue, not a level issue. Put a count-in and cue marker on a separate stem rather than raising the bed.
- Gaps where an instrument shared frequencies with the vocal. Fill them by hand with a MIDI pass or a few bars from another section. A blind pass over the whole file may move the hole.
Compare quality modes on the densest eight bars, not the intro. Keep a fallback full mix on the drive; if the bed still pumps under a live band, the engineer has another option at soundcheck. Check that the chosen track and its use fit the licence for rehearsal, a gig, or a stream.
This walkthrough covers editing passes on a session.
The bed is ready when the drummer can lock to it on a wedge and the singer knows the exact bar of their entrance. A waveform view alone cannot confirm either.
Make Alternate Keys Tempos and Cues
Fifteen minutes before downbeat, the singer says the song sits too high and asks for a tone down. The wrong move is to time-stretch and pitch-shift the extracted bed and hope. Stretching an audio remainder smears the kick transient on every downbeat of every section, and the band will feel it before they can name it.
MIDI is the right layer for this because it holds instructions rather than audio. The documented history of the MIDI specification notes that MIDI 1.0 was published in August 1983 with 16 logical channels at a 31.25 kilobaud serial rate, precisely so instruments could exchange note, timing, and program information instead of recorded sound. Edit the instruction, and the part follows.
Build the editable layer once
- Keep the original-key remainder as your reference mix. Don't overwrite it, and don't rename it to "final."
- Set the tempo and form in MIDI. Drums, bass, and chords through intro, verse, chorus, bridge, and outro, with bar numbers that match the extracted bed.
- Add a two-bar count-in and a cue at the vocal entry. Put them on their own stem so the band can drop them.
- Transpose the MIDI parts, not the audio. Render the new key beside the original so form and bar numbers still line up across both versions.
- Change tempo in MIDI for small moves. If a stretch is unavoidable, check the kick transient on the downbeat of each section afterwards.
- Export three labeled files: original key, alternate key, and click or count-in as a separate stem.
If you don't know the tempo or key of the source, run it through the free BPM and Key Finder before you set the grid, because a grid set to the wrong tempo makes every later edit a fight.
Check it with the singer, not the waveform: play the new key once, live, and confirm the entry bar before the room fills up.
Cue points belong at the top of the verse and the top of the chorus, so playback can start mid-song during a run-through without hunting for a bar number in the dark.
Set Headroom Loudness and Playback Checks
A bed mastered hot sounds impressive alone and strangles a singer. The file a player can follow is built in sections and then measured, in that order, never the reverse.
| Check | Target | Why it matters |
|---|---|---|
| Mix-bus peak headroom | About 3–6 dB | Room for the player and for encoding |
| Integrated loudness | About −23 to −18 LUFS as a diagnostic | A mastered-hot bed leaves the singer no dynamics |
| Peak level | Safely below 0 dBFS, rechecked after lossy encode | MP3 and AAC can create inter-sample clips |
| Master file | 24-bit lossless, limiter off | The file you master or archive |
| Click or count-in | Separate stem, not printed into every mix | The band can drop the guide on stage |
| Playback test | Headphones, nearfields, and a mono path | Mono wedges and phones reveal missing bass and phase smear |
The Puremix guide to pre-master levels lays out the sequence plainly: build the arrangement in sections, balance drums, bass, harmonic instruments, and guide cues at performance level, automate the transitions instead of leaning on a limiter, and leave roughly 3–6 dB of peak headroom with the mastering limiter switched off. It also treats LUFS as a diagnostic rather than a universal target, which is exactly right for a backing track that has to sit under a live voice. If dBFS and LUFS still blur together, the guide to dB vs dBFS is ten minutes well spent.
The listening order
Run the checks in this sequence, because each one catches what the previous one misses. Look at the waveform peaks first. Then solo the edit points and listen for clicks. Sum to mono and listen for the bass falling away or the reverb swirling. Play the loudest chorus at performance level. Encode the delivery copy, then measure true peak again, since lossy conversion can create inter-sample clipping that wasn't in the master.
Then leave the desk. Headphones, nearfield speakers, and a mono path such as a phone speaker or a single stage wedge. A bed that feels great in the DAW often collapses in mono, and the low end is the first casualty.
Three mixes, three jobs: a full bed, a minus-lead version, and a version with the count-in. Label them so nobody grabs the wrong one at soundcheck.
The most common mistakes here are all avoidable: mastering the backing track too loud, flattening the dynamics a singer needs, clipping after normalization, and exporting only a compressed file.
Match the Track to Practice Stage or Stream
Here's the failure mode that costs people money. Someone makes a clean backing track of a favorite song, plays it at a wedding, posts the video, and then deals with a takedown three weeks later while assuming the venue's music licence had them covered.
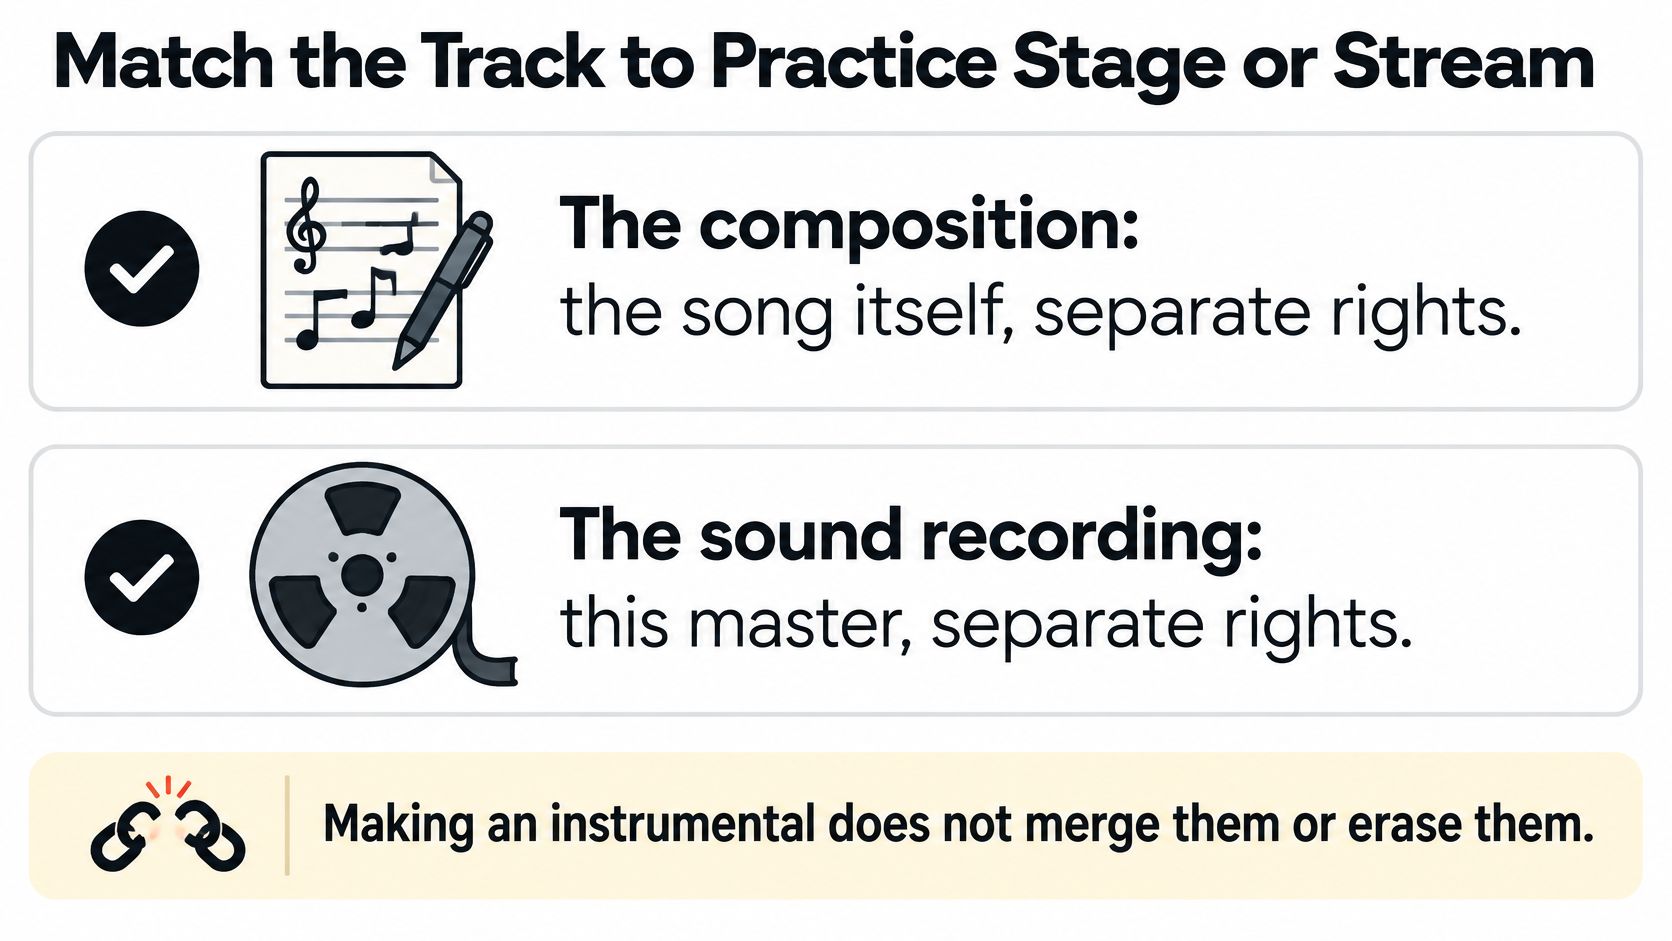
It didn't, because two separate rights are in play. The composition is the song itself. The sound recording is that particular master. Making one does not merge them or erase them, and UK government copyright guidance is clear that using a copyrighted backing track in a public performance will usually require a licence beyond permission for the underlying song, and that a venue's public-performance licence may not cover the recording itself.
| Context | Rights in play | What a venue licence does not do | Safer route |
|---|---|---|---|
| Private practice | Song and master are still copyrighted | It is not a licence to copy the recording | Original bed, or keep the file offline |
| Public gig | Usually an extra licence beyond the song | It may not cover this specific recording | A track sold with live permission, or both clearances |
| Livestream | Online transmission is separate from the room | It does not authorize the stream | Streaming permission plus the composition |
| Recorded or monetized video | Composition plus master use | It does not cover sync or a release | Clear both rights, or use an original track |
Three routes are clean. Write or commission an original bed and you own the whole thing. Buy a track whose licence explicitly states live use, synchronization, streaming, and recording permissions, and keep the receipt. Or clear the composition and the master separately, which for a cover in a paid room means the venue's blanket licence for the song plus permission for whatever recording you built the bed from.
What isn't clean is treating a backing track as a synonym for "legal." Karaoke singers, music teachers, dance instructors, and livestreamers run into this most often, because the download page looked like permission and nobody read the terms.
Decide the context before you export, not after. A file built for a private run-through can stay rough and stay offline. The same file cleaned up for a gig needs the licence checked before the first downbeat, and a version headed for a stream needs both rights sorted before the camera goes live.
If you're building a bed tonight, start with Isolate Audio: upload the track, describe the part that has to leave in plain English, and download both the isolated sound and the remainder that becomes your backing track. It reads descriptions like "lead vocal" or "guitar solo" instead of forcing your song into a preset category list, so unusual arrangements survive the process intact. Head to Isolate Audio and pull the first bed out of a mix you already have.