How to Separate Audio Tracks: AI, Multitrack and Stems
There's a file on your desktop that's the wrong shape. A board recording of your own band, a two-hour interview with a fridge humming under it, a released master you've been asked to remix. The part you want is welded to everything else, and no EQ move is going to lift it out cleanly.
Most guides answer this with a tool. The method matters more, because it decides what you can even ask for. A preset stem separator and a described-target separator look like the same button and produce completely different results, and the same goes for going back to the original session instead of processing a mix at all. The scale behind this is commercial as much as technical: paid music-streaming subscriptions reached 752 million worldwide in 2024, up 10.6%, according to IFPI's reported figures, and almost none of that catalogue reaches you with its multitrack attached. What you get is a finished stereo file and a task.
Treat the export as a judgment about that task, not a score to maximize. That single shift changes which method you pick, which settings you touch, and when you stop.
Which Separation Method Fits Your Audio
The route you pick decides what you can even ask for. Five routes cover nearly every job, and they differ in input, output, and the way they fail.
| Method | Best for | Input you need | Output | Main limitation |
|---|---|---|---|---|
| AI prompt separation | Any describable sound, noisy or live mixes | Single finished file | Two files: isolated sound and remainder | Artifacts when sources overlap closely |
| AI preset stem separation | Vocals, drums, bass and other from a finished song | Single finished song | Four fixed stems | Only four categories; piano or applause may leak |
| Multitrack session export | Remixes, practice tracks, re-mixing | Original DAW session | Any track or group as a stem | Requires the multitrack; no separation needed |
| DAW phase inversion and EQ | Quick instrumental or karaoke from a stereo mix | Stereo mix in a DAW | Rough instrumental | Removes centered bass and kick too; reverb tails stay |
| Frequency filtering | Speech band isolation or removing hiss | Any file | One filtered file | Cannot split voices or instruments that share a frequency range |
The two filtering rows are the oldest tools in the room and they still earn their place, but only when the target is a band of frequencies rather than a musical part. A high-pass sweep won't give you a piano, and a de-esser won't give you a singer. If you want the categories straight before you start, this guide to what stems are in music covers what each exported file contains.
The move from fixed categories to described targets is recent, and it has a traceable history. Audio source separation became a research field in the mid-1990s when researchers applied techniques such as independent component analysis to mixtures, the Audio Engineering Society formally listed it under "Audio Source Separation and Enhancement" in 2006, and neural-network methods took over in the late 2010s, as a MERL technical report on the field sets out. The same report notes that overlapping sounds and limited training data remain fundamental technical challenges, which is exactly why a four-category separator runs out of road on a piano melody or a single voice in a crowd.
That's the gap described targets fill. Isolate Audio's models read a plain-language description of the sound, so you name what you want rather than picking from a preset list, and the job becomes "this oboe line" instead of "other".
Two questions, under a minute: do you own the multitrack, and is your target a named category or a specific sound inside the mix? Answer those before you open anything.
How to Separate a Track with AI in Five Steps
The practical answer to how to separate audio tracks from a finished file is a five-step loop, and one run takes minutes rather than an afternoon. Here's the sequence in one view.
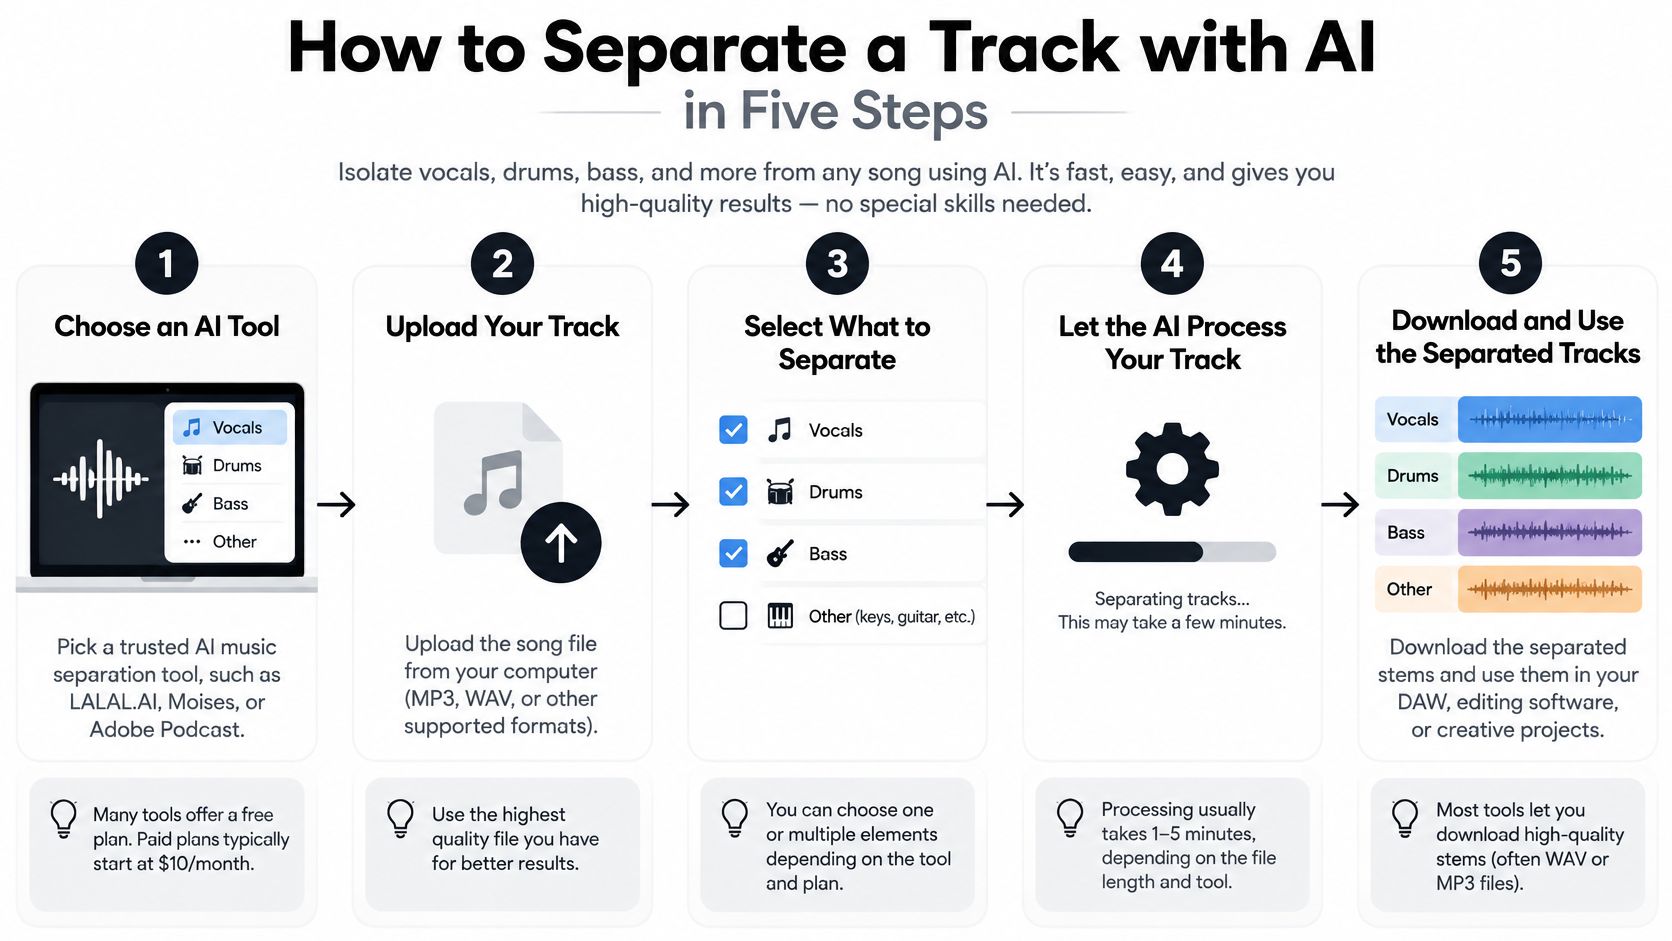
- Upload the file you have. Drag and drop any audio or video file into the upload area in Isolate Audio; MP3, WAV, FLAC, M4A, OGG, MP4 and WebM all go in, and the conversion is handled for you. Use a 60-second excerpt for the first run, because committing two hours before you know whether the description works is how people waste a morning.
- Describe the target in plain English, and be specific. Write "lead vocal" rather than "voice", and "acoustic guitar" rather than "guitar". When two sources overlap, name the competing sound you want kept out, since "vocal without drums" beats "vocal" when a snare is bleeding through. The usual slip here is vagueness: a loose description returns a blurred average of several sources and teaches you nothing about the material.
- Choose a quality level to match the stage. Run something fast while you're auditioning wording, then move to the higher setting once the description is right. Previewing at maximum quality costs you wait time on a description you're about to rewrite anyway.
- Let the cloud job finish and keep your hands off the source. Nothing gets installed and there's no GPU to babysit. Leave the original untouched during the run, because you'll want to rerun the same clip with new wording rather than editing around a bad pass.
- Download both outputs. Every separation returns the isolated sound and the remainder, and either one may be the file you need. The remainder tells you what got removed and often doubles as a usable backing track.
Where separation becomes one station on a longer assembly line, version control is the part that breaks. Automating post-production resource management is worth setting up early, mainly so six renamed exports don't pile up with no record of which one is current.
What a Good First Pass Sounds Like
A usable result has two properties at once. The target is clear enough to follow as a part, and the remainder has no hole where the target used to be. If the rhythm in the remainder stumbles every time the vocal enters, the model has taken more than you asked for.
Listen for warbling on sustained notes and a watery quality on cymbals. Those are the signatures of an aggressive pass, and they show up long before any number tells you something is wrong. A vague description gives mixed results, so refine the wording and rerun the same clip rather than reaching for a different file. Repeat until the description matches what you hear, then export once.
Splitting Tracks in a DAW Without AI
The non-AI route splits in two, and the better branch is the boring one: go back to the session. These are the steps I'd follow in that order.
- Open the finished session and mute the master bus. With the master muted you hear and measure the stems themselves rather than a chain that's already been shaped for release.
- Bounce each track or group as a stem. Same start and end bar, same sample rate across the batch. Export dry if you need a clean instrument to re-process; include the reverb sends if the space is part of the sound you're keeping.
- Name each stem by role. Vocals, drums, bass, guitar, keys. Names like "audio-3-bounce-final" survive exactly one session before nobody can tell what they are.
- For a stereo mix with no stems, duplicate, invert and sum. Copy the mix to a second track, flip its polarity, and play both together. Centered content such as the lead vocal and the bass cancels, and what survives is the side information.
- Check mono compatibility before you commit. Sum your cancelling pair to mono and listen again. Stereo-only elements vanish, and any reverb or delay applied in stereo will smear rather than disappear.
- Clean up what's left. A high-pass filter near 80 Hz takes out the low rumble the cancellation left behind, and a narrow cut in the upper mids tames the hollow, phasey residue that gives the trick away.
The Trade-off You Can't Engineer Around
Phase cancellation removes centered kick and bass along with the vocal. On a lot of records that's fatal, because the low end is exactly what holds the track together, and no amount of EQ puts back a kick that was never on the sides. The vocal's reverb tail usually survives too, so you get a "dry" backing track with the singer's space still on it.
Use phase inversion when karaoke is genuinely enough. It is not a mixing tool, and it won't survive a car test.
A DAW route also benefits from knowing your way around the session template itself. If you're rebuilding this workflow from scratch, this walkthrough of how to use Reaper for stem work covers the routing and render settings that keep exports consistent across a batch.
If the session exists, export stems and skip separation. If it doesn't, phase inversion is a fast rough cut and nothing more.
Workflows for Music, Podcasts and Video
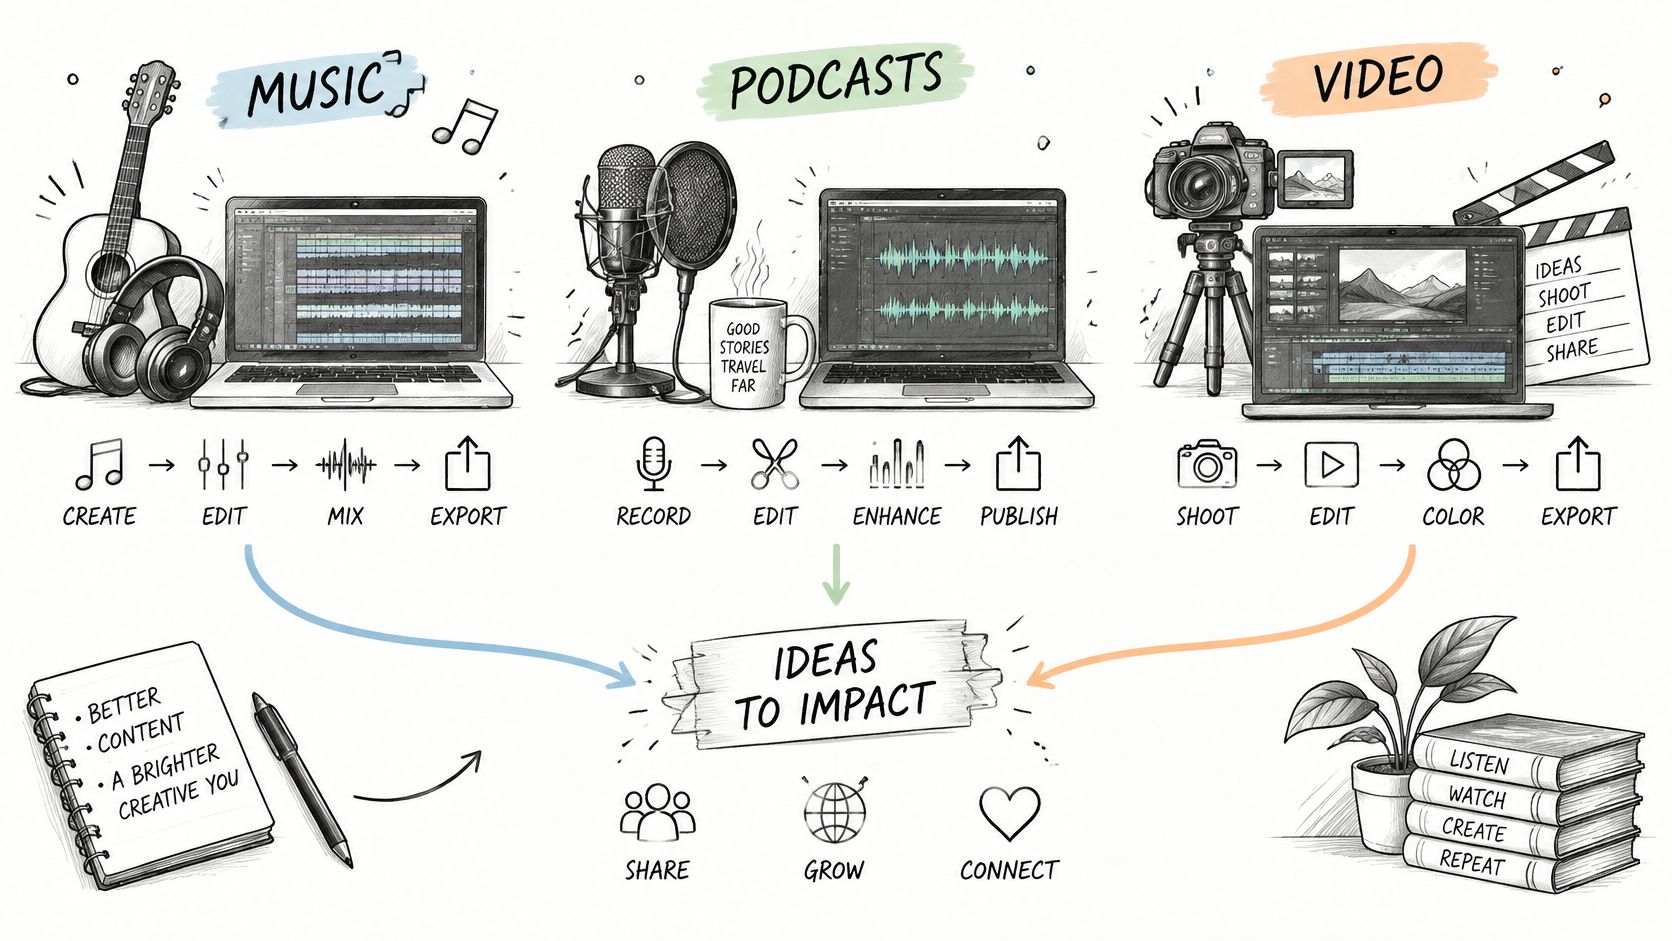
The target and the thing you keep change with the job, and so does the check that catches the failure. This table is the one-line version.
| Use case | Target to isolate | What to keep | Main check |
|---|---|---|---|
| Remix or cover | Lead vocal | Isolated vocal and remainder as backing | Consonant smearing and reverb tails |
| Practice track | Instrument part, such as guitar | Remainder as the backing track | Bleed of the soloed part |
| Podcast cleanup | Host voice against room noise | Dialogue stem and room tone | Musical noise between words |
| Two-speaker interview | One target speaker | Target speaker stem | Leakage during pauses |
| Film or video dialogue | Speech against music and effects | Dialogue stem and remainder | Plosives, clipping and sync |
| DJ or sample hunt | Specific sound | Isolated sample | Transient quality |
Music Work
For a remix or cover, the isolated vocal is the deliverable and the remainder is the safety net. Both come out of one run, and the remainder is often close enough to a backing track to build on before you touch a single plugin. Check consonants at the start of phrases, because a vocal that sounds smooth soloed can turn to mush the moment the new arrangement fills the midrange.
A practice track is the reverse trade. You want the instrument you're learning to be clean and the backing to be intact, so listen for bleed of the soloed part into the remainder. Some bleed is fine. Nobody's tapping along to a metronome that has half a guitar solo stuck to it.
Podcast and Dialogue Work
Room noise is the enemy that survives most processing, and separating the host's voice from it gives you two things worth keeping: a dialogue stem and a sample of the room tone for filling gaps. Musical noise between words is the tell that the pass went too far, and it's far more distracting on headphones than a bit of steady hiss.
Two-person interviews need the same run with one speaker named as the target. Check the pauses rather than the talking, since leakage shows up in the gaps, where the other voice has nowhere to hide. Once a dialogue stem is clean, an AI podcast clip generator will cut better shorts from it than from the raw mix, because it isn't transcribing around a fridge.
Judging Whether a Separated Track Is Good Enough
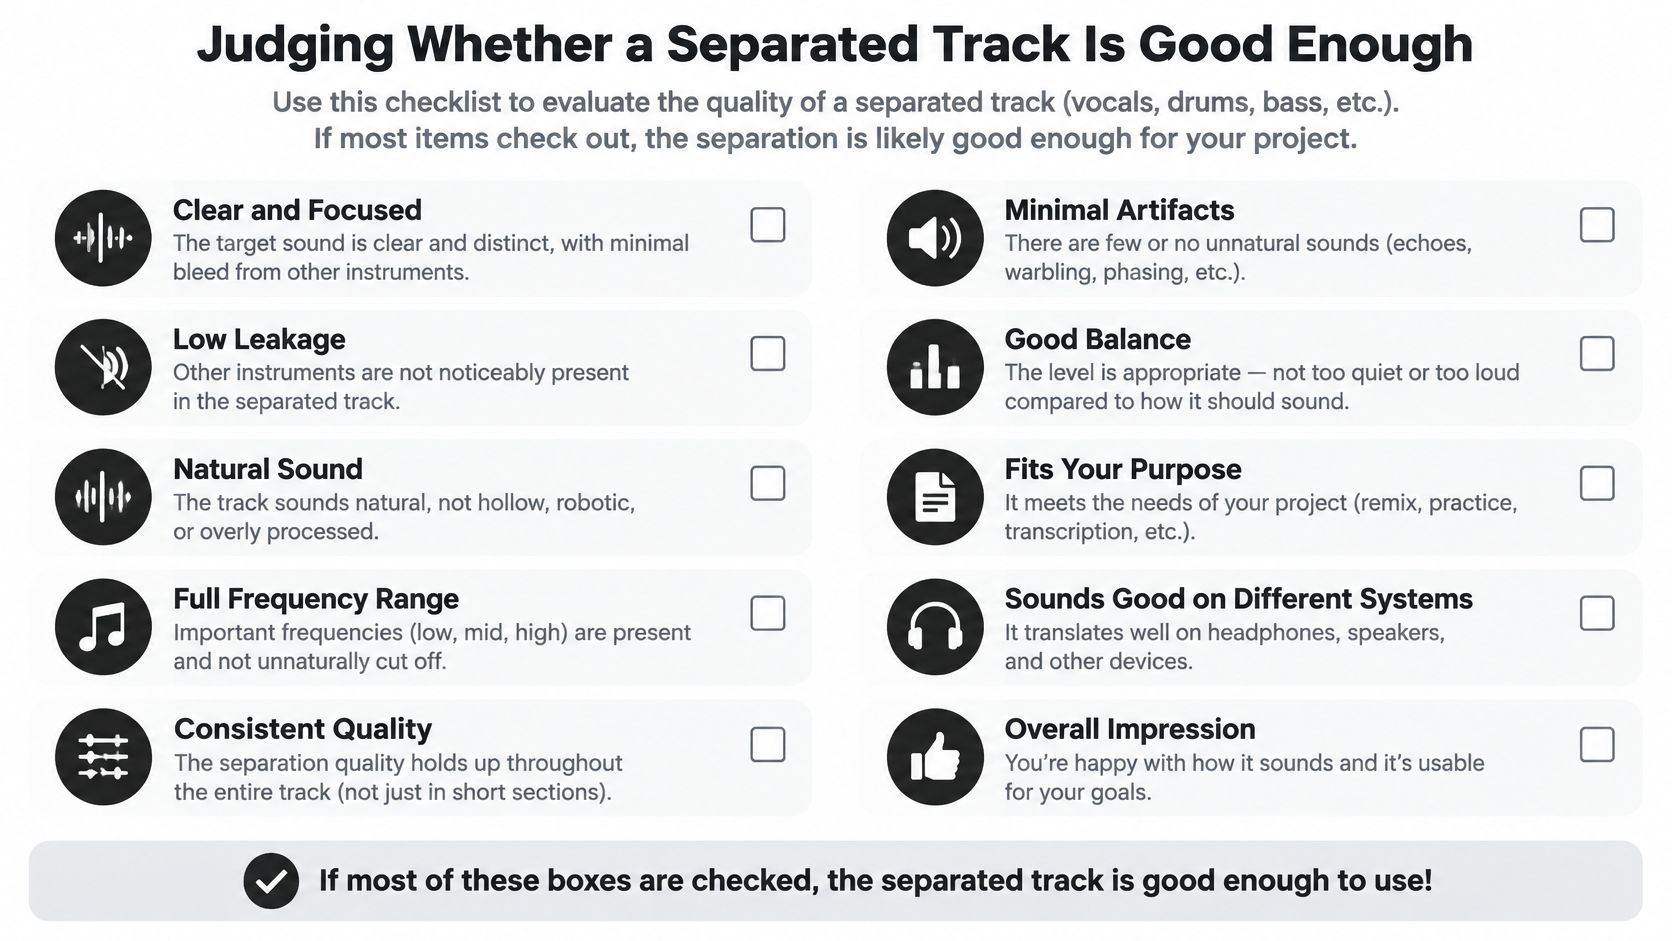
A stem can score well and still fail the job. Use metrics to compare separation runs, then judge the export against what you need it to do.
| Metric | What it measures | How to read it |
|---|---|---|
| SDR | Overall fidelity of the isolated stem | Higher is better. Compare against a baseline run on the same excerpt. |
| SIR | Interference from other sources | Higher means less interference. Compare runs on the same excerpt. |
| SAR | Artificial distortion added by the algorithm | Compare runs, then listen for artifacts. |
| SI-SDR | Scale-independent separation quality, often used for speech | Read it against your own baseline. |
| SI-SAR | Separation artifacts, with useful relevance for drums and bass | Check it alongside listening, especially on percussive material. |
| STOI | Speech intelligibility | Pair it with SI-SDR. A rise in one does not guarantee a rise in the other. |
| PESQ | Perceived speech quality | Use it as an estimate of how natural speech sounds. |
Why a Good Score Can Sound Bad
For music stems, a useful evaluation workflow preserves the source's sample rate and stereo channels, defines the target stem, compares with a reference stem where one exists, and reports BSS-Eval SDR, SIR and SAR alongside SI-SDR. Finish with an artifact-focused listening check on vocals, drums, bass and transients, as described in this study of perceptually aligned separation evaluation.
SDR alone can mislead. Listener studies in that paper found SI-SAR better predicted judgments for drums and bass, where a high SDR may still conceal distracting musical artifacts.
Benchmarks are useful for comparing systems under shared conditions, but they are not a quality guarantee for your recording. The MUSDB18 benchmark documentation describes roughly 10 hours of mixture data. A result on benchmark material cannot tell you how a particular export will sound in your mix.
Judge the file for its intended use, not as a score to beat.
A Listening Routine That Catches What Scores Hide
- Match loudness first. Compare the isolated track, the remainder and their recombined mix at the same level. A louder file can seem better even when it is not.
- Check the hard passages. Listen to vocal consonants, cymbal hits, bass transients and overlapping voices. A full-track average can hide problems in all of them.
- Name the artifact. Listen for musical noise, warbling, smeared transients, phase problems, room reverb or leakage. Then decide whether that specific flaw matters for the task.
- Judge the intended use. A stem acceptable for practice may not be clean enough for publication. Requirements depend on what you will do with the file.
Practical rule: a slightly leaky stem with clean transients can beat an aggressively processed stem full of artifacts. Leakage may be workable in a mix; warbling can draw attention away from the part.
Dialogue and Podcast Stems Need a Second Axis
Speech needs both fidelity and intelligibility checks. Keep the input's channels consistent, avoid clipping, identify the target speaker or dialogue, and normalize loudness after separation. Read SI-SDR alongside STOI for intelligibility and PESQ for perceived quality, as discussed in this comparison of speech separation evaluation methods.
No single metric is a pass rate. SI-SDR can improve while the words remain hard to follow, especially when speakers overlap. Check single-speaker and dual-speaker passages separately, listening for musical-noise bursts, clipped plosives, reverberation tails and leakage during pauses.
A track is good enough when the target is clear and its artifacts do not distract from the work you need to do with it.
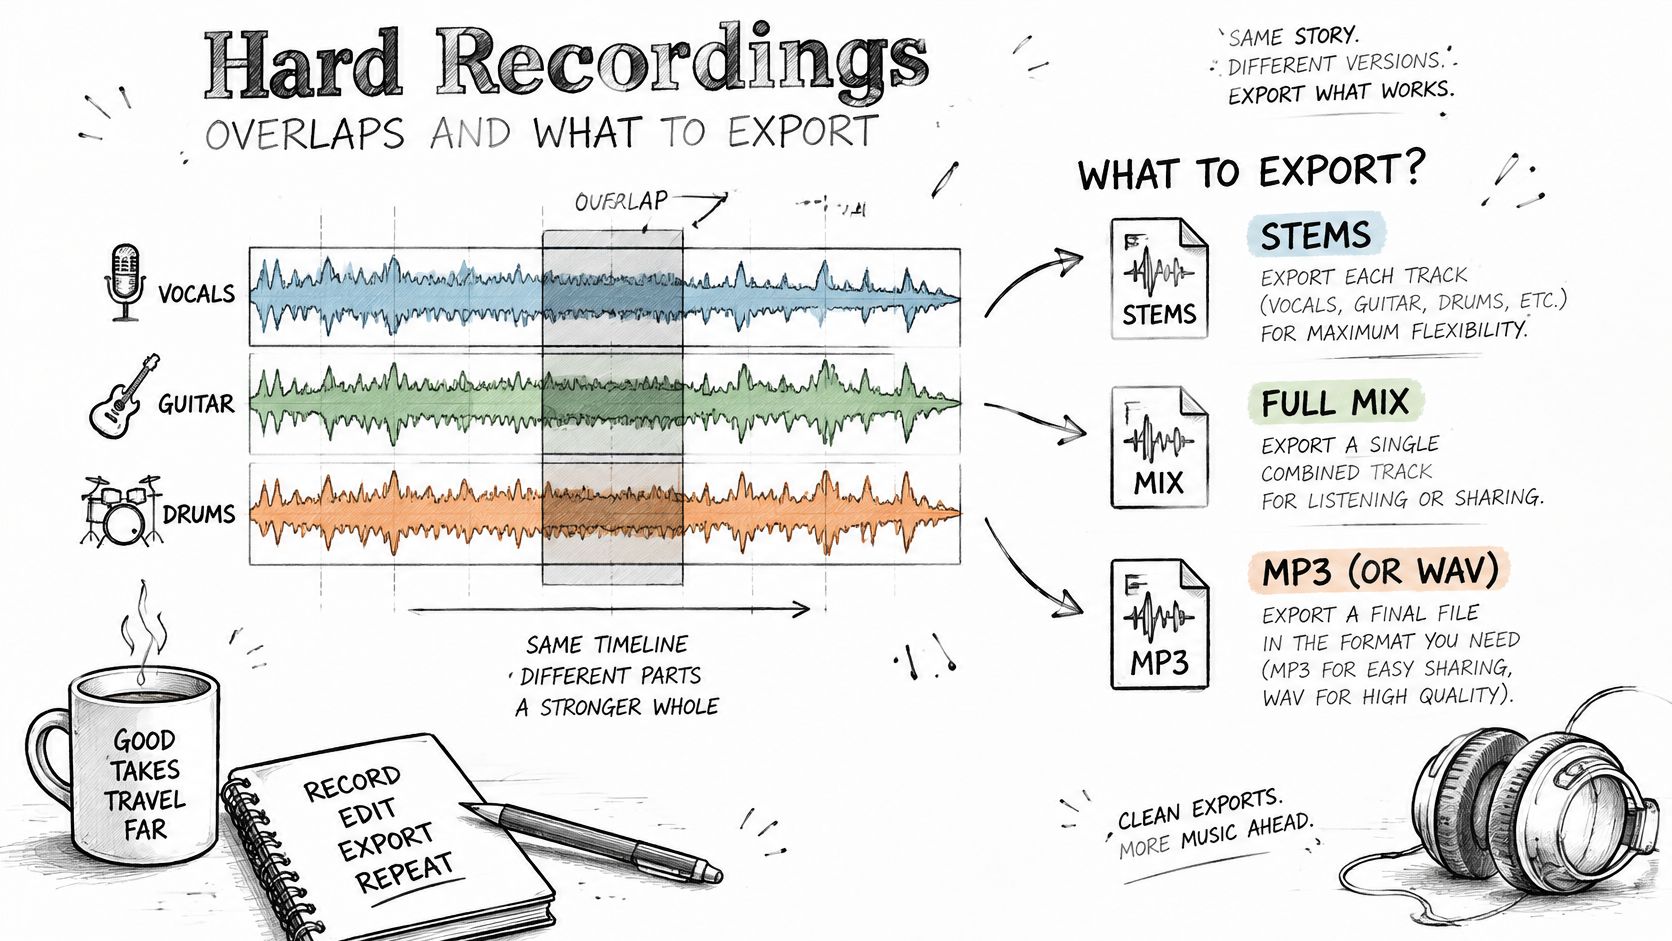
Hard Recordings Overlaps and What to Export
Some recordings break the tools, and it pays to know which ones before you spend an hour on them. Phone clips, livestreams, concert captures, podcasts recorded in an echoing kitchen, and anything downloaded from a social platform and re-uploaded three times.
Knowing which stage did the damage tells you what's worth rescuing.
Research on separation in real-world conditions found systems that perform well on standard datasets degrade significantly on louder and heavily compressed music, with evidence that models overfit to benchmark material, as this study of audio restoration and separation reports. The same work argues that restoration is intrinsically harder than ordinary separation, because the recording may be the product of unknown combinations of EQ, compression, saturation, reverb and lossy codecs.
Source Overlap Versus Recording Damage
These are two different problems, and they respond to different fixes. Overlap, where a vocal sits on top of drums or two people talk at once, is information that's still present, so a better description, a higher quality pass, or Precision mode for complex overlapping material can pull it apart.
Damage is information that's gone. Clipping, codec crunch, heavy compression and extreme reverb don't come back at any quality setting, and a lossy source caps what any pass can return, which our breakdown of lossless versus lossy formats covers in practical terms. Raising quality on a destroyed file buys you a cleaner render of the same damage.
- Pick a 20 to 30 second excerpt that contains the hardest overlap, not the easiest chorus. That excerpt decides whether the full file is worth processing.
- Run the excerpt before the full file. Test the description on the worst thirty seconds, because if it works there it will work everywhere.
- Trim the passage that fails. If only one verse breaks, cut it out, process it on its own with tighter wording, and join it back.
- Leave the original untouched. You'll rerun descriptions, and a file edited in place removes that option.
- Export two files every time and name both by role. Host dialogue and room remainder, not take-final. If you're testing several descriptions, short excerpts on the free plan (five separations a month at $0) make that cheap, while Pro adds WAV and FLAC output, files up to 30 minutes and Precision mode for the passages where the target sits under another sound.
- Stop when the artifacts cost more than the leakage. This is the rule people ignore. Once warbling pulls your attention more than the sound you were removing, switch to the multitrack if it exists or accept a lighter edit.
A usable dialogue stem or a clean remainder is often the right result when a perfectly isolated source is out of reach. Nobody listening to your film cares that the music stem still has a trace of the narrator.
Every separation you run on Isolate Audio returns two files, the isolated sound and the remainder, so you can judge the result against the job in front of you rather than against a single number. Drag in the phone recording, the livestream capture or the finished master, describe what you want in plain English, and run the hardest thirty seconds first. Start with your worst file and see which of the two outputs you end up using.