
How to isolate vocals: Techniques for Clean Acapellas
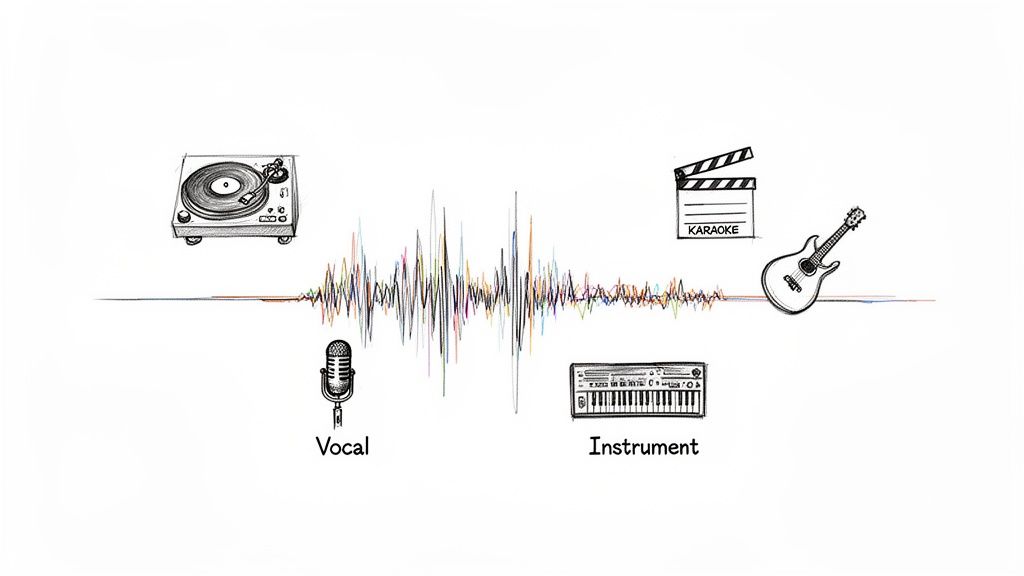
Getting your hands on a clean vocal track used to be the holy grail, something only possible if you had access to the original studio multitracks. But today, thanks to powerful AI tools like Isolate Audio, pulling a studio-quality acapella from a finished song is something anyone can do in just a few minutes.
This isn't just a neat party trick; it's a fundamental shift in how we can interact with music, opening up a ton of creative doors for producers, DJs, and creators of all stripes.
Why Bother Isolating Vocals?
Before we jump into the "how," let's talk about the "why." Extracting a vocal isn't just a technical step—it's your ticket to a whole new world of creative projects. It lets you deconstruct a song and play with its core elements, a workflow that was once exclusively for top-tier studio engineers.
Now, anyone can peel back the layers of a track. This empowers everyone from a DJ crafting a clever mashup to a producer building an entirely new song around a timeless vocal performance.
A Gateway to New Creative Ideas
Think about a DJ flawlessly mixing the soaring chorus from a power ballad over a driving house beat. Or imagine a music producer studying every subtle breath and vibrato in a classic soul performance without the clutter of drums and bass. These aren't just hypotheticals; they're happening in studios and on stages every day.
Vocal isolation is also incredibly practical for other uses:
- Performance Tracks: Need a backing track for a gig or just for practice? Strip out the lead vocal, and you've got a perfect instrumental to sing over.
- Audio Cleanup: For podcasters and video editors, this is a lifesaver. You can pull dialogue out from under noisy background sounds, rescuing interviews or on-location recordings.
- Learning and Education: Music students can finally hear exactly what's going on in a complex vocal harmony or dissect the layers of a professional production.
We've come a long way. The invention of electrical recording back in 1925 was the first big leap, but modern AI represents a quantum jump. Tools trained on vast libraries of music can now achieve up to 96% isolation accuracy, something unimaginable just a few years ago. You can read more about the evolution of sound recording to see just how far we've come.
The real magic of vocal isolation isn't just about removing something from a track; it's about what you can add to your own creative projects once you have that clean, isolated element.
Real-World Uses for Isolated Vocals
Having a clean vocal track opens up a ton of possibilities, whether you're a musician, a content creator, or a filmmaker. Here’s a quick look at what you can do.
| Creator Type | Primary Use Case | Creative Benefit |
|---|---|---|
| Music Producer | Remixing & Sampling | Build entirely new tracks around a classic vocal performance or chop up phrases for unique hooks. |
| DJ / Live Performer | Mashups & Acapella Sets | Seamlessly blend vocals from different genres or perform live with acapella-only tracks for high-impact sets. |
| Video Creator | Custom Soundtracks | Create unique background music for videos by remixing instrumentals and adding vocal snippets for emphasis. |
| Karaoke Host | Backing Tracks | Generate high-quality instrumental versions of any song on the fly, expanding your songbook instantly. |
| Audio Engineer | Restoration & Repair | Clean up noisy dialogue from field recordings or rescue poorly mixed audio by isolating the speech. |
Ultimately, learning to isolate vocals gives you a completely new way to listen to, interact with, and creatively transform the audio that inspires you.
Choosing Your Vocal Isolation Toolkit
Deciding how to pull vocals from a track is a bit like choosing a tool for a delicate job. You could go at it with a hammer and chisel—the old-school, manual approach—or you could use a high-precision laser cutter. Both might get the job done, but the speed, effort, and quality of the final product will be worlds apart.
The same is true for audio separation. Your options range from traditional, hands-on techniques inside a Digital Audio Workstation (DAW) to sophisticated, AI-powered platforms. Each has its place, but the right choice really boils down to your project's needs, your comfort level with audio engineering, and the quality you're after.
The Old-School Manual Methods
For years, producers and engineers relied on some clever tricks within their DAWs to try and strip vocals out of a mix. These methods are all based on the physics of stereo audio, and on the right track, they can sometimes get you surprisingly close.
- Phase Inversion: The classic trick. You take a stereo track, split it, flip the phase on one side, and pray the centered vocals cancel each other out. The big catch? It only works if you have the official instrumental of the exact same master, which is a rare find.
- EQ Filtering: This is more of a brute-force method. You grab an equalizer and carve out the frequencies where the lead vocal usually lives, typically somewhere between 1kHz and 4kHz. While this can quiet the vocal down, it often rips a hole in the instrumental, leaving everything sounding thin and lifeless.
These manual approaches demand a good ear and a solid understanding of what you're doing. The real problem is they almost always leave artifacts behind. You’ll hear ghostly vocal whispers or notice that instruments sharing the same frequency space, like synths or snares, suddenly sound weak and muffled.
The Rise of AI Vocal Separators
This is where things get interesting. Modern AI tools have completely changed the game. Instead of just playing with phase or frequencies, these platforms use machine learning models that have been trained on thousands of hours of music. The AI essentially learns to recognize the unique sonic fingerprint of a voice versus a guitar, a drum, or a bassline, allowing it to "un-mix" a song with incredible accuracy.
This is exactly where a tool like Isolate Audio shines. It bypasses the limitations of the old methods by intelligently identifying and reconstructing each audio source. It's not just carving out frequencies; it's rebuilding the individual parts of the song. The result is a much cleaner acapella and a far more complete instrumental track.
The real power of AI is its ability to understand context. It doesn't just see a frequency spike; it recognizes the texture and timbre of a human voice, separating it from a guitar strum in a way that preserves the integrity of both.
This technology didn't just appear overnight. It builds on decades of audio research. One of the first major breakthroughs was the Parallel Bandpass Vocoder, developed by Bell Labs back in 1939. It could isolate vocal signals by splitting audio into 10 filtered bands but only achieved about 70% intelligibility. Fast forward to today, and AI tools can isolate elements with up to 95% accuracy—a massive leap from those early experiments.
Why AI Is Often the Better Choice
For almost any creative project today, AI-powered tools deliver better results faster and more easily. A separation that might take an experienced engineer hours of tedious EQ adjustments in a DAW can now be done in just a few minutes. If you want to dive deeper, we've put together a full comparison in our guide to the best stem separation software.
Just think about the practical benefits:
- Superior Quality: AI models are much better at handling tricky elements like reverb tails and complex stereo imaging, things that completely fool old-school manual techniques.
- Ease of Use: You don't need a degree in audio engineering. With a platform like Isolate Audio, you just upload a file (MP3, WAV, FLAC, even an MP4 video) and tell it what you want.
- Versatility: AI isn't a one-trick pony. It's not just for vocals. You can pull out drums, bass, guitars, or any other instrument you need, giving you total creative freedom over the entire mix.
While messing around with phase and EQ in a DAW is a fantastic way to learn the fundamentals of audio, the precision and efficiency of modern AI tools make them the clear choice for producers, DJs, and creators who need clean, high-quality stems without the headache.
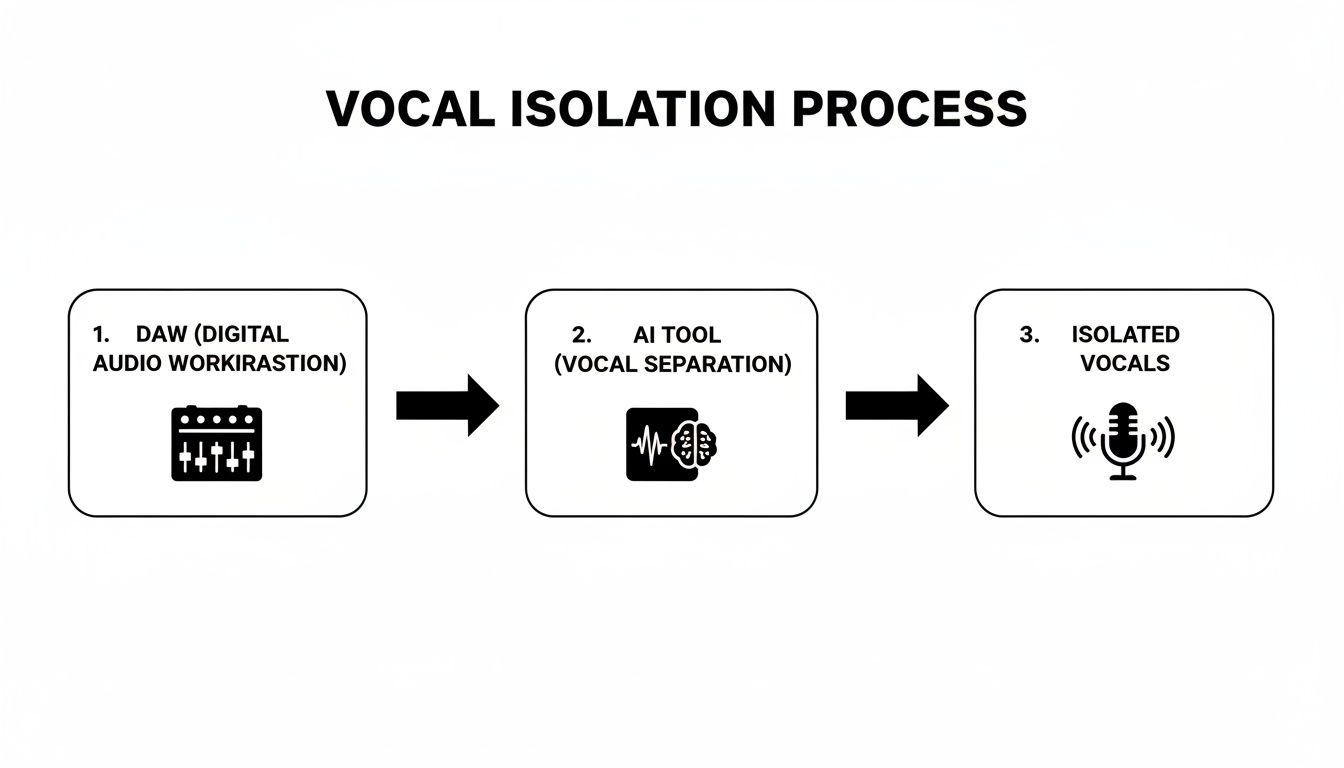
A Practical Guide to AI Vocal Isolation
Alright, you've got the tool, so let's get our hands dirty. The great thing about using modern AI for vocal isolation is that it's less about fiddling with complex audio engineering settings and more about knowing how to give clear instructions. I'll walk you through the process using Isolate Audio as our main example, covering everything from prepping your files to getting the best possible results.
The single most important factor for a clean separation is the quality of your source file. It's a classic "garbage in, garbage out" situation. Sure, you can use a compressed MP3, but starting with a lossless format like WAV or FLAC will always give the AI more sonic information to analyze. Think of it like giving a photo editor a high-resolution RAW image versus a blurry JPEG—the better the starting material, the cleaner the final product.
Getting Your Audio File Ready
Before you even think about uploading, take a second to check your file. Is it a proper stereo mix? Is the audio relatively clean, without obvious clipping or heavy distortion? AI can pull off some incredible feats, but it's not a magic wand for fixing a fundamentally bad recording.
A well-mixed, high-bitrate file gives the AI a clear roadmap to follow when telling the difference between a voice and a guitar. A muddy, low-quality MP3, on the other hand, forces the algorithm to guess, which is where you start getting those pesky artifacts and instrumental bleed in your final vocal stem.
Choosing the Right Quality Preset
Once you've uploaded your file and described what you want, you’ll have to pick a quality setting. This is really a simple trade-off between processing time and how clean you need the final audio to be. Different projects have different needs, so knowing which preset to use will save you a lot of time.
To make it easy, here's a quick comparison of the quality presets you'll find in Isolate Audio.
Isolate Audio Quality Presets Explained
| Preset | Best For | Processing Speed | Result Quality |
|---|---|---|---|
| Fast | Quick previews, checking if a track is even usable, or for non-critical things like making a quick karaoke track. | Fastest | Good, but you'll probably hear some artifacts if you listen closely. |
| Balanced | Your go-to for most projects. Perfect for making remixes, chopping up samples, or creating practice tracks. | Medium | High quality with a fantastic balance of speed and clarity. |
| Best | Professional work. Use this for archiving, when creating a final mix, or anytime you need the cleanest acapella possible. | Slowest | The highest fidelity you can get, with minimal bleed and artifacts. |
My advice? Start with the Balanced setting for your first pass. It’s surprisingly good and delivers results quickly. If you hear some minor imperfections, you can always run the file again on the Best setting, which will usually clean things right up.
Using Precision Mode for Those Tricky Mixes
Every so often, you'll run into a track that's just a nightmare to separate. I'm talking about those dense, "wall of sound" mixes where vocals and instruments are practically fused together. This is common in heavy rock or certain electronic genres, where a distorted guitar or a synth pad sits in the exact same frequency range as the singer. For these, even a great AI can struggle.
That's what Precision Mode is for.
Think of Precision Mode as the deep-clean setting. It triggers a much more intense algorithm that does a deeper, more granular analysis of the song's sonic textures and frequency overlaps.
You should flip on Precision Mode when:
- You're hearing a lot of instrument bleed in your first attempt.
- The vocal is slathered in effects like heavy distortion or a flanger.
- The instrumental parts sound very similar in tone and frequency to the vocals (like a fuzzy guitar and a raspy voice).
It definitely takes longer to process, but Precision Mode can be the difference between getting a usable acapella and one that's just too messy to work with. It's a serious tool for those moments when you need the absolute best separation money can buy. By getting a feel for these different settings, you can dial in the AI's approach to handle just about any audio file you throw at it.
How to Fix Common Vocal Isolation Issues
Even with the best AI in the business, you’re not always going to get a flawless vocal on the first pass. That’s perfectly normal. Modern music production is a complex beast, and some sounds are just sonically glued together, making it tough for even the smartest algorithms to pull them apart cleanly.
The good news is that most of the common hiccups are surprisingly easy to fix. Instead of accepting a less-than-perfect acapella, you can use a few troubleshooting tricks to get the job done right. The usual suspects are instrumental bleed, lingering reverb, and weird phasing artifacts.
Tackling Faint Instrumental Bleed
You know the feeling—you isolate a vocal, but you can still hear the ghost of a hi-hat, a faint guitar chord, or a phantom snare hit underneath. That’s instrumental bleed. It happens when the frequencies of the vocal and another instrument overlap heavily, which is pretty common in a dense, loud mix.
Just picture a gritty rock vocal competing with a crunchy, distorted guitar. They’re both fighting for the same sonic territory, making a clean separation a real challenge.
When you run into this, don't immediately jump into your DAW to start editing. The first move should be to re-process the track in Isolate Audio with a more powerful setting.
- Bump Up the Quality: If you processed the file using the Balanced preset, give it another go on Best. This setting engages a more sophisticated algorithm that can often sort out minor bleed on its own.
- Bring in the Big Guns: For seriously stubborn tracks, Precision Mode is your ace in the hole. It performs a much deeper, more meticulous analysis designed specifically for these kinds of tangled-up sounds.
Don't underestimate how effective a simple re-process can be. It's often the quickest and cleanest way to fix bleed without getting your hands dirty with manual edits.
Cleaning Up Lingering Reverb and Delay
Sometimes the vocal itself is crystal clear, but it’s still swimming in the reverb or delay from the original mix. These time-based effects smear the sound across the stereo field, making it hard for the AI to tell where the "dry" voice ends and its "wet" echo begins.
A little post-processing in a DAW can work wonders here. A noise gate is your best friend for this task. It’s a simple tool that silences any audio that drops below a volume level you set.
By adjusting the gate's threshold to sit just above the quiet reverb tail but below the main vocal phrases, you can surgically chop off the unwanted ambience between words. This gives you a much tighter, cleaner acapella almost instantly. For a natural sound, start with a fast attack and a medium release so you don’t accidentally cut off the singer’s words.
Dealing with Phasing Artifacts
Ever isolate a vocal and find it sounds thin, watery, or has a weird metallic sheen? Those are phasing artifacts, a common side effect of the separation process, especially with older, less effective tools.
This problem goes way back. The old-school phase-cancellation methods from the 1970s only worked about 30-40% of the time and almost always left nasty artifacts behind. Modern AI is a world away from that. For instance, RipX DAW was hitting 90% vocal isolation by 2018, and today, Isolate Audio’s Precision Mode can achieve 92% purity on even complex tracks. You can read more about the history of audio separation on hitnmix.com.
If you hear these strange artifacts, it’s usually a sign the AI had a tough time with the stereo information in the original file. Your best bet is to go back to the source and re-run the file using the Best quality preset in Isolate Audio. If you're also hearing some low-end mud along with the phasing, a simple high-pass filter can clean that right up. We have a whole guide on how to use an audio high-pass filter to tidy up your low frequencies.
Creative Ways to Use Your New Acapella
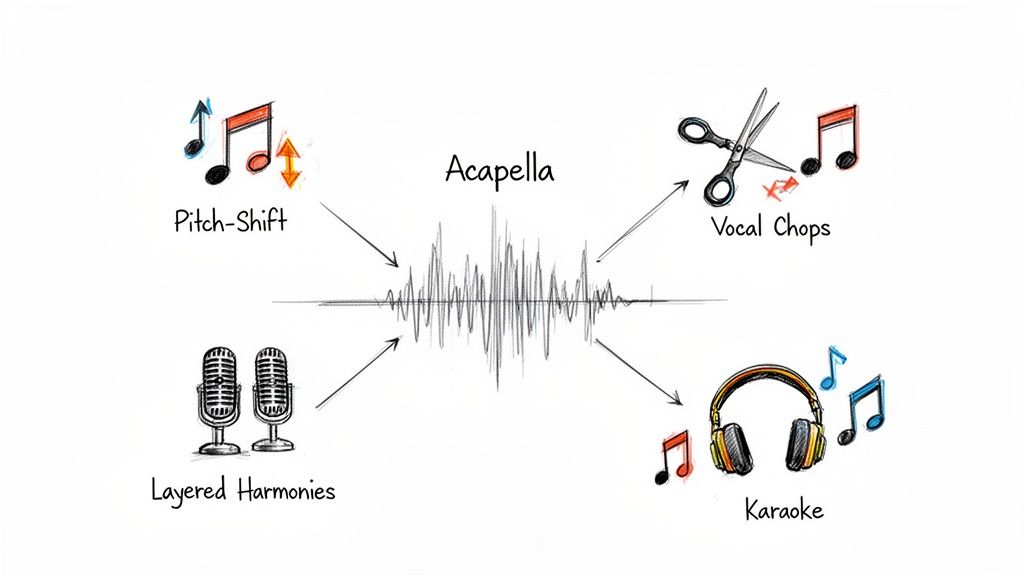
Alright, you've got your hands on a clean vocal stem. The technical part is done—now the fun really begins. An isolated acapella isn't just a leftover piece of a song; it's a powerful ingredient, a starting point for something completely new. Forget just making karaoke tracks; we're talking about a whole universe of creative possibilities.
Whether you're a producer, a filmmaker, or a DJ, that pristine vocal is your new playground. You can twist it, chop it, and weave it into projects in ways that used to require getting your hands on the original studio multitracks. Let's dive into some practical, real-world ways to put that acapella to work.
Remixing and Music Production
For any music producer, a good acapella is gold. It’s your chance to build an entirely new sonic world around a vocal you love, sparking fresh remixes and inspiring completely original tracks.
One of the first moves is usually getting the vocal to play nice with a new tempo and key. Your DAW’s built-in tools make it easy to time-stretch the acapella to your project’s BPM or pitch-shift it to fit a new chord progression. This step alone can completely transform the vibe of the original performance, taking it from a ballad to a dance-floor filler.
The real magic happens when you stop thinking of the vocal as a static recording and start treating it like a malleable instrument. Chopping, layering, and processing an acapella can unlock new rhythms and textures you never knew were there.
A classic technique is creating vocal chops. This means slicing the acapella into tiny, rhythmic phrases—sometimes down to a single syllable. Load those slices into a sampler, and suddenly you can play them on your keyboard like a new instrument, crafting catchy hooks and hypnotic patterns. This is a signature sound in electronic music, pop, and hip-hop. If you're just getting started, understanding the basics of how to remix a song will give you a great foundation.
Layering and Vocal Harmonies
That one solo vocal line can be the seed for a whole garden of rich, complex harmonies. Once you have the clean acapella, duplicating the track is your ticket to building lush backing vocals from scratch.
Here are a few ideas to try:
- Classic Harmony: Duplicate the vocal track, pitch it up a perfect third or fifth, and mix it in gently behind the main vocal for that instant professional sound.
- Add Weight with an Octave: Make a copy of the acapella and drop it down a full octave (-12 semitones). Tuck this layer quietly into the mix; it adds a surprising amount of warmth and power without being obvious.
- Formant Shifting for Texture: For a more advanced trick, use a formant shifter on your harmony layers. This changes the character of the voice itself—making it sound like different singers are performing the parts, not just pitch-shifted clones.
These techniques can add serious emotional depth and a polished sheen to your production, turning a simple lead into a full-on choral arrangement.
For Podcasters and Filmmakers
This isn't just about music. If you work with spoken word, getting clean dialogue is everything. After you've pulled dialogue out of a noisy video recording, you gain an incredible amount of control over the final sound.
Now you can run targeted noise reduction to eliminate any lingering hiss or air-conditioning hum without killing the natural room tone. Better yet, you can use an EQ to carve out space for the voice, maybe cutting some muddy low frequencies and adding a little boost around 2-5 kHz to enhance clarity and intelligibility.
This kind of control is what separates amateur from pro. It ensures your dialogue cuts through any music bed or sound effects, keeping your audience locked in and engaged, even if the original recording was less than ideal.
Common Questions About Isolating Vocals
Even with the best tools, a few questions always come up when you start pulling vocals out of a mix. It's totally normal. Getting these details right can be the difference between a clean, usable acapella and a muddy mess.
Let's clear up some of the most common sticking points, from file types to those tricky legal questions.
What's the Best File Format to Use for Vocal Isolation?
For the absolute best results, you want to start with a lossless audio file. Think WAV or FLAC. These formats are the audio equivalent of a raw photo—they contain every last bit of the original sound data, giving the AI the cleanest, most detailed information to work with.
You can definitely use compressed files like an MP3 or M4A, and often the results are still great. Just know that those formats throw away some data to keep the file size small. This can sometimes make it harder for the algorithm to tell the difference between a vocal and, say, a synth pad that's sitting in a similar frequency range.
Here's a simple rule I always follow: the better the quality of the audio you put in, the better the quality of the vocal you'll get out. It's the classic "garbage in, garbage out" scenario, and it really holds true for audio separation.
Is It Legal to Use Vocals I've Isolated From a Song?
This is a big one, and you absolutely need to get it right. Just because you can pull a vocal from a copyrighted track doesn't mean you have the right to use it however you want. The original song and the recording are still someone else's property.
Here’s how to think about it:
- For your ears only? If you’re just making a remix for yourself to practice with or to listen to in your car, you're generally fine. This is considered personal use.
- Going public? The second you want to use that vocal in a track you're releasing, a DJ mix on SoundCloud, or a YouTube video, you must get permission.
To do it by the book, you'll need to secure licenses from the people who own the copyright. That usually means contacting the music publisher (who owns the song itself) and the record label (who owns that specific recording). Using copyrighted vocals without a license can lead to takedown notices, copyright strikes, or worse. It’s always better to be safe than sorry.
Why Can I Still Hear Faint Instruments in My Acapella?
Ah, the old "instrument bleed." It's a super common problem, and it usually boils down to a couple of things.
In really busy or complex mixes, a vocal and an instrument—like a bright synth or the crack of a snare—can occupy the exact same sonic space. When their frequencies overlap like that, even the smartest AI can struggle to untangle them perfectly.
The other major culprit is heavy effects, especially reverb and delay. These effects act like a sonic glue, smearing the vocal across the instrumental bed. This makes it tough for the algorithm to find a clean edge between the "dry" vocal and the "wet" effects that blend into the rest of the track.
If you're running into bleed, here are a few things to try:
- Crank Up the Quality Setting: In a tool like Isolate Audio, always go for the highest-quality option available, like the 'Best' or 'Precision Mode' presets.
- Use a Lossless Source File: As we talked about before, a high-res file gives the AI more data to work with, which almost always improves accuracy.
- A Little Post-Processing Goes a Long Way: Don't be afraid to pull the stem into your DAW for a final touch-up. A little surgical EQ can often notch out those last lingering instrumental sounds without hurting the vocal.
Ready to stop hunting for acapellas and just make your own? Isolate Audio gives you the power to extract clean vocals, instruments, or any sound from your audio files with simple text prompts.
Try Isolate Audio for free and hear the difference for yourself.