
Remove Background Music from Video: 2026 Guide
A client sends you a finished interview, and the problem is obvious within the first few seconds. A polished music bed sits under the speaker, the licensing has changed, and the original session contains no separate music stem. Muting the track isn't an option because the dialogue, room tone, and effects are all printed into the same mix.
That's the challenge when you need to remove background music from video. You're not deleting a waveform. You're trying to preserve consonants, breaths, ambience, and timing while reducing a second signal that may occupy the same frequencies. The workflow below treats dialogue preservation as the priority, then uses separation, DAW repair, quality control, and rights checks to produce a file that survives an actual edit.
Why Removing Background Music from Video Is Harder Than It Looks
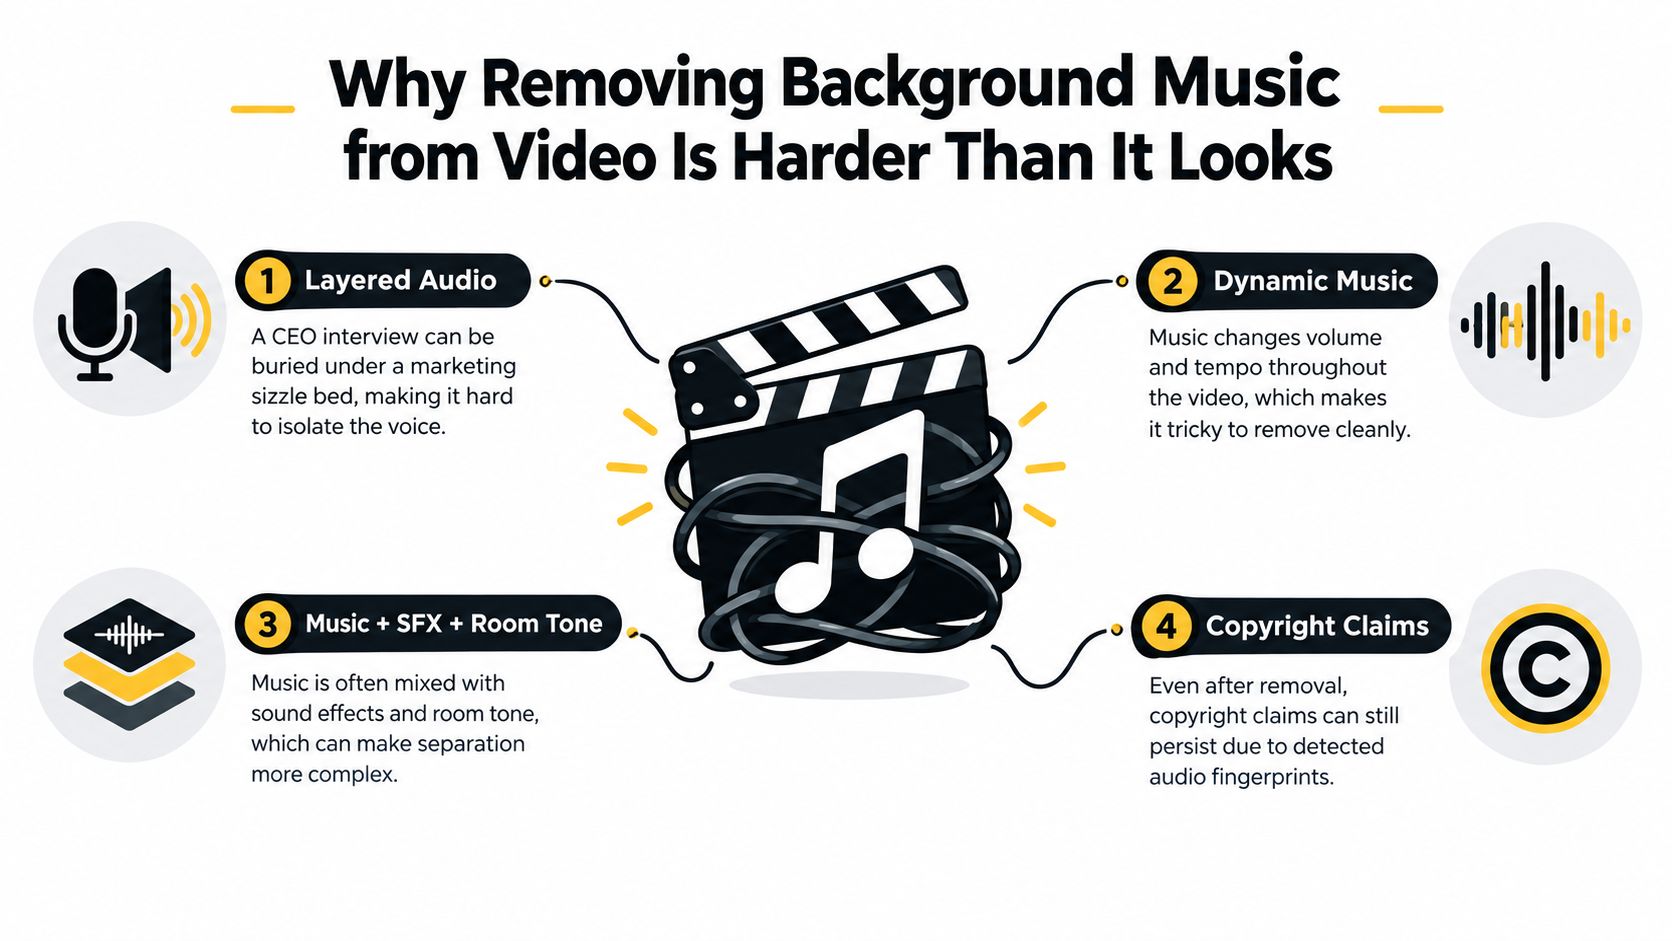
The first mistake is treating a mixed soundtrack as if it contains removable layers. In a finished stereo file, a CEO's voice may overlap with guitars, synths, cymbals, and bass. Dialogue often sits strongly in the center, but music can also contain centered vocals, snare energy, reverb, and harmonics in the same range. A simple EQ cut or channel mute can reduce the music, but it can also make the speaker sound thin, muffled, or phasey.
The common failure modes are easy to recognize:
- Muffled dialogue: aggressive high-frequency reduction removes consonants and intelligibility.
- Metallic artifacts: a separator guesses at missing harmonics and produces a watery or robotic texture.
- Hollow room tone: processing removes ambience along with the music, leaving unnatural gaps around words.
- Residual music: sustained pads, reverb tails, and low-level percussion remain under the voice.
- Damaged effects: a method aimed at the music also weakens footsteps, transitions, or environmental sound.
Start by identifying the audio you must save
Before opening a tool, decide whether the deliverable needs dialogue only, dialogue plus room tone, or dialogue plus sound effects. That decision changes the separation request and the amount of repair you can safely apply. If an interview needs to feel natural, preserving the original ambience may matter more than achieving absolute silence between phrases.
Copyright pressure also makes this a practical production task, not just a technical one. Music videos and many videos containing background music were unavailable on YouTube in Germany from the end of March 2009 until October 31, 2016, when YouTube and GEMA reached a licensing agreement after a seven-year dispute. The history is documented in the YouTube censorship timeline, and it illustrates why editors sometimes need a clean spoken version for distribution, approval, or regional delivery.
Practical rule: Preserve the voice first. A little controlled music bleed is often less distracting than a voice that sounds synthesized.
Separating Music with AI Tools Step by Step
AI separation is the fastest first pass when the source is a finished mix and the music has enough stereo or tonal distinction for a model to recognize it. I use it as a stem-generation stage, not as an automatic approval step. The output still needs to return to the timeline beneath the original so you can compare it against picture and ambience.
Prepare the source without making the model's job harder
First, extract the audio from the video container. If the editor provides a WAV, use it. If the only available source is MP3, upload the highest-quality copy and avoid repeated conversions. Keep the original stereo arrangement intact unless the tool specifically requires a different format. A downmix can remove spatial cues that help distinguish a wide music bed from centered speech.
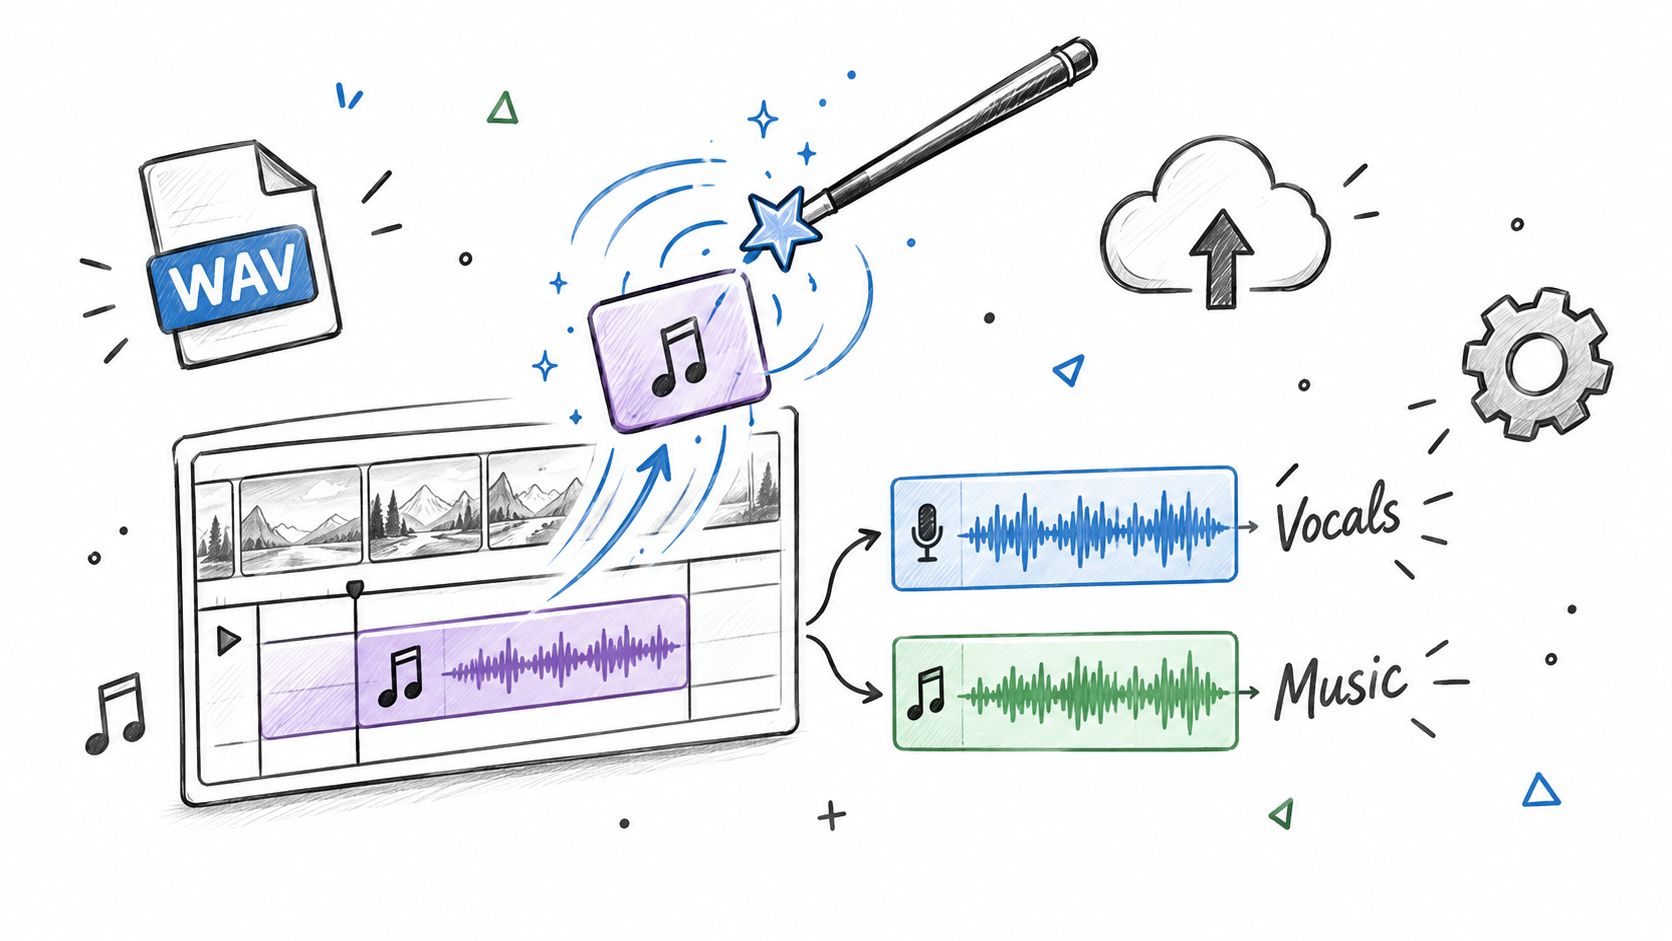
In Isolate Audio, upload the audio or video file, then describe the target in plain language. A useful request is “remove the background music and sound effects, keep dialogue” when you need spoken content alone. If effects must remain, say so explicitly. Natural-language instructions are more useful than a vague “remove music” request because they define what the output should preserve.
The platform supports audio and video uploads and provides separate isolated and remainder outputs, so you can keep the result as a new stem rather than destructively replacing the source. The workflow is described in this guide to audio removal.
Choose control over speed for difficult mixes
Use a high-quality preset when the music shares the dialogue band, contains prominent vocals, or changes rapidly between sparse and dense passages. Precision Mode is appropriate for hard mixes, especially when the music is heavily stereo-panned or has long reverb tails. It takes longer, but the extra processing is preferable to a fast pass that destroys the speaker's upper-mid detail.
Download the dialogue stem and import it onto a new track beneath the original in Premiere Pro, DaVinci Resolve, or your preferred NLE. Disable the original track for the first listen, then switch between the two. Keep the source muted rather than deleting it. That makes the process reversible and lets you recover room tone or effects from the original later.
Expect separation to be incomplete. In source-separation evaluation, SDR measures overall separation quality, SIR reflects remaining interference, and SAR captures artifacts. A baseline single-sensor speech/music study reported speech SDR around 5.4 dB and music SDR around 3.0 dB, showing why a basic pass can leave meaningful leakage and artifacts, particularly on music. The results are discussed in the speech/music separation paper.
Modern systems can perform materially better, but “better” doesn't mean silent music. A three-stem benchmark reported SI-SDR improvements of 11.0 dB for music and 11.2 dB for speech on 60-second mixtures, according to the MERL benchmark report. Percussive transients, centered sung vocals, and wide stereo effects remain the places where I expect to do manual cleanup.
DAW Techniques When AI Separation Falls Short
When the separated dialogue sounds hollow, the source mix is mono, or the music contains heavy reverb, a DAW gives you more useful control than another blind pass. The aim isn't to erase every trace of the bed with one processor. It's to reduce the most audible components while keeping the voice believable.
Use channel information carefully
In Premiere Pro or DaVinci Resolve Fairlight, inspect the stereo image before processing. Dialogue often has strong mid information, while a music bed may spread into the sides. A mid/side EQ can therefore reduce side-channel energy above 200 Hz, while leaving the mid channel comparatively intact. This isn't a universal fix. Centered music, centered vocals, or a narrow stereo recording will defeat the assumption, so bypass the EQ frequently and compare it with the original.
A gentle dynamic EQ can also follow the dialogue envelope. Instead of applying a constant cut, automate or sidechain a reduction in the music-heavy range only when the speaker is talking. Keep the reduction conservative. The more aggressively you carve, the more likely the voice will lose presence and the room will pulse unnaturally.
Repair visible events instead of processing everything
In Audition, Reaper, or another full DAW, spectral editing is useful for isolated hits. Paint out obvious cymbal strikes, music stabs, or exposed transitions frame by frame, then audition the edit in context. Spectral repair works best when the unwanted event doesn't completely mask the voice. If the music and speech are fully coincident, the editor has less information to reconstruct the missing material.
For replacement voiceover, time-stretch the cleaned dialogue only as much as necessary to match picture, then place a suitable room-tone bed underneath. That layer hides abrupt noise-floor changes and makes edits feel less processed. Dialogue repair guidance from this dialogue separation workflow is useful when the task has moved beyond simple music reduction.
Don't chase an empty waveform. Chase a natural scene in which the listener stops noticing the repair.
Choosing the Right Method for Your Project
The best method depends on the mix, the dialogue, and how much revision the client expects. AI is usually efficient for a clean stereo music bed and a short deadline. Manual DAW work wins when the recording has unusual channel behavior, live bleed, or music with dense reverb. A hybrid pass is often the safest production choice because it combines fast separation with human judgment.
| Method | Audio Quality | Speed | Reversibility | Best For |
|---|---|---|---|---|
| AI Separation | Strong first-pass reduction, with possible leakage or artifacts | Fast | High when the original remains in the timeline | Clean stereo beds, interviews, short-turnaround edits |
| DAW Techniques | Highly controllable, but dependent on editor skill | Slower | High when edits and automation remain separate | Mono dialogue, live recordings, dense or reverberant mixes |
| Hybrid Workflow | Usually the most practical balance of reduction and natural voice quality | Moderate | High | Broadcast-style cleanup, client review, difficult dialogue |
Match the tool to the source
A cloud processor is convenient when you need to upload a video, describe the target sound, and receive stems without maintaining local processing hardware. A desktop workflow with tools such as Demucs or RX gives you more local control and can suit sensitive material or established restoration pipelines. The trade-off is setup, storage, processing time, and the need to manage model or plug-in settings yourself.
Reversibility matters more than many editors expect. Keep the original media, extracted audio, AI stems, DAW renders, and final mix as separate versions. If the client later asks to restore a sound effect or reduce the cleanup, you should be able to adjust the decision without rebuilding the sequence.
Outsource when the clip count is large, the deadline is fixed, or the client expects specialist restoration. Handle it in-house when the edit is changing daily and the audio decisions depend on picture timing. For most real timelines, the hybrid path is the sensible default: generate a dialogue-focused stem, clean only the remaining problem areas, and retain the original for comparison.
Verifying Clean Audio Without Killing Dialogue
A clean-looking waveform proves almost nothing. Quality control should combine listening, visual inspection, and objective separation measures. SDR, SIR, SAR, and SI-SDR help describe what changed, but they don't replace an editor checking whether a breath, consonant, or room reflection still sounds human.
Start with an A/B comparison against the original. Listen at a quiet level first, because residual music can hide behind loud playback. Then use headphones to find phase movement, metallic shimmer, clipped syllables, and reverb tails that disappear when the music is reduced. Switch to speakers afterward, since some artifacts are obvious in headphones but irrelevant in a normal viewing environment, while others become more noticeable through small speakers.
Inspect the gaps and the words
Use a spectrogram to locate repeating harmonic bands, percussion bursts, and unnatural holes around speech. The fastest red flags are:
- Music tails remain: sustained notes continue after the separator has reduced the main bed.
- Voice loses consonants: “s,” “t,” and “k” sounds become dull or smeared.
- Phase shifts occur: the voice moves or widens when the speaker turns their head.
- Room tone pumps: the background rises and falls in rhythm with the dialogue.
- Artifacts repeat: the same metallic texture appears on similar words or transients.
For longer material, rerun difficult passages as shorter chunks instead of forcing one model pass across the entire file. The benchmark work cited earlier used longer test mixtures to expose stability and leakage issues, which is a useful production principle even when your own clip is shorter or longer.
You'll also need to restore sync after replacing audio. If the clean stem doesn't line up with the picture, use a dedicated workflow such as how to sync video audio to check alignment before judging the separation quality. Don't approve a stem that sounds clean in isolation but drifts against the speaker's mouth.
Rights, Licensing, and Platform Export Workflows
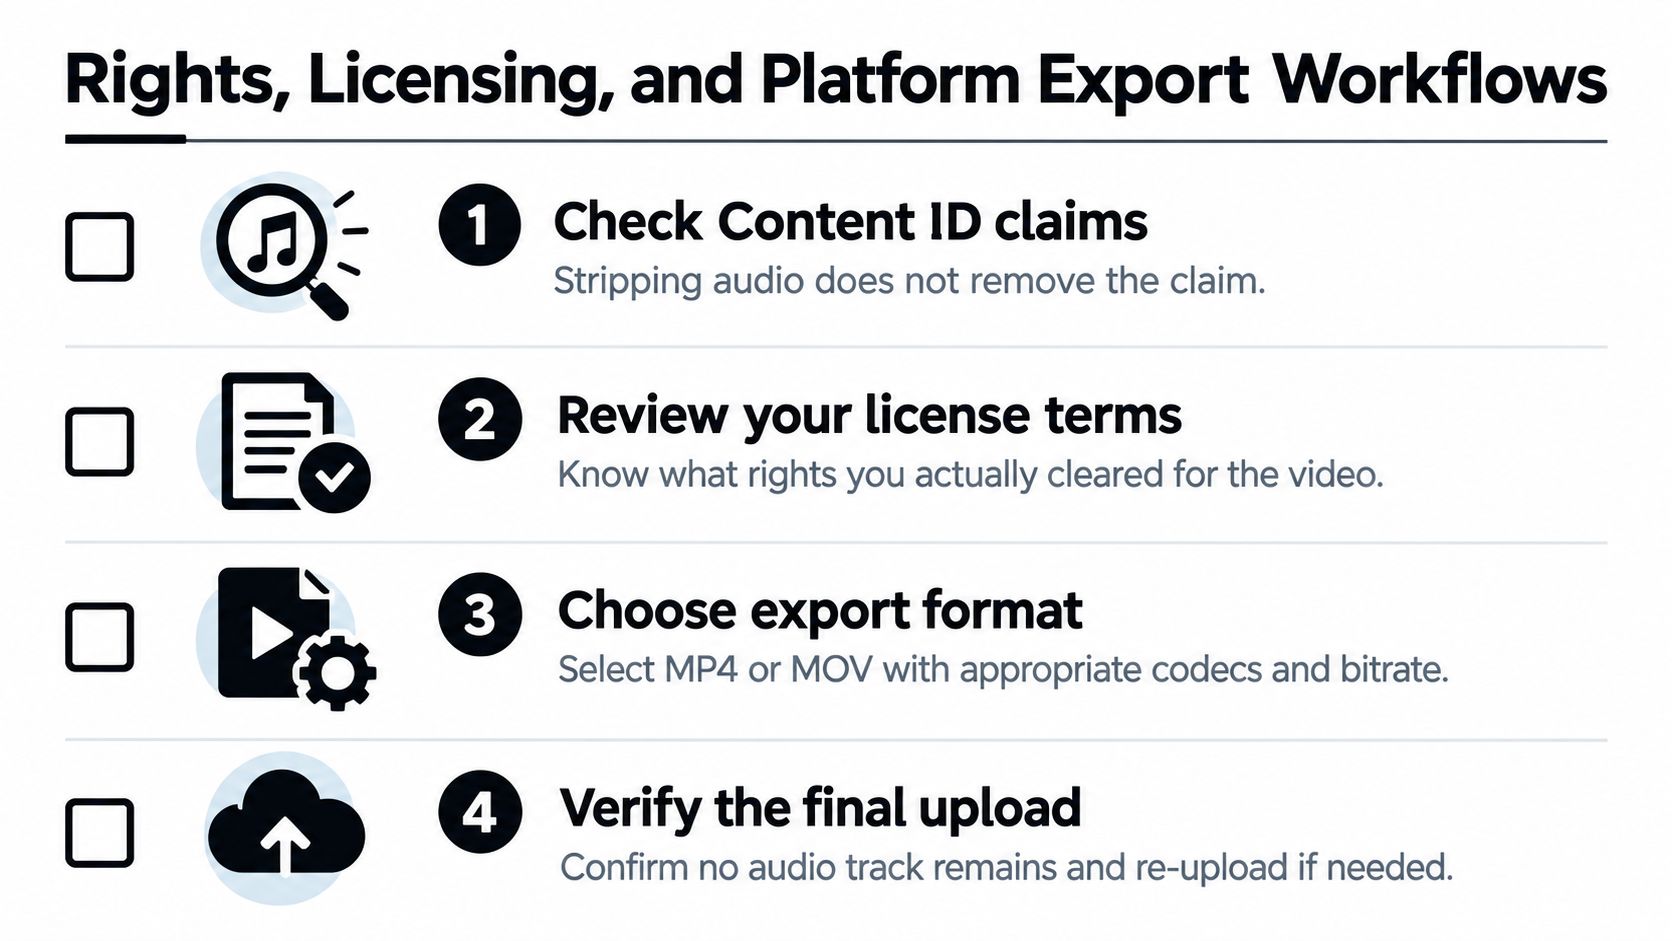
Removing music from the soundtrack doesn't automatically remove the rights history attached to the video. A platform may identify the original song in an uploaded version, or a client may still need documentation showing what was licensed, replaced, or removed. A clean dialogue render solves an audio-editing problem. It doesn't create permission to use the underlying recording.
Start with the source and delivery records:
- Check the original claim status. Save the source export and any Content ID or platform notices before replacing audio.
- Review the license terms. Confirm the territories, media, duration, and permitted edits covered by the agreement.
- Create a clean approval file. Supply a dialogue-focused audio or video export so the client can confirm what remains.
- Upload a verified final. Check the actual rendered file, not just the sequence, for muted tracks, embedded audio, and unexpected stems.
Treat each platform as a separate delivery
For social exports, use the platform's current requirements and the client's approved aspect ratio, codec, and audio settings rather than assuming one master will behave identically everywhere. Instagram Reels, YouTube Shorts, and TikTok versions may use different picture layouts, but the important audio check is the same: open the encoded file, confirm the intended track is present, and inspect the final mix after re-encoding.
For broadcast delivery, retain the requested master and a separate audio-only fallback when the client needs approval or compliance review. Regional rights can differ, so a track cleared in one market may still create a monetization or blocking issue elsewhere. The long YouTube and GEMA dispute remains a useful reminder that embedded music can affect distribution, not merely sound quality.
If you need to document sample or source treatment, keep the process notes with the project. A resource such as this guide to clearing samples can help organize the rights conversation, but legal approval still belongs to the rights holder or qualified counsel.
Troubleshooting and Final Checklist
Treat the final pass like an operator briefing. Most failures fall into three groups: music bleed that survived the separator, robotic artifacts caused by aggressive processing, and sync drift introduced while the new stem was rendered or re-imported.
Diagnose the problem before changing the whole mix
Residual bleed usually means the model couldn't distinguish a sustained or centered music element from the voice. Compare the processed stem with the original at low volume, then isolate the worst passage. Re-run that passage with a different separation setting or a more precise mode instead of degrading the entire file.
Robotic vocals indicate that the separator removed or reconstructed too much information. Reduce aggressiveness, try another model or preset, and blend a small amount of the original dialogue back if the music is acceptable at that level. A natural voice with faint, controlled bleed is usually more usable than a completely isolated voice with obvious digital damage.
Sync drift often appears after long exports or when an audio file has been interpreted with the wrong sample-rate behavior. Check the first and last spoken syllables against picture, then perform a 0.5-second waveform offset check around a clear consonant or clap. If alignment changes over time, rebake the audio in the NLE and verify the rendered file rather than nudging individual clips blindly.
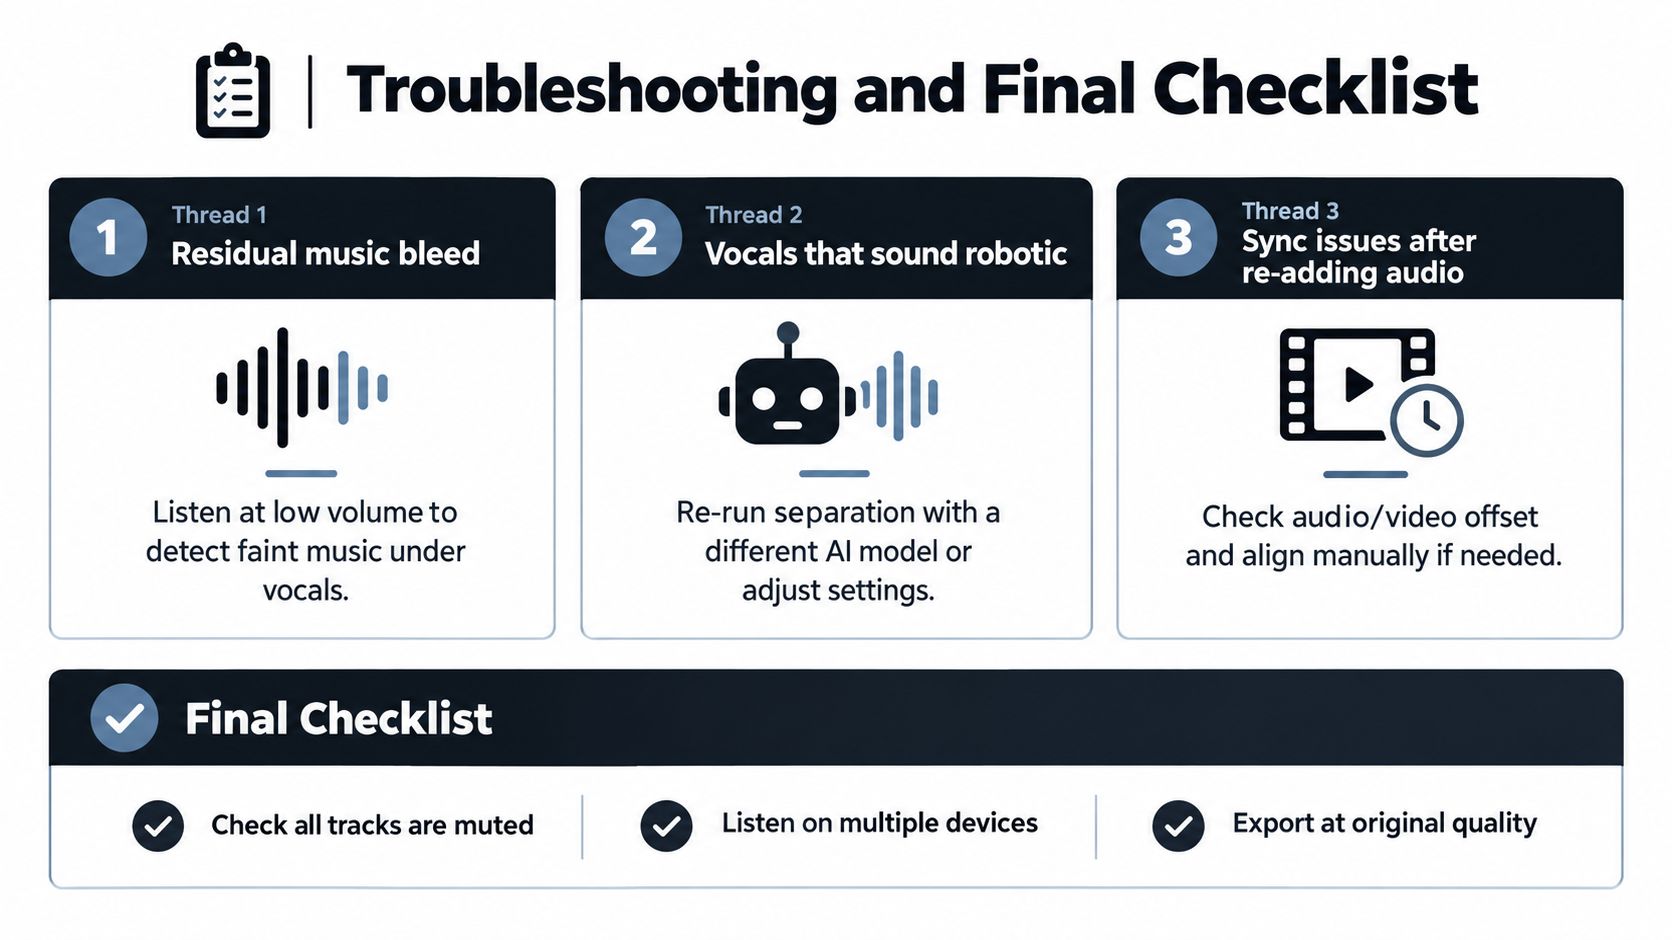
Before delivery, run this short checklist:
- Dialogue peaks: Keep the cleaned voice around -6 to -10 dB peaks when that matches your mix and delivery workflow.
- Limiter headroom: Leave safe peak headroom instead of pushing the repaired stem into clipping.
- Reference listens: Check the result on phone speakers and studio monitors.
- Track state: Confirm every unintended original or music track is muted.
- Waveform record: Save a screenshot of the final waveform before delivery.
- Picture check: Watch the complete export, not just the audio file.
- Client file: Provide the clean render and preserve the original mix separately.
Isolate Audio lets you upload a video or audio file and describe the sound you want to keep or remove in plain English, including a request to remove background music while preserving dialogue. Use Isolate Audio for the first separation pass, then bring the resulting stem back into your NLE for the A/B checks and manual cleanup described above.