How to remove drums from song: The Easy Way
It used to be an audio engineer's nightmare, but taking the drums out of a song is now something anyone can pull off in just a few minutes. This opens up a ton of creative doors, whether you're making a custom backing track for practice or cooking up a unique remix for a live set.
Why Bother Removing Drums From a Song?
Stripping the drums from a track is more than just a neat trick. For musicians, producers, and DJs, a drumless version of a song is a seriously practical and powerful tool. It takes a finished piece of music and turns it into a flexible building block, ready for all sorts of new projects.
What once felt impossible is now incredibly accessible, and that's all thanks to huge leaps in audio separation tech. To give you an idea, the Sound Demixing Challenge 2023 saw new systems improve signal clarity by over 1.6dB compared to just two years earlier. That’s a massive jump in how well we can isolate instruments like drums from a busy mix. You can dig deeper into these advancements in AI-powered audio separation if you're curious.
Crafting the Perfect Practice Tool
One of the biggest reasons people want to pull the percussion out of a song is for practice. If you're a drummer, there's no better way to sharpen your skills than playing along to a track without its original drum part. It gives you the space to try out your own fills, lock into different grooves, and put your own spin on things instead of just copying the recording.
It’s not just for drummers, either. Bassists and guitarists get a much clearer sonic space to work with. When the drums are gone, it's easier to lock in with the bassline, melody, and harmony, which really helps improve your own timing and feel.
Unlocking New Remix and Sampling Ideas
Producers and DJs are always on the hunt for fresh sounds. When you take the drums out, you're left with a clean vocal and instrumental—perfect raw material for sampling, remixing, or mashing up. Think about it: you could layer the vocals from a classic soul track over a modern beat or chop up an instrumental hook without a kick drum messing up the rhythm.
Pro Tip: Isolating the non-percussive parts of a song is like getting your hands on the original multitrack stems. It gives you a level of creative control that used to be reserved for studio pros with access to the master tapes.
This also makes for way cleaner transitions in a DJ set. You can drop a clean acapella over the beat of a completely different track for a seamless mix. For producers, it means getting high-quality samples without any rhythmic baggage, making sure your new creation sounds polished from the start.
Before we dive into the "how-to," let's quickly look at the different ways you can approach this. Each method has its own strengths and is suited for different situations.
Methods to Remove Drums From a Song at a Glance
| Method | Technology | Best For | Result Quality |
|---|---|---|---|
| AI Stem Separation | Machine Learning | Quickly and cleanly isolating drums from a finished stereo mix. | Excellent to High |
| Phase Cancellation | Audio Inversion | When you have both the full mix and an instrumental version. | Very High |
| Spectral Editing | Frequency Manipulation | Surgical removal of specific drum hits (e.g., a single snare). | Good to Excellent |
| Multitrack Stems | Original Recordings | When you have official access to the individual instrument tracks. | Perfect (Studio Quality) |
This table gives you a snapshot, but for most people, AI is going to be the fastest and most effective route. Now, let's get into the specifics of how it's done.
Using AI for Flawless Drum Removal
Artificial intelligence has completely changed the game for anyone wanting to pull the drums out of a song. What used to be a painstaking process demanding specialized software and hours of tweaking can now be done with incredible accuracy in just a few minutes. Modern AI tools, like Isolate Audio, have gone way beyond basic stem splitters, giving you a level of control that feels less like a technical chore and more like a creative conversation.
The whole idea is beautifully simple: you feed the AI an audio file and just tell it what you want to isolate or remove. Instead of being stuck with generic buttons like "drums" or "vocals," you can get surgical. This opens up a world of creative possibilities that just wasn't accessible to most of us before.
Getting Started with an AI Separator
The first step is usually the easiest. Most modern platforms, including Isolate Audio, have a simple drag-and-drop interface. All you have to do is upload your audio file—it could be a high-quality WAV for a serious remix or a handy MP3 you grabbed for a quick practice session.
Once your file is uploaded, the real fun begins: writing the prompt. This is where you give the AI its marching orders.
Crafting the Perfect Prompt for Drum Removal
Think of the prompt as your direct line to a highly skilled audio engineer. If you’re vague, you’ll get vague results. But if you’re specific, you can achieve incredibly clean and targeted separations.
- For a broad removal: A simple prompt like "drums" is your go-to. It tells the AI to find and remove the entire drum kit, which is perfect for creating a standard backing track.
- To target specific elements: You can get much more granular. Try something like "kick and snare only" to isolate just those core rhythmic pieces while leaving the cymbals and other percussion in the original mix.
- For taming harsh textures: Need to pull back some of that high-frequency sizzle? A prompt like "cymbals and hi-hats" will pull out only the metallic, shimmery parts of the kit. This is a great trick for cleaning up a mix that feels a bit too bright.
The real power of using natural language is that it molds to what you're trying to do. You're not boxed in by presets or toggles; your only real limit is how well you can describe the sound you want to affect. This is honestly the secret to getting clean, artifact-free results.
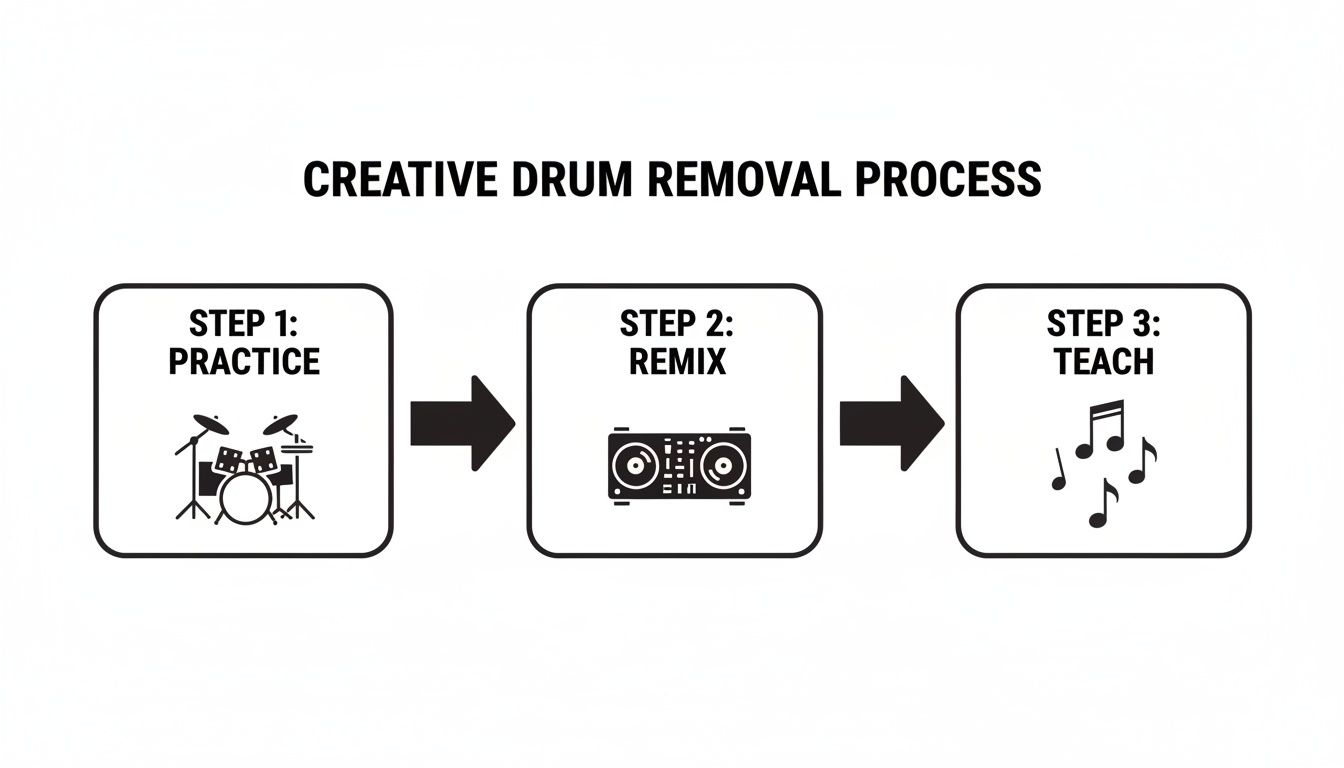
From practice and production to teaching, pulling the drums is often the first creative step.
Choosing the Right Quality Settings
After you’ve nailed your prompt, you’ll need to pick an export quality. This isn't just about file size; it’s a decision you should base on what you plan to do with the final audio.
| Setting | Best Use Case | Technical Details |
|---|---|---|
| Fast | Great for creating a quick practice loop or a rough demo. | Uses a simpler algorithm for speed, which might leave behind minor audio artifacts. Perfect for non-critical listening. |
| Balanced | Your all-around choice for things like making a karaoke track or a simple mashup. | Strikes a nice balance between processing speed and audio fidelity. It's solid for most applications where perfection isn't the end goal. |
| Best | Essential for professional remixing, sampling, or any project where audio clarity is paramount. | This setting runs the most intensive processing, giving you the cleanest separation and highest fidelity. It usually exports to lossless formats like WAV. |
For any serious production work, I always recommend using the Best quality setting and exporting as a lossless file like WAV. The difference in clarity can be night and day, especially once you start layering the separated audio with new elements in a full mix. If you're looking to create complete instrumentals, you might get a lot out of our guide on how to make instrumental music to popular songs, as it builds on these same techniques.
Using Precision Mode for Complex Mixes
Every so often, you’ll come across a track where the drums are just completely buried in the mix. Think about a dense funk song where the snare hit and a rhythm guitar stab land at the exact same time and share a lot of the same frequencies. A standard AI separation might struggle here, potentially yanking out a piece of the guitar along with the snare.
This is exactly why a feature like Precision Mode exists.
When you flip it on, you’re telling the AI to do a much deeper, more resource-intensive analysis of the track. It starts paying closer attention to subtle sonic details—the timbre, the attack, the decay—to make a smarter decision about what is actually a snare versus what's a guitar.
Using Precision Mode is like putting the audio under a microscope. It takes a bit longer to process, but for those really tricky songs, it’s the key to getting a truly clean and usable separation. It makes sure that when you remove the drums, you’re only removing the drums.
Exploring Traditional Drum Removal Techniques
While AI tools have completely changed the game, it's worth understanding the old-school audio engineering tricks. These classic techniques, born out of necessity in the analog and early digital eras, still have their place and give you a much deeper appreciation for how sound actually works.
Before sophisticated algorithms could just lift the drums out for us, engineers had to get seriously creative. These methods are often more situational and way less forgiving than AI, but knowing how they function can help you tackle unique audio challenges.
Phase Cancellation: An Old-School Trick
One of the oldest tricks in the book is phase cancellation. The concept is brilliantly simple: if you have two identical sound waves and you flip one upside down (inverting its phase), they cancel each other out completely. Silence.
So, how does that help with drums? You need two things: the original full song and its official instrumental version. If you line them up perfectly in your audio editor and invert the phase on the instrumental, all the matching instrument parts will cancel out. In theory, this leaves you with only the elements that were different between the two versions—usually the vocals, but often some leftover percussion too.
The big catch here is that this process often squashes your audio down to mono and can leave behind some weird, swirly-sounding artifacts. It's also entirely dependent on having a perfectly matched instrumental track, which is a rare find for most songs.
Spectral Editing: The Surgical Approach
What if you just need to get rid of a single, annoying drum hit—like a stray cymbal crash or a tom fill that's way too loud? That’s where spectral editing shines. Tools like iZotope RX let you look at a song's frequency content over time, kind of like a heat map for sound.
Think of it as Photoshop for your audio. You can literally see the bright splash of a snare hit or the low-end blob of a kick drum and just "paint" it out of the mix.
Spectral editing gives you incredible precision for small fixes. But trying to remove the drums from an entire song this way would be an unbelievably tedious task, like editing a feature film one frame at a time.
It’s the perfect tool for surgical repairs, not for a full-scale drum removal project.
Multitrack Stems: The Holy Grail
Of course, the absolute best way to remove drums from a song is to have never mixed them in to begin with. The "gold standard" for any kind of audio separation is getting access to the original multitrack stems. These are the individual recordings for each instrument or group of instruments.
If you have the drum stem, "removing" it is as simple as hitting the mute button on that track. This is the only way to guarantee a perfectly clean result with zero artifacts because you’re working with the original, isolated source files. You can learn more about what stems are and why they matter in our detailed guide on the topic.
The problem? Getting your hands on official stems for a commercially released track is next to impossible unless you're the original artist or producer. Labels guard these assets carefully, making this more of an ideal scenario than a practical option for most of us. Economic pressures also play a role; as industry economic insights show, the music industry is constantly looking for more efficient workflows, which is why AI-based tools have become so valuable for tasks that once required exclusive access to master recordings.
Pro Tips for Cleaner Audio Separation
Getting a truly clean drum removal goes beyond just picking the right tool. It’s about being strategic. A few smart moves before you even upload the track—and a little cleanup after—can make the difference between a passable result and a professional-sounding stem.
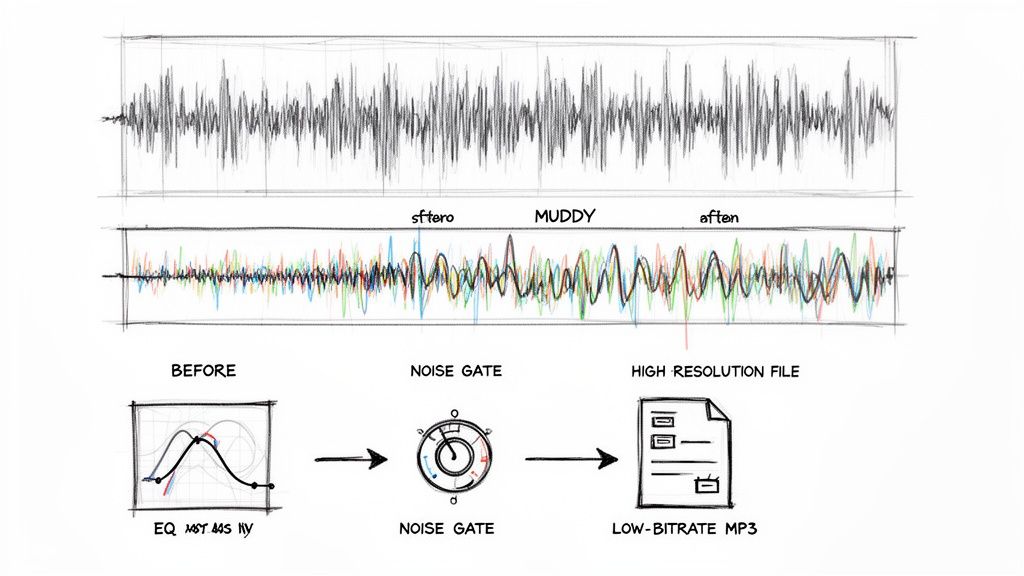
The single biggest factor? Your source audio quality. It’s a classic "garbage in, garbage out" scenario. An AI model is powerful, but it can only work with the data you give it. If you feed it a heavily compressed, low-bitrate (128kbps) MP3, a huge chunk of sonic information is already gone. This makes it tough for the algorithm to tell where a kick drum ends and a bass guitar begins.
Whenever possible, start with a high-resolution file like a WAV or FLAC. This gives the AI the richest, most detailed blueprint to work from, and you'll immediately notice the improvement. The separation will be far more accurate, leaving you with a cleaner track and fewer weird artifacts.
Set Realistic Expectations for Different Genres
I've learned this the hard way: not all songs will cooperate when you try to remove drums from a song. The density of the original mix has a massive impact on the final quality, so you need to adjust your expectations based on the genre.
- Sparse Arrangements (Folk, Acoustic): These are usually a dream to work with. There’s so much space in the mix that the AI can easily identify and lift out the drum parts without touching much else.
- Dense Mixes (Metal, Funk, Orchestral): This is where things get tricky. Cymbals crashing, distorted guitars screaming, and vocals soaring can all occupy the same frequency space. A little bit of audio "bleed" is almost unavoidable here. Knowing that upfront helps you plan accordingly.
Apply Simple Post-Processing Tricks
Once you’ve got your drum-free track, don't stop there. A few simple tweaks in your favorite audio editor or DAW can add that final layer of polish. You don't need to be a mixing wizard for this.
One of the most common artifacts I see is a faint, muddy thump where the kick drum used to be. You can get rid of this in seconds with a gentle high-pass filter or by using an EQ to dip the frequencies around 60-100 Hz. Another great tool is a noise gate, which can automatically cut out any lingering cymbal wash that’s only audible during quiet parts of the song. These little fixes add up.
Key Takeaway: The quality of your source file and a bit of post-processing care are what separate good results from great ones. Always start with a lossless file and plan for a little EQ touch-up.
This push for better stems is driving some incredible innovation. Researchers are now building hyper-focused tools like DOSE (Drum One-Shot Extraction), which can actually pull out individual drum hits from a finished mix using generative models. You can dive deeper into these advanced extraction methods if you're curious. This is a game-changer if you're learning how to remix a song, where having those clean, individual elements is everything.
Common Drum Removal Problems and How to Fix Them
Even with the best tools on the market, you're bound to run into some frustrating issues when you remove drums from a song. You'll often end up with weird audio artifacts, stubborn "ghost" drum hits that linger in the mix, or even find that other instruments got accidentally pulled out with the percussion.
It's a common part of the process. The good news is that most of these problems are totally fixable if you know what you're looking for. Understanding what causes them is the first step toward getting a clean, usable track.
Dealing with Swirling Artifacts
Ever remove the drums only to be left with a strange, watery, or phasey sound? Those are audio artifacts, and they're usually a sign that the AI model got confused trying to separate instruments that occupy the same frequency space.
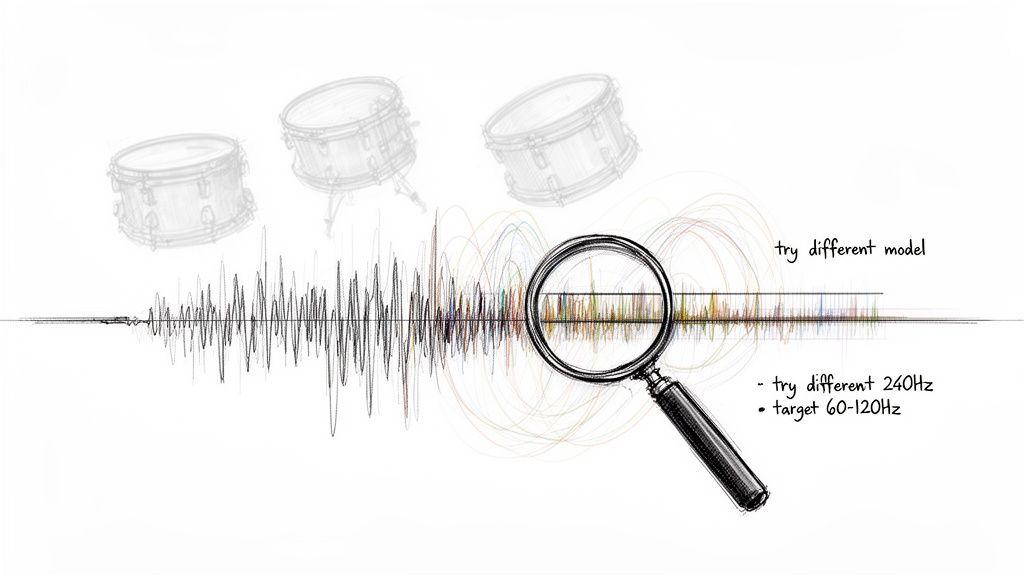
If this happens, your first move should be to run the separation again with different settings. I've found that simply switching to a higher quality preset or toggling a feature like Precision Mode often clears it right up. This gives the AI more data to work with, forcing a more detailed analysis. Trying a completely different AI model can also yield a cleaner result, as each has its own way of interpreting audio.
Key Insight: Artifacts are a sign of sonic confusion. It's almost always better to give the AI more processing power or a different analytical framework rather than trying to EQ out the weirdness after the fact.
Fixing Ghost Drums and Bleed
Sometimes, you’ll get a result that’s almost perfect, but you can still hear the faint trace of a snare drum or the whisper of a hi-hat. We call this "bleed," where a small piece of the drum sound remains in the other instrument tracks.
This is where a more surgical approach comes into play. You can usually hunt down and eliminate these remnants with some targeted EQ.
- Faint Kick Drum: Often, a low rumble is left behind where the kick used to be. A simple high-pass filter on your EQ, gently rolling off frequencies below 100 Hz, can clean this up instantly.
- Ghost Snare: That lingering snare hit can be tamed by finding its core frequency—look for it somewhere between 200 Hz and 500 Hz—and making a narrow cut with your EQ.
- Lingering Cymbals: For that faint cymbal wash, a noise gate can work wonders. It will automatically silence the quiet hiss during gaps in the music, effectively making it disappear.
When the Bass Disappears with the Kick
This is one of the trickiest problems you'll face. The kick drum and bass guitar are often so locked in rhythmically and sonically that an algorithm can easily mistake one for the other. When you remove the kick, you're left with a thin, weak bassline.
If you notice your low-end has vanished, try feeding the AI a more specific prompt. Instead of a generic command to remove "drums," ask it to isolate "cymbals, snare, and toms." By telling it to ignore the kick drum, you can often preserve the low-end foundation of your track much more effectively.
Got Questions About Removing Drums?
Once you get the hang of pulling drums out of a song, a few specific questions usually pop up. It's totally normal. Nailing down the answers to these common queries will help you tackle your projects with more confidence, especially when you're thinking about sound quality and legal stuff.
So, can you really get a 100% perfect, squeaky-clean separation every single time? The honest answer is, it depends. Modern AI tools are ridiculously good, but the original mix is the biggest variable. For instance, in a super dense metal track where the crash cymbals and distorted guitars are all fighting for the same frequencies, you might hear a few faint sonic crumbs left behind. But for most well-mixed songs, especially if you start with a high-quality file, the result can sound completely drum-free.
Which Audio Format Should I Choose?
The best file format really boils down to what you're planning to do with the final track. If it’s for any kind of serious production, you have to go lossless.
- WAV or FLAC: Stick with these for any studio work, like remixing, producing, or high-quality sampling. They keep every bit of audio data intact.
- High-bitrate MP3 (320kbps): If you're just making a practice track for yourself or a quick karaoke version for fun, a 320kbps MP3 is more than enough. The file size will be much smaller, and you likely won't notice the difference in a casual listening environment.
What About the Legal Side of Things?
This is a big one. Is it actually legal to remove the drums from a copyrighted song? The answer is... it's all about how you plan to use it.
If you’re just using the track for personal practice in your bedroom or creating a DJ edit to play for friends, you're generally in the clear. Think of it as personal use, and you're good to go.
But the second you decide to share your work publicly or make money from it, the rules change completely. Releasing a remix, selling a beat that uses the drumless sample, or posting it online means you've entered copyright territory. To stay on the right side of the law, you absolutely must get licenses from the copyright owners—that means getting the green light from both the music publisher and the record label. Don't skip this step; it's the only way to avoid serious legal trouble.
Ready to create pristine drumless tracks in seconds? With Isolate Audio, you can remove drums using simple text prompts and achieve studio-quality results. Start your free trial today at https://isolate.audio.