How to Remove Drums From Songs A Practical Guide for Creators
So, you want to pull the drums out of a mixed song. This used to be the stuff of legend, a task that took hours of tedious, surgical EQ and phase tricks with results that were often… well, a bit messy. But now, with AI-powered tools, you can get a clean, usable track in just a few minutes. It's a game-changer for turning a finished recording into a new creative starting point.
Why Even Bother Removing Drums From a Song?
Before we get into the nuts and bolts of how, let's talk about the why. This isn't just a cool party trick; it's a foundational skill for anyone serious about working with audio. Being able to strip a track down to its core components opens up a world of possibilities, transforming a static recording into something you can actively shape.
For a lot of us, it's the first real step toward understanding how a song is put together. When you take away the rhythm, you can suddenly hear the interplay between the bassline, the chords, and the melody with total clarity. It turns passive listening into an active-learning session.
For Music Producers, It’s a Creative Goldmine
If you’re a producer or a DJ, a drumless track is basically an open invitation to create. Think about it: you could grab the iconic synth riff from a classic 80s hit and drop your own modern, hard-hitting beat under it. That’s the very soul of remixing, and it all begins with a clean separation.
Being able to pull the drums out means you can:
- Create Unforgettable Remixes: Lay down a completely new rhythmic feel. Turn a rock anthem into a house track or a ballad into a lo-fi beat.
- Craft Seamless Mashups: Ever tried to mix two tracks together, but their kicks and snares just clash horribly? Pulling the drums from one or both solves that problem instantly.
- Isolate and Sample: Grab that perfect bassline or piano progression without any of the original kick drum bleeding through. Your samples will be cleaner and much easier to work with.
An Essential Tool for Practicing Musicians
For anyone who plays an instrument or sings, high-quality backing tracks are indispensable. Removing the drums from a song gives you an instant practice track that sounds professional, not like a cheesy MIDI karaoke file.
This is huge for drummers who want to write and practice their own parts to their favorite songs. But it’s just as valuable for guitarists, bassists, and vocalists who need a solid, clean foundation to play over without the original rhythm section getting in the way.
When you remove the original percussion, you can truly focus on your own timing and groove. You're not just playing along; you're internalizing the song's structure and making it your own.
The Problem-Solver for Content Creators
This technique isn't just for music, either. It’s a lifesaver for podcasters, video editors, and filmmakers.
Imagine you have a great interview, but there's a song with a loud, distracting beat playing in the background. The ability to surgically remove just those percussive elements can rescue the audio, making the dialogue crisp and clear. It’s a precision tool for audio repair that keeps the focus right where it needs to be: on the story you’re telling.
The Modern AI Approach to Drum Removal
Let's be honest, the old ways of removing drums were a nightmare. Anyone who's spent hours wrestling with phase cancellation or surgical EQs knows the pain of ending up with a muddy, artifact-riddled mess. Those days are thankfully behind us. Modern AI tools have completely changed the game, giving us the power to pull drums from a mixed track with a clarity we could only dream of a few years ago.
This isn't just about getting a "good enough" result anymore. We're talking about professional-grade separations you can confidently use in a final mix.
Instead of just blindly hunting for frequencies, today’s AI actually listens and understands the context of the music. It can tell the difference between the crack of a snare, the thud of a kick, and the sizzle of a hi-hat, even when they're all tangled up in a dense mix. That's the secret to getting a truly clean and nuanced separation.
First Things First: Prep Your Audio
The golden rule of audio separation is simple: garbage in, garbage out. The quality of your source file has a massive impact on the final result. Before you upload anything, take a second to check your file format.
Sure, an MP3 is small and convenient, but it’s a lossy format. That means it has already thrown away audio data to shrink its file size. For the cleanest separation, you absolutely want to start with a lossless format like WAV or FLAC. These files contain all the original, uncompressed audio information, which gives the AI much more data to work with. It's often the difference between a clean split and one that leaves behind faint "ghosts" of cymbals and kick drums.
Think of it like this: you wouldn't try to edit a tiny, pixelated JPEG and expect a high-resolution print. The better your source material, the more precise the AI can be.
This is especially true when dealing with the low end, where the bass guitar and kick drum often live in the same frequency range. A high-quality WAV file gives the AI its best shot at untangling those two instruments without ruining either one.
Use Your Words: Getting Specific with Prompts
One of the biggest leaps forward with tools like Isolate Audio is the shift away from generic buttons for "drums" or "vocals." We can now use natural language prompts to tell the AI exactly what we want. This is where you really get to steer the ship.
Instead of a one-size-fits-all separation, you can get incredibly specific with your instructions. For example:
- For a full rhythm track: "Remove all drums and percussion"
- To target just the top end: "Remove the snare drum and hi-hats"
- For surgical isolation: "Isolate only the kick drum"
This kind of flexibility opens up a ton of creative doors. Maybe you dig the kick pattern but want to swap out that thin snare for a beefy, reverb-soaked clap. A precise prompt lets you pull out just the elements you need, leaving the rest of the groove intact. This is the kind of surgical work that used to take ages of painstaking manual editing.
If you're curious about how we got here, our deep dive into stem separation software covers the whole evolution of these amazing tools.
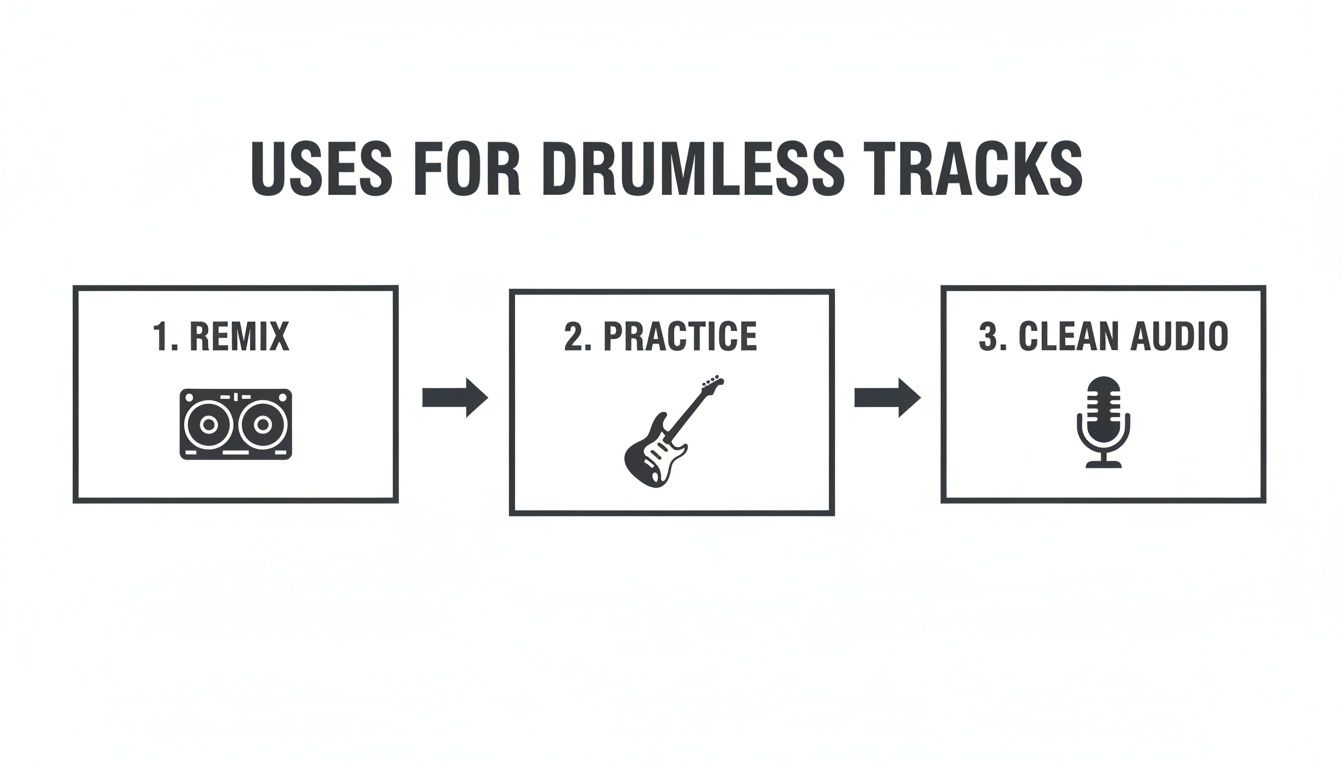
As you can see, a clean drumless track is an incredible starting point for remixing, practice, or even cleaning up audio for video content.
Choosing Your Isolate Audio Settings
Not every project demands the same level of precision. Sometimes you need flawless quality for a commercial release, and other times you just need a quick separation to try out an idea. Isolate Audio gives you a few options to balance quality against speed. Knowing which to choose will make your workflow much smoother.
Here's a quick guide to help you decide.
| Setting | Best For | Consideration |
|---|---|---|
| Best Quality | Final productions, high-end remixes, and professional sampling where every detail matters. | This is the most intensive process, but it delivers the cleanest separation with the fewest artifacts. |
| Balanced | Creating backing tracks for practice, whipping up quick mashups, or getting initial ideas down. | A fantastic middle-ground that balances processing speed with high-quality output. |
| Fast | Quickly checking if a separation is possible, experimenting with different prompts, or working on a tight deadline. | It’s the quickest option, but you might notice more artifacts, especially in busy or complex mixes. |
For most of my day-to-day work, Balanced is the sweet spot. But if I'm working on something that’s going to be released, I always take the extra time for Best Quality. It's worth it.
Tackling Those Tricky Mixes
Every now and then, you'll run into a track that even the best AI struggles with. This happens a lot with older recordings or really dense mixes where the kick and bass are locked so tightly together that their frequencies are practically fused.
When their sounds are "musically entangled" like this, you need to bring in the heavy machinery. This is where a feature like Precision Mode is your best friend.
Flipping this on tells the AI to run a much deeper analysis, paying extra close attention to those messy, overlapping frequencies. It’s built for the tough jobs.
You'll want to use Precision Mode when you hear things like:
- The bassline sounds thin and hollowed-out after the kick is removed.
- You can still hear the ghost of the kick drum's "thump" in the isolated bass stem.
- Cymbal crashes seem to bleed or smear into the high frequencies of guitars and synths.
It does take a bit longer to process, but for a particularly stubborn mix, it can be the one thing that gets you a truly clean separation. Once it’s done, you’ll usually get two files to download: one with just the drums and another with everything else. That gives you all the flexibility you need to move forward with your project.
AI tools are fantastic for speed and convenience, but sometimes you need the kind of precision you can only get by hand. Think of it like a surgeon's scalpel versus a Swiss Army knife. For jobs like restoring delicate old recordings, prepping a track for a high-profile remix, or just wrestling with a mix that’s giving the AI fits, a hands-on approach is often the only way to get the job done right.
These are the classic, old-school methods audio engineers have relied on for decades. Sure, they demand more technical know-how and often require specific files, but learning them gives you a much deeper understanding of audio and a powerful backup plan when the automated tools just don't cut it.
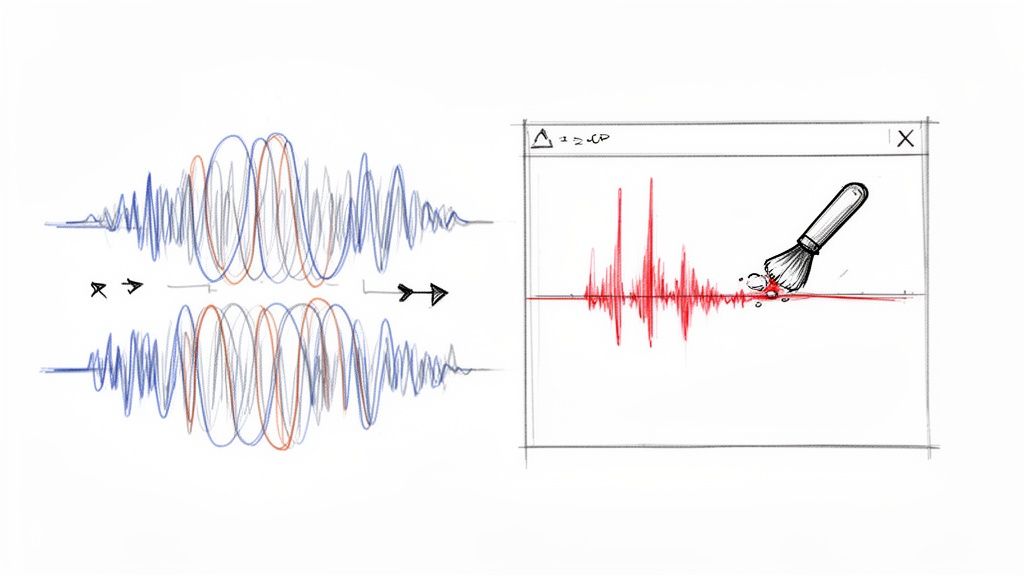
The Old-School Magic of Phase Cancellation
Phase cancellation feels like a genuine magic trick the first time you pull it off. The principle is surprisingly simple: take two identical sound waves, flip the polarity (the "phase") of one, and they completely cancel each other out, leaving you with silence. It's a fantastic way to remove drums from songs with incredible clarity, but there's a catch—you need the right ingredients.
To make this work, you need two very specific versions of a song:
- The Full Mix: The standard, final version of the track with everything in it.
- The Official Instrumental: The exact same mix, just without the lead vocals.
You then line them up perfectly in your DAW (Digital Audio Workstation), invert the phase on the instrumental track, and hit play. Because the instrumental parts are identical in both files, they vanish. The only thing left is what was different between them—the vocals. It’s the cleanest way to create an acapella.
You can also reverse this trick to get a drum-free track if you happen to have the full mix and, say, a "drums and bass" stem. It’s a niche scenario, for sure. But for remixers who can get their hands on official stems, phase cancellation is unbeatable because it’s based on physics, not an algorithm's best guess.
Getting Surgical with Spectral Editing
So, what do you do when you don't have an instrumental, and the AI keeps leaving behind little bits of a hi-hat or the ghost of a snare drum? This is when you roll up your sleeves and get surgical with a spectral editor. This is, without a doubt, the most granular way to remove drums from songs, letting you visually identify and literally erase unwanted sounds.
Tools like iZotope RX or the spectral display in Adobe Audition don't just show you a waveform; they show you a spectrogram. It’s like a heat map of your audio, where you can see the frequency content over time. Different sounds leave distinct visual fingerprints.
A kick drum shows up as a thick, vertical blast of energy in the low frequencies. A snare is a brighter, wider splash in the midrange. Hi-hats look like thin, scratchy lines way up in the high end. Spectral editing allows you to see these sounds and paint them out.
Using a spectral repair tool, you can draw a box around the visual blob of a snare hit and just delete it. The software then cleverly patches the hole using the audio information around it. It's painstaking work—you often have to go through and zap every single drum hit—but the level of control is incredible.
When Should You Go Manual?
Deciding between AI and manual methods really comes down to what you're trying to achieve and what files you have. Neither is "better"; they're just different tools for different situations.
Here’s when I’d reach for the manual toolkit:
- You have official stems: If you're lucky enough to have the full mix and an instrumental, phase cancellation is your best friend. It will almost always yield a cleaner result than any AI can. It’s the gold standard.
- The AI leaves annoying artifacts: Sometimes the AI gets close but leaves a weird digital "hole" or a faint cymbal wash. Spectral editing is perfect for going in and doing micro-repairs to clean up those little imperfections.
- The mix is a chaotic mess: In really dense or older recordings, a cymbal crash might be smeared all over a vocal. A manual approach lets you make the tough calls, carefully erasing bits of the cymbal without mangling the vocal performance.
While they take more patience and a bit more skill, these manual techniques give you a degree of control that automated tools just can't match. For any serious audio work, knowing how to do this stuff is essential for getting truly professional results when you need to remove drums from songs.
Sometimes, the goal isn't to completely obliterate the drums. You might just want to tuck the rhythm section back a bit to make room for a new vocal, a different beat, or even just to give the track a softer, more atmospheric vibe. This is where you can get surgical with techniques like equalization (EQ) and transient shaping.
Think of it less as erasing sounds and more like sculpting them. Instead of ripping the drums out entirely, which can leave behind some pretty obvious artifacts, you're gently pushing them behind the other instruments. It's a much more subtle approach that, when done right, can sound incredibly musical and clean.
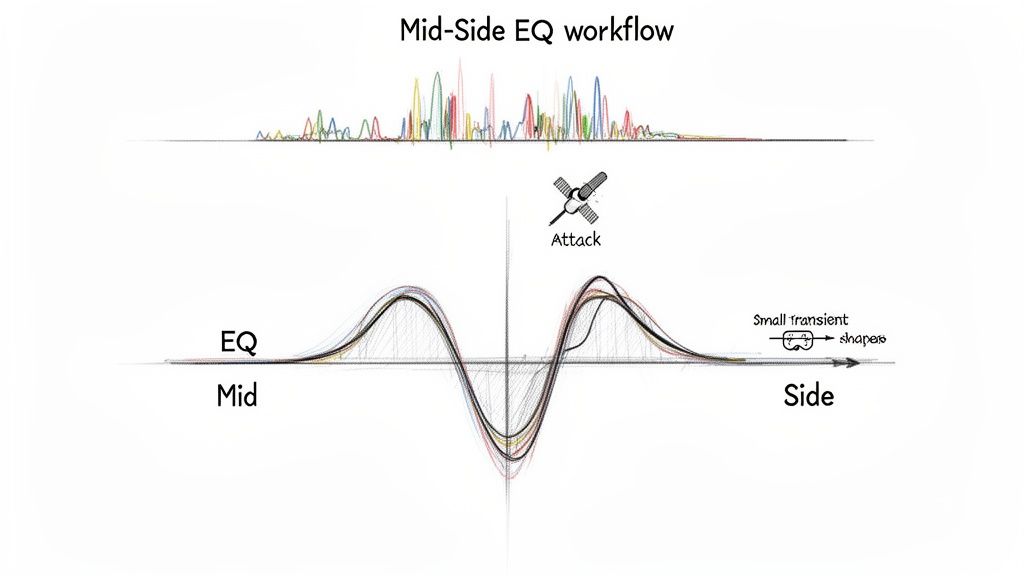
The Magic of Mid-Side EQ
One of my favorite tricks for this is Mid-Side EQ. This technique is a game-changer because it splits your audio into two separate components: the 'Mid' (everything panned dead center) and the 'Side' (all the stuff happening on the left and right). In almost any modern mix, the kick and snare—the backbone of the rhythm section—are planted firmly in the center.
This predictable placement is your secret weapon. With a Mid-Side EQ plugin, you can apply cuts only to that center channel, leaving the wide, stereo elements of the track completely alone. That means you can carve out the frequencies where the drums live without making the guitars, synths, or reverb tails sound thin and lifeless.
By focusing your EQ cuts on the Mid channel, you're performing a kind of audio keyhole surgery. You can precisely target the punch of the kick and the crack of the snare without collateral damage to the rest of the mix's stereo width.
The key is knowing where to look. A kick drum's fundamental "thump" usually lives somewhere around 60-100 Hz. The main body of a snare often sits between 200-400 Hz. By making some targeted, narrow cuts in these frequency ranges on the Mid channel, you can dramatically lower the volume of the drums without messing with a bass guitar or vocal that might be in a similar spot but has more stereo information.
It pays to know the sonic footprint of each drum. In 2023, for example, bass drums held the largest market share at 21.24% and snare drums at 17.59%, and each has a very distinct frequency profile you can target. For a deeper dive, check out this percussion market report from cognitivemarketresearch.com.
Taming the Attack with Transient Shapers
Another fantastic tool for pushing drums back is a transient shaper. A transient is that initial, high-energy crack of a sound—the sharp "thwack" of a snare or the clicky beater sound of a kick. It's what makes drums punch through a mix and grab your attention.
A transient shaper gives you a simple knob to turn the volume of these initial hits up or down, without touching the "sustain," or the tail end of the sound. To make drums sit back, all you have to do is dial back the attack.
Here’s a practical way to use this:
- Go Multiband: Don't just slap a transient shaper on the whole track. Use a multiband one to focus only on the frequency ranges where the drum transients are the loudest (like the high-mids for a snare crack).
- Subtlety is Key: You don't need to slam it. Reducing the attack by just a few decibels is often enough to make the drums feel softer and less aggressive, helping them blend in.
- Combine and Conquer: The real power comes when you use this alongside Mid-Side EQ. First, use your EQ to pull down the body and weight of the drum, then use the transient shaper to soften its initial punch. It's a killer one-two combo.
Dynamic EQ for Pinpoint Precision
If you really want to get granular, a dynamic EQ is the ultimate tool. A normal EQ is static; it cuts or boosts a frequency all the time. A dynamic EQ is smarter—it only kicks in when a specific frequency gets loud enough to cross a threshold you set.
Imagine setting a narrow dip around 3-5 kHz that only activates for a split second every time the snare hits. This carves out that harshness only when needed, preserving the track’s overall brightness and clarity. You can do the same for the kick, triggering a quick dip in the low-end to reduce its thump without constantly hollowing out the bass guitar. We touch on similar filtering ideas in our guide on the audio high-pass filter, which is a great read for understanding how to clean up low-end frequencies.
Without a doubt, this is the most transparent and professional way to gently push drums back in a busy mix.
How to Polish Your Track After Drum Removal
So, you've successfully pulled the drums out of your track. That’s a huge step, but the job isn't quite done. More often than not, the removal process leaves behind little sonic vacuums or digital artifacts that just make the track feel… empty. This final stage is all about polishing—it's what separates a rough edit from a professional-sounding result.
The goal here isn't to pile on new elements. It's about tastefully filling the gaps and smoothing over the rough edges. With just a few key techniques, you can bring back the track's natural ambiance and glue everything back together, making it ready for whatever you have planned next.
Restore Ambiance with Reverb and Delay
Think about the loudest parts of a drum kit, like a cracking snare hit. Those sounds always come with a bit of natural room decay. When you remove drums from songs, that space can vanish abruptly, creating an awkward, unnatural silence. A little bit of reverb or a short delay can work wonders here.
You’re basically applying a thin layer of sonic glue. Forget about massive cathedral reverbs; a subtle room or plate setting is usually all you need to breathe life back into the mix.
- Be Strategic: Don't just drench the whole track. Try automating a short reverb to swell up in the moments where a loud snare or cymbal used to be. This mimics the natural decay you just removed.
- Try Short Delays: A quick, single-repeat delay is another great trick. A simple slapback can fill the void without turning your mix into a muddy mess.
The key is subtlety. You want to create a sense of space that feels like it was there all along, not an obvious effect. The best post-processing is the kind you don't consciously notice.
This approach is vital for keeping a track's energy alive. Even as parts of the percussion market see shifts—like the Australian market’s 4% decline in percussion value in 2023, according to the Australian Music Association's 2023 market report—the role of rhythm in driving a song's feel is undeniable. Restoring that ambient feel helps preserve that core energy.
Tame New Frequencies with a Multiband Compressor
Drums, especially the kick and snare, take up a massive amount of space in a mix. Once they're gone, other instruments that were once masked can suddenly jump forward in unflattering ways. You might suddenly notice a clicky top end on the bass guitar or find a rhythm guitar part sounds thin and harsh.
A multiband compressor is your best friend here. It lets you clamp down on specific frequency bands without squashing the life out of the entire track.
Figure out which frequency range is causing the problem—maybe it’s some newfound harshness in a guitar around 2-4 kHz—and apply some gentle compression just to that area. This smooths out those newly exposed elements and helps them sit back in the mix where they belong. It’s a much more elegant solution than just hacking away with a broad EQ cut. For more serious sonic problems, you might want to look into dedicated audio repair software for more powerful tools.
Add Cohesion with Low-Level Textures
For certain projects, like film scores or ambient remixes, removing the drums can make the track feel a bit too sterile. In these situations, layering in a low-level texture can be the final piece of the puzzle.
This doesn't even have to be musical. You could try adding:
- Subtle field recordings: A quiet bit of room tone, the gentle hiss of vinyl crackle, or even distant city sounds can add an organic layer.
- Synth pads: A simple, low-volume synth pad with a slow attack can create a harmonic bed that fills out the soundscape without getting in the way.
This final layer should be felt more than it's heard. The trick is to mix it in just loud enough that you only notice it's gone when you hit mute. This is the finishing touch that restores a sense of life and movement, making your drumless track sound polished and complete.
A Few Common Questions About Drum Removal
Diving into audio separation for the first time usually kicks up a few questions. You might be wondering about the technical limitations or just how to get the best results without wasting time. Getting a handle on these details can be the difference between a frustrating editing session and a smooth, creative one.
Let's clear up some of the most common questions people have when they start pulling drums out of a track.
Can I Really Get a Perfectly Clean Separation?
That’s the million-dollar question, isn't it? The honest answer is: it depends entirely on the original mix. If you're working with a sparse track where every instrument has its own space, you can get incredibly close to a flawless result. The AI has a much easier time identifying and separating clean sources.
But what about a dense, heavy rock mix where the kick drum and bass guitar are locked in tight, hitting the same rhythms and fighting for the same frequencies? That's a much tougher challenge. Modern AI does a phenomenal job, but in those complex scenarios, you might occasionally hear faint "ghost" artifacts of the removed drums.
The quality of the original mix is the single biggest factor in how well your separation will turn out. A clean, well-defined track will always yield better results than a muddy or heavily compressed one.
What's the Best Audio Format to Use for This?
Always, always start with the highest-quality audio file you can get your hands on. This is non-negotiable for getting clean results. Lossless formats like WAV or FLAC are the gold standard here. They contain 100% of the original audio information, giving the AI the most data to work with.
Think of it this way: compressed files like MP3s are small for a reason. They throw away bits of audio data to reduce their size. When you're trying to do something as delicate as removing drums, that missing information can lead to a messier separation with more unwanted artifacts. Give the AI a clear, detailed map, and it will give you a better result.
Is It Possible to Just Remove the Snare? Or Only the Cymbals?
Absolutely. This is where today’s AI tools really flex their muscles. You're no longer stuck with just a "drums" stem. With a tool that understands plain English, you can get incredibly specific.
This kind of granular control opens up a whole new world of creative options that used to require hours of painstaking manual editing.
For instance, you could try prompts like:
- "Remove the snare drum but leave the kick"
- "Isolate just the hi-hats and cymbals"
- "Take out all the tom fills"
This precision lets you completely reshape a beat, swap out a single drum, or just clean up a specific part of the mix without nuking the entire rhythm section. It’s a far more powerful and flexible way to work with audio.
Ready to take control of your audio with surgical precision? Isolate Audio lets you remove drums from songs using simple text prompts. No more wrestling with complicated software—just upload, describe, and download your clean stems in minutes. Try it for free at Isolate Audio.